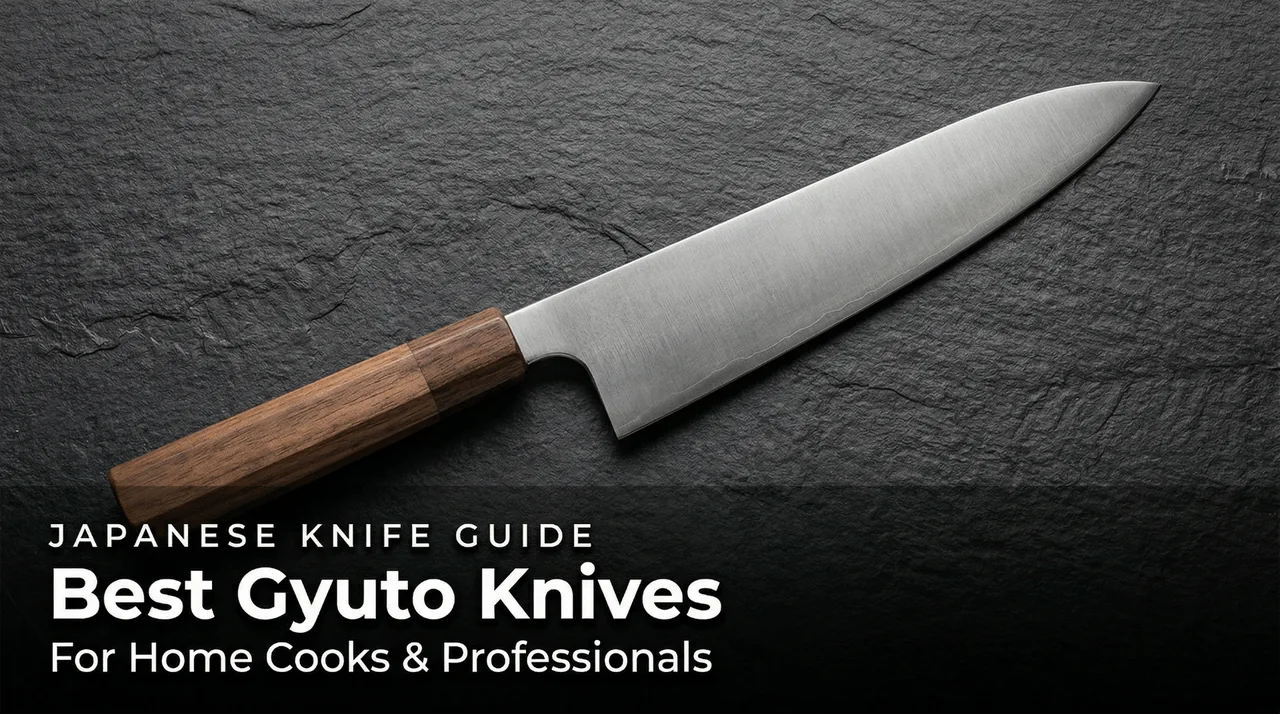
To sharpen a Japanese kitchen knife: use a whetstone at 15°, work the full edge in forward strokes, and
finish with a light pass on the back to remove the burr. A #1000 grit stone for maintenance plus a
#3000 finishing stone covers everything most home cooks will ever need.
Pull-through sharpeners and honing rods will not give a Japanese knife its edge back — the steel is too hard
and the geometry too precise. If you want to jump to stone recommendations,
go to Which Whetstone to Buy. For the full step-by-step technique, read on.
Quick Reference: Whetstone Grit Guide
| Grit | Stone Type | Use | Time (approx.) |
|---|---|---|---|
| #200–#600 | Coarse (Arato) | Repair chipped edges, reshape damaged blades | 5–20 min |
| #800–#1500 | Medium (Nakato) | Routine sharpening — restore lost edge. Start here for maintenance. | 5–10 min |
| #3000–#5000 | Fine (Shiageto) | Refine edge after medium stone; improve sharpness and longevity | 3–5 min |
| #6000+ | Ultra-fine | Mirror polish, maximum edge refinement. For enthusiasts and traditional wa-knives. | 3–10 min |
Why Japanese Knives Dull — and Why Pull-Through Sharpeners Fail
A sharp knife edge, viewed under a microscope, is not smooth — it's a series of microscopic serrations that bite into food. Each time the edge contacts a cutting board, those serrations fold, chip, or wear flat. This is dulling. Sharpening on a whetstone removes metal from the edge face, re-creating those microscopic teeth and restoring the acute angle.
Why pull-through sharpeners fail on Japanese knives: Pull-through devices use carbide scrapers or ceramic rods at a fixed 20° angle. Japanese knives are sharpened to 15°. The scrapers gouge metal off the edge at the wrong angle, removing too much material, creating a weak convex edge, and — worst of all — damaging the hard core steel that's precisely what you paid for. After three or four passes through a pull-through, a VG10 or SG2 edge is permanently compromised.
Double-Bevel vs. Single-Bevel: Know Your Knife First
Double-bevel (ryoba): Both sides are ground at an angle — V-shape cross-section. Most
Japanese knives sold internationally are double-bevel: santoku, gyuto, petty. Sharpen both sides equally
(50:50 ratio). This guide covers double-bevel technique.
Single-bevel (kataba): One side is flat, one side is angled — used in deba, yanagiba,
and traditional sashimi knives. Single-bevel technique is different — do not sharpen these like a
double-bevel knife.
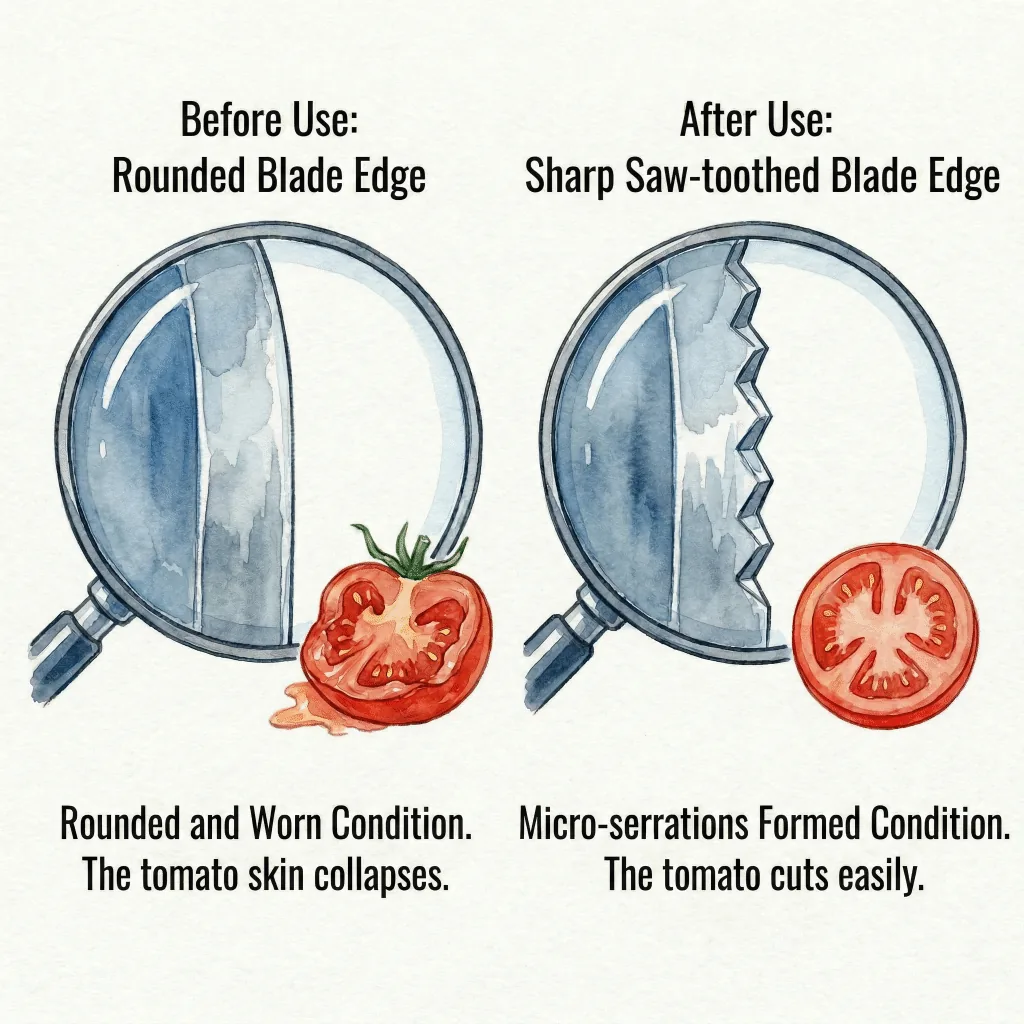
How to Tell Your Japanese Knife Needs Sharpening
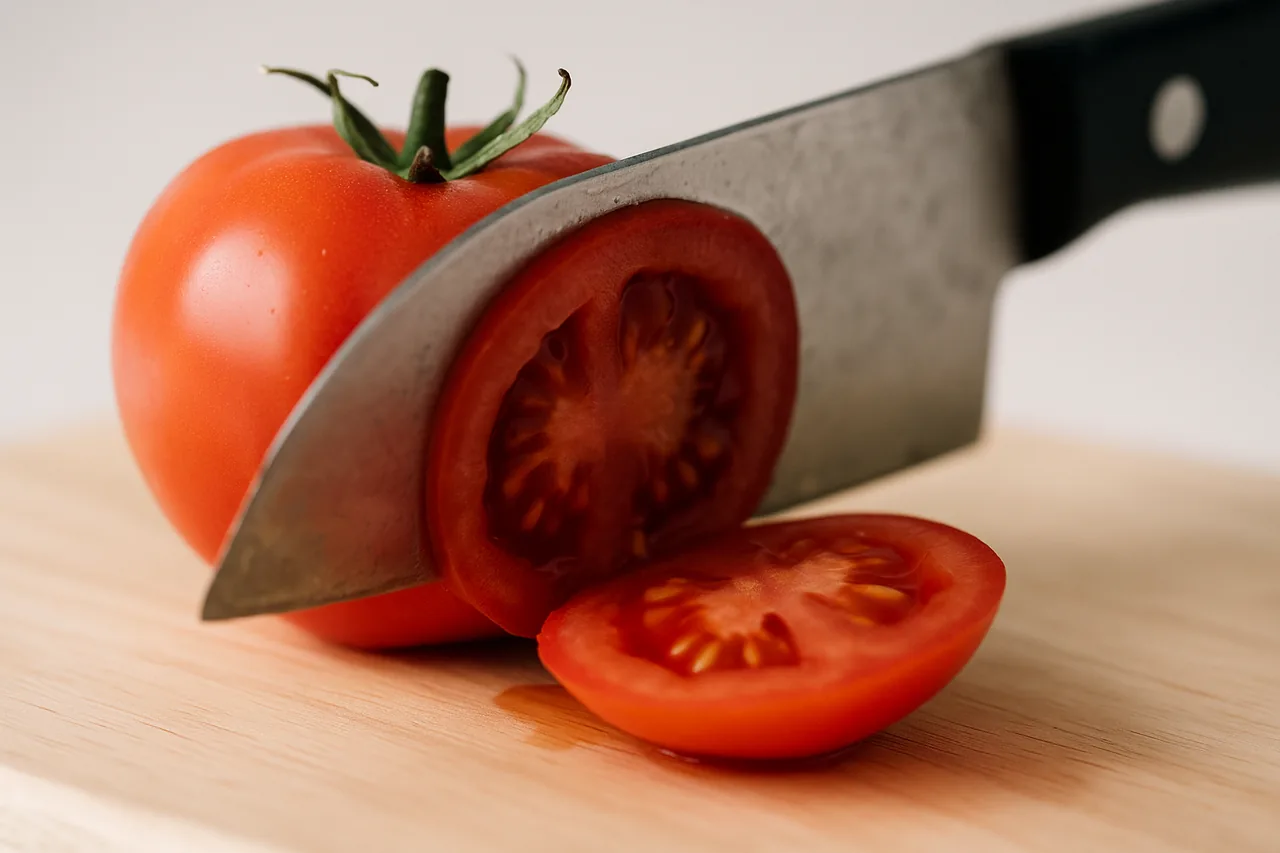
Japanese knives dull differently from Western knives. Because the steel is harder (HRC 60+), the edge doesn't roll — it chips or wears flat at the microscopic level. This means the knife can still feel "okay" on soft food while completely failing on anything with resistance.
The three signs it's time to sharpen
- Tomato test
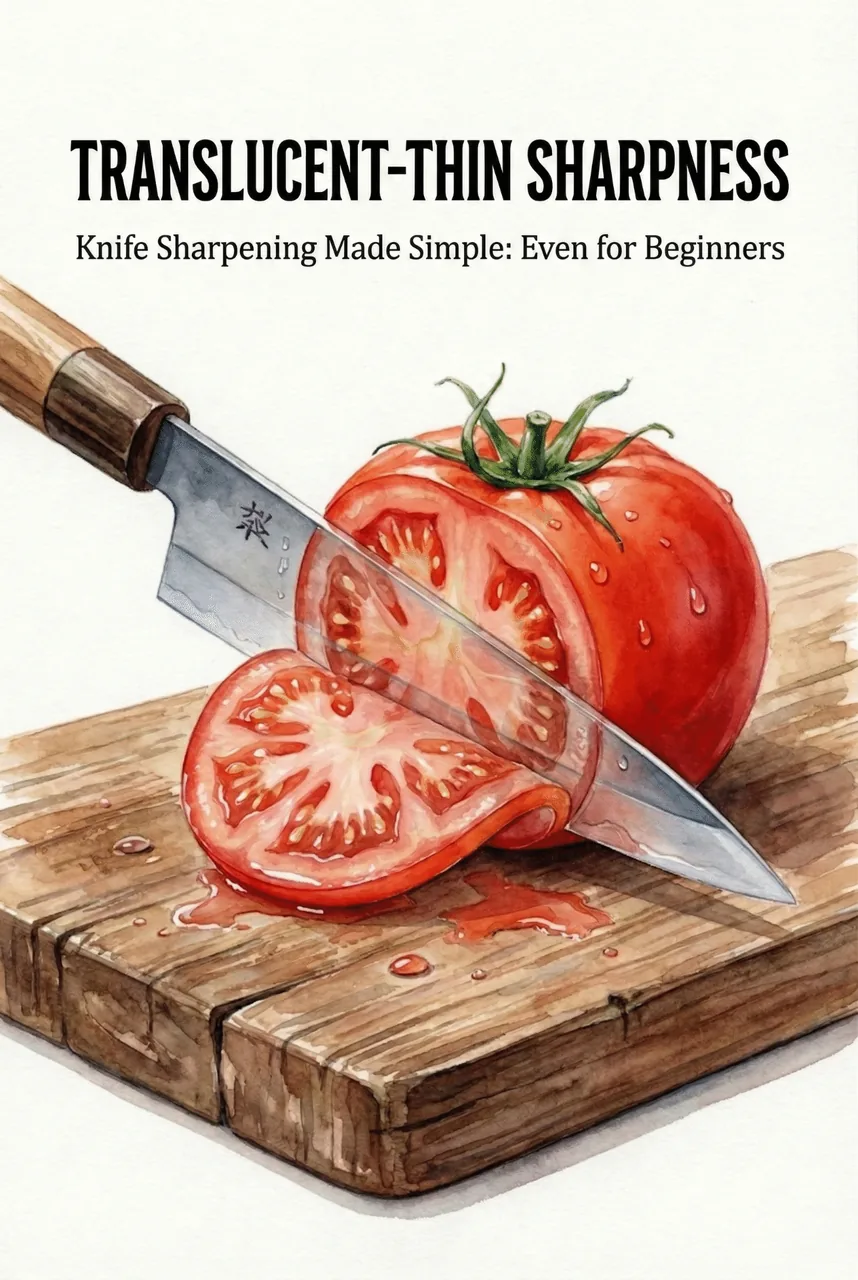
- Press the blade against a ripe tomato with zero force. A sharp Japanese knife slides through the skin from gravity alone. If you need any downward pressure, sharpen.
- Paper test
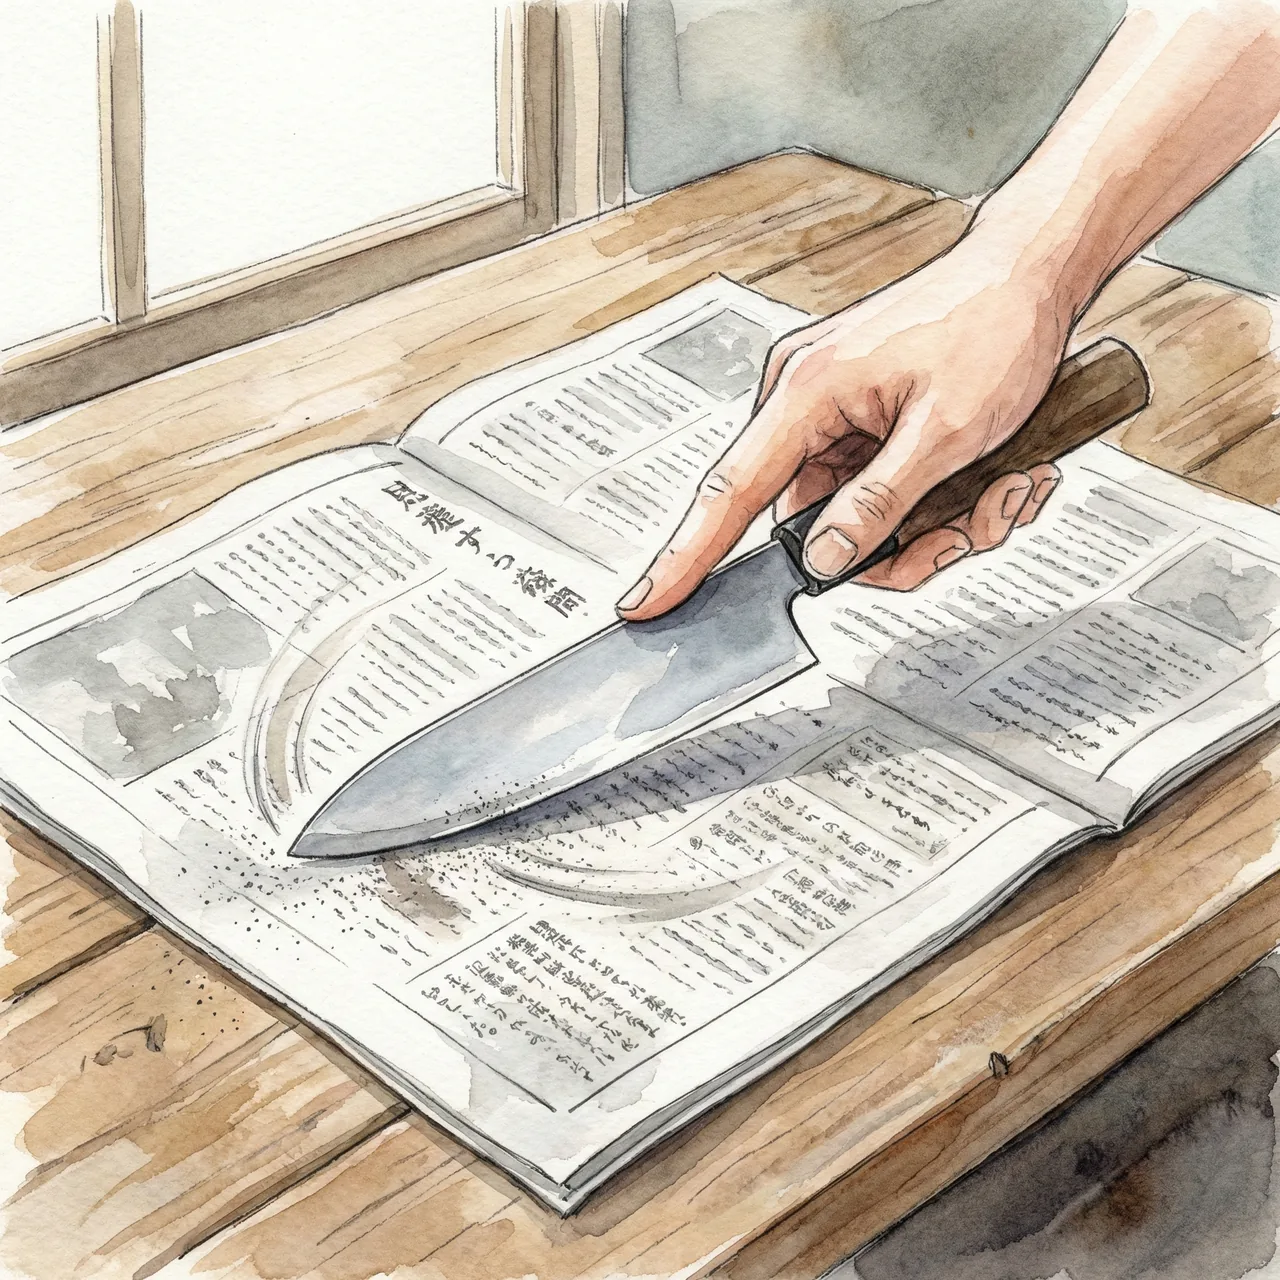
- Hold printer paper vertically and draw the knife down through it. Clean slicing with no tearing = sharp. Rough tearing or deflection = dull. This test doesn't lie.
- Fingernail test
- Rest the edge at 90° on your fingernail and tilt slightly. A sharp edge catches immediately — it won't slide. A dull edge slides off with no resistance. Be gentle; this is a touch test, not a cutting test.
3 Beginner-Friendly Methods, Ranked
Method 1 — Ceramic Honing Rod (Easiest, Weekly Maintenance)
A ceramic rod does not sharpen in the traditional sense — it does not remove metal. Instead, it realigns the microscopic edge that has bent slightly from use. Think of it as combing the edge back into alignment. Done weekly, this significantly extends time between whetstone sessions.
How to use a ceramic rod
- Angle
- 15° — same as sharpening. Lower than a Western rod (which works at 20°).
- Motion
- Draw the knife down the rod in a sweeping arc, edge leading. Work from heel to tip in one smooth stroke. Alternate sides: 5 passes per side.
- Pressure
- Light. The ceramic does the work — you're not grinding metal, just realigning.
- Frequency
- Before or after each cooking session. Takes under a minute when done regularly.
Buy: Kyocera ceramic honing rod (~$30) or Global ceramic rod (~$35). Avoid grooved honing steels — the ridges are too aggressive for Japanese steel.
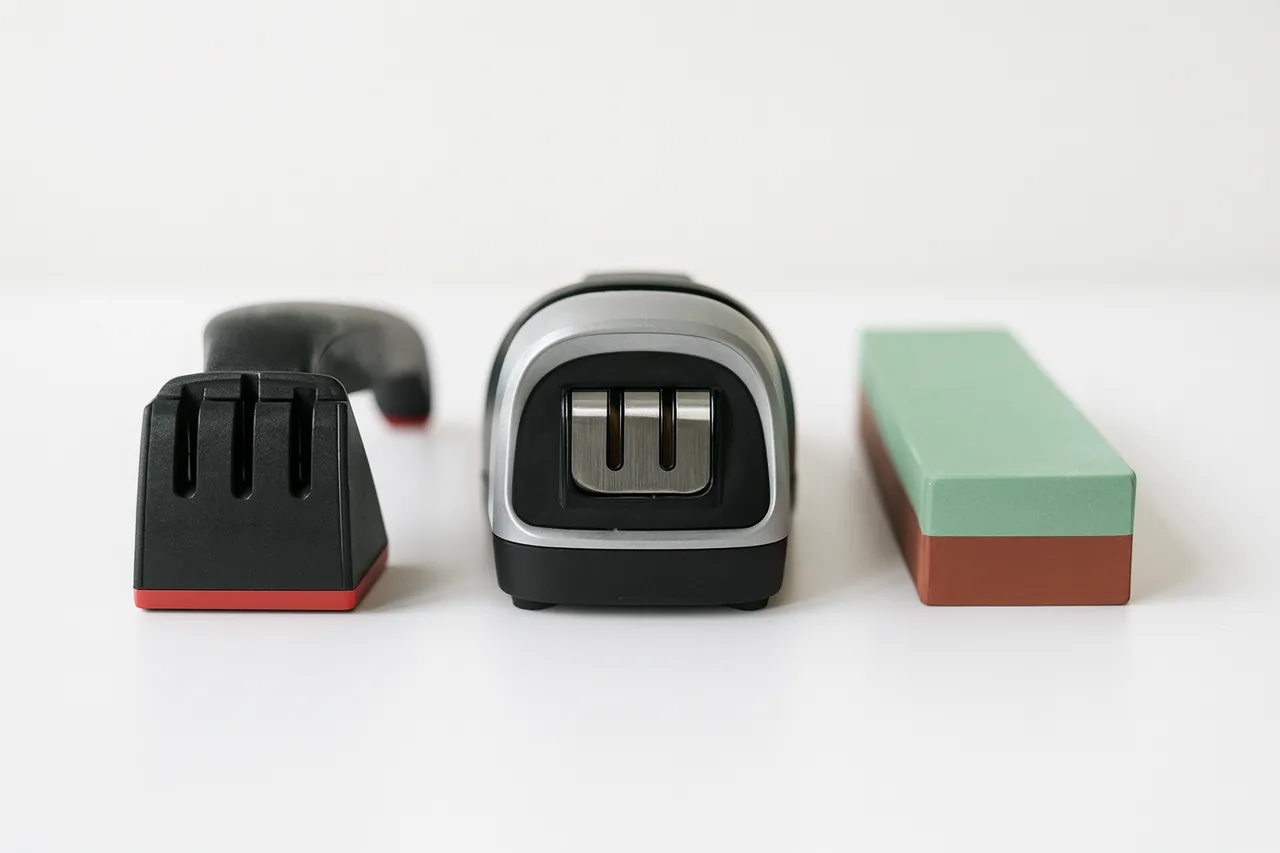
Method 2 — Guided Angle Sharpening System (Intermediate, No Freehand Required)
Guided systems hold the knife at a fixed angle mechanically, removing the hardest part of whetstone sharpening — maintaining consistent angle freehand. The knife is clamped or guided along a rod, and you run it along the abrasive with the angle set automatically. The results aren't quite as refined as skilled freehand technique, but they are consistently better than anything a pull-through can achieve, with no risk of damage.
- Best option
- Lansky Deluxe 5-Stone System (~$50) or Edge Pro Apex (~$160). Both allow you to set 15° angle specifically for Japanese knives.
- How it works
- The knife is clamped or held against a guide. You draw a sharpening rod across the edge at the pre-set angle, working from heel to tip in light strokes. Start coarse, finish fine.
- Limitations
- Slower for full re-grinds; some systems struggle with the belly curve of a gyuto. Best for santoku and petty knives with flatter profiles.
Perfect for: Cooks who want better results than a honing rod but aren't ready to commit to freehand whetstone technique yet.
Method 3 — Whetstone: The Best Method, Simplified for Beginners
A whetstone gives you full control and the best possible result — the same edge a professional sharpener would produce. The learning curve feels steep but is actually short: most people get a usable edge on their first try and a great edge within three sessions.
Simplified beginner setup
- Stone
- King KW-65 combination #1000/#6000 (~$40–$50). Both grits in one stone, no second purchase needed.
- Angle
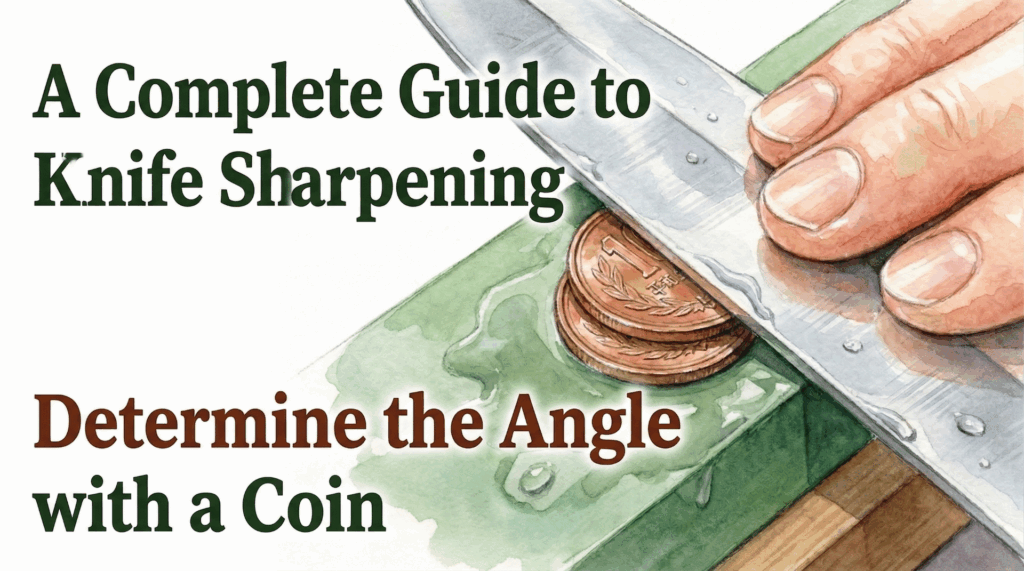
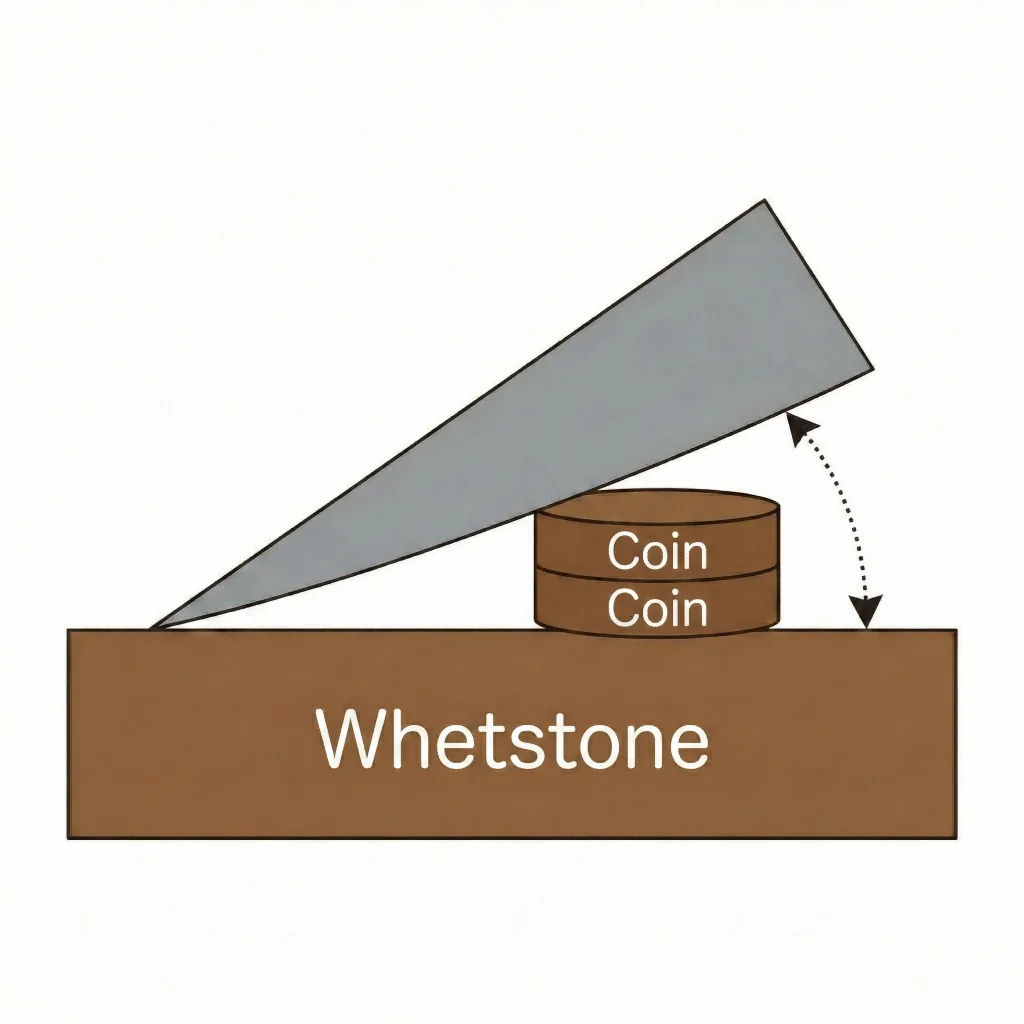
- Stack two coins under the spine. That gap = 15°. Hold it for every stroke.
- Stroke
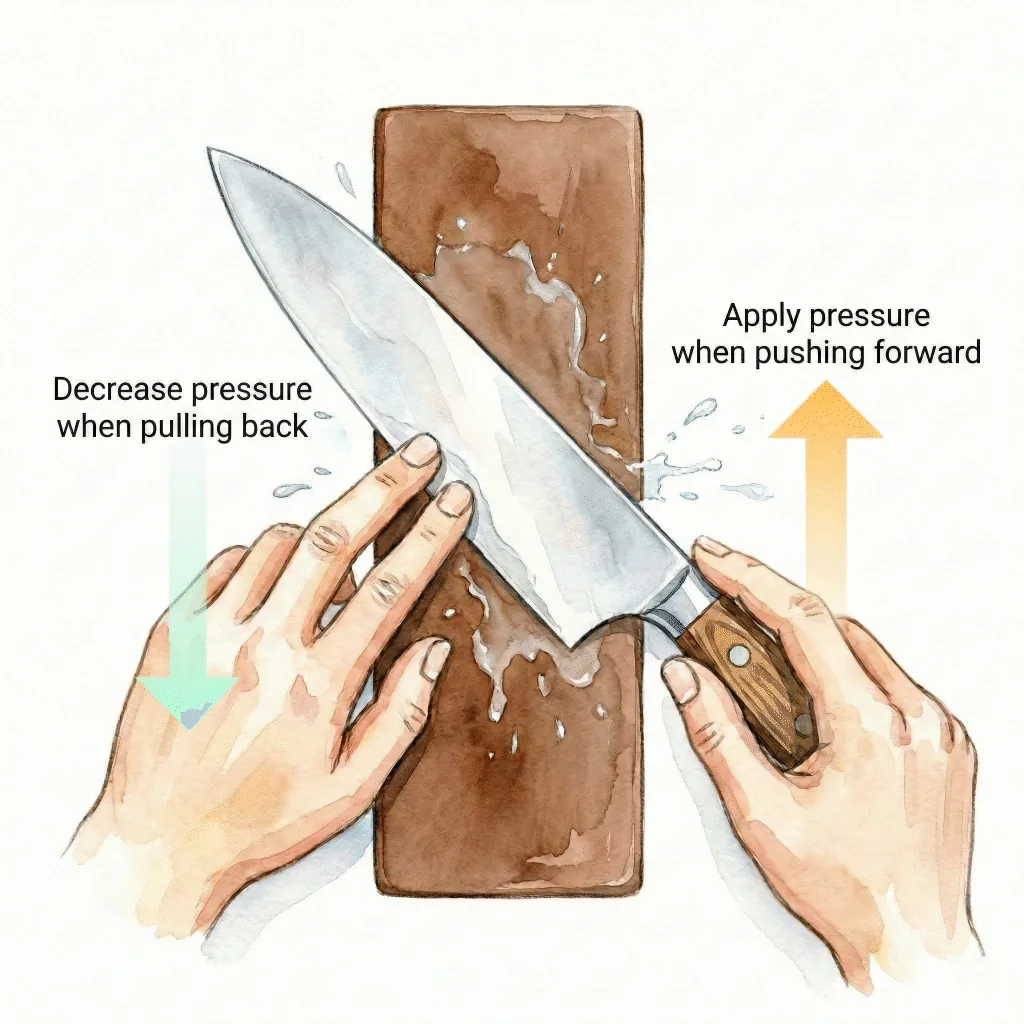
- Push the knife edge-first away from you, light pressure. Return with no pressure. 10–15 strokes per section (heel, middle, tip).
- Burr check
- When you feel roughness on the opposite side of the edge (the "burr"), flip the knife and do 5 lighter strokes on the other side to remove it.
- Test
- Paper test or tomato test. If it passes, you're done.
Total time for a beginner's first session: 20–30 minutes. After 3–4 sessions, you'll do the same job in 10 minutes.
The 15° Angle: The Most Important Number in Knife Sharpening
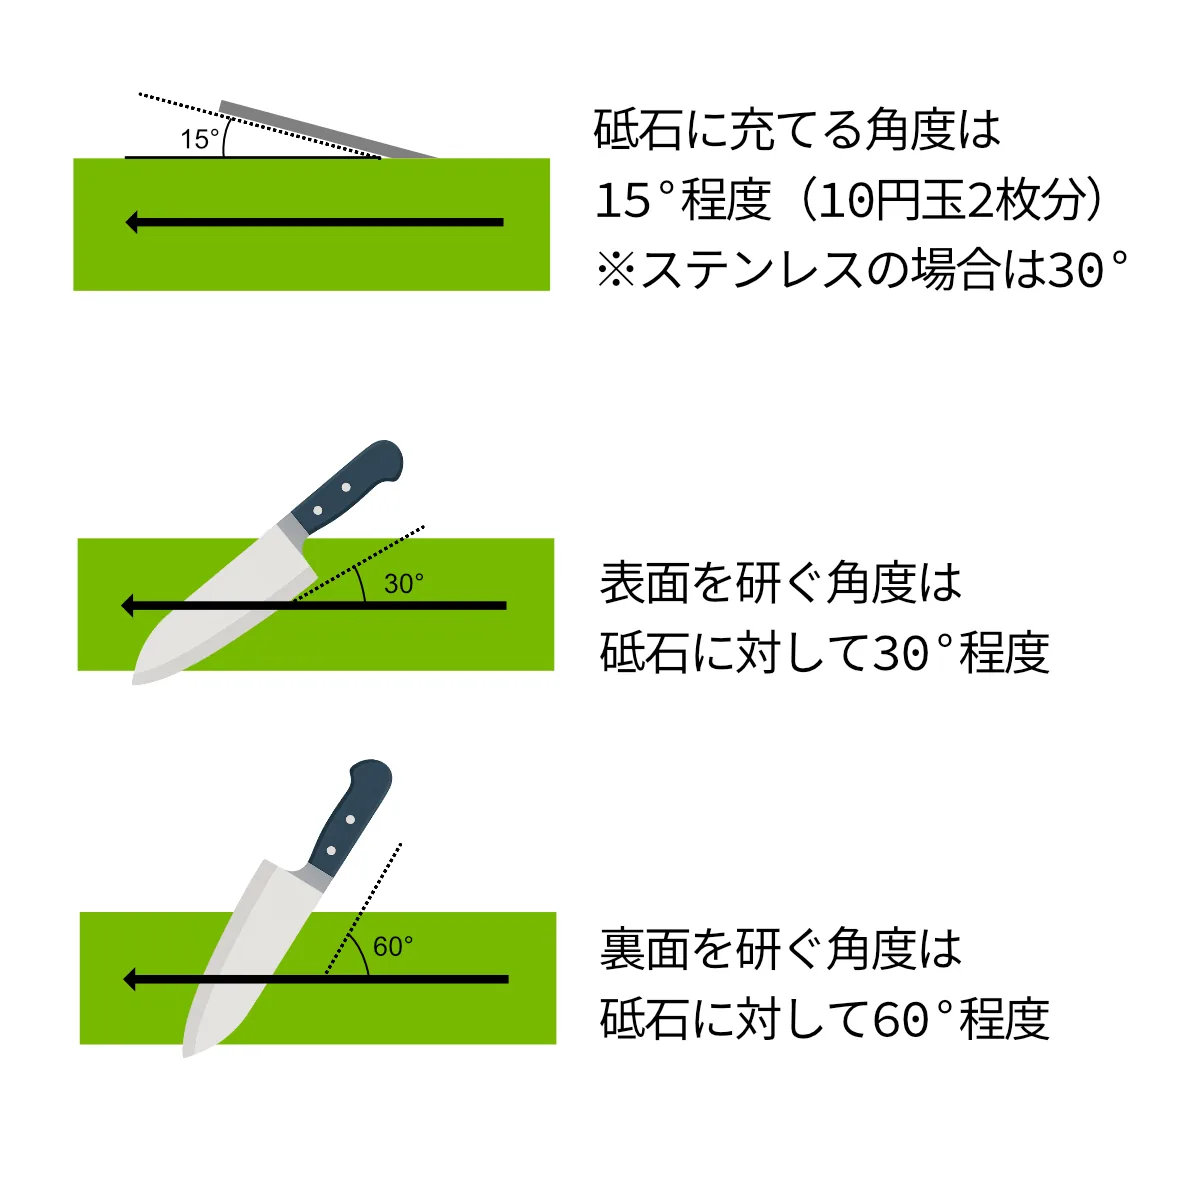
Japanese knives are sharpened at 10–15° per side (20–30° inclusive angle). Western chef's knives are 20–25° per side. That extra 5–10° is why a Japanese blade feels noticeably sharper — a thinner edge geometry cuts with less resistance.
The Two-Coin Method
Place the knife flat on the stone. Stack two coins (or one 10-yen coin) under the spine. The gap that creates is approximately 15°. Now remove the coins and hold that same gap with your fingers. That is your sharpening angle. The entire skill of whetstone sharpening is maintaining this gap consistently across every stroke.
Angle consistency matters more than stroke speed
A common beginner mistake is to speed up strokes mid-session, which causes the angle to drift. Slow, deliberate strokes with a held angle will produce a sharper result than fast strokes that lose consistency. You can tell you're on the right angle when the stone makes a smooth, consistent sound and leaves an even slurry trail across the full edge length.
Step-by-Step Whetstone Technique
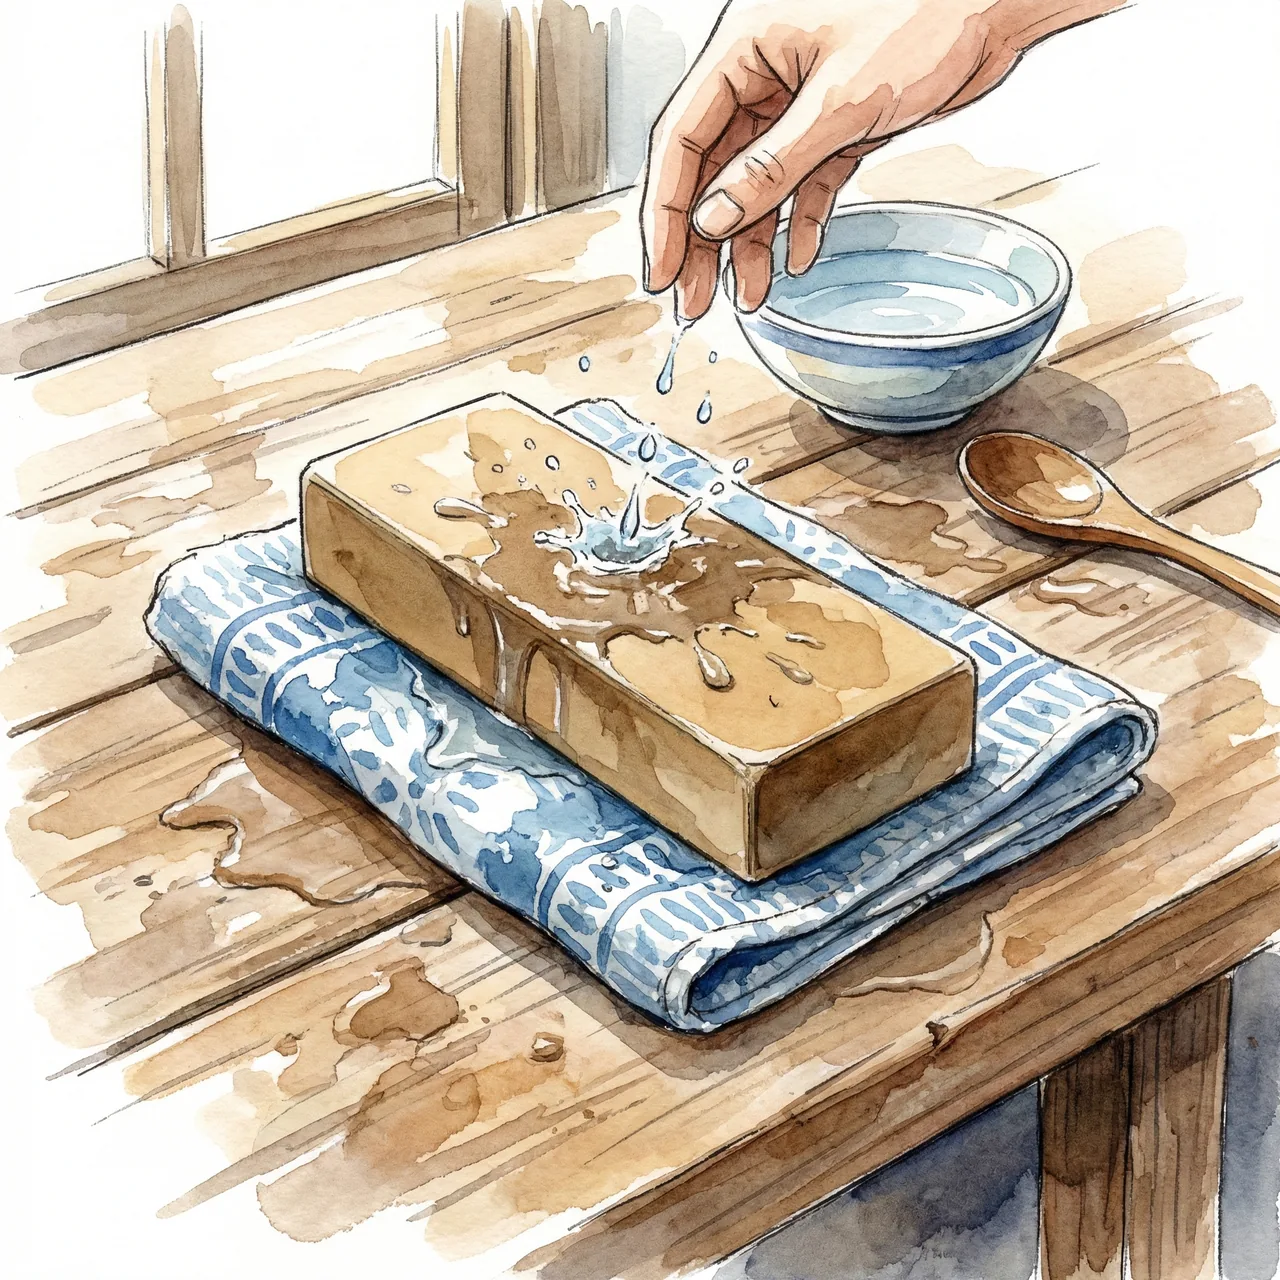
Before You Start: Set Up Correctly
- Soak or splash
- Synthetic water stones: soak in water for 5–10 minutes before use, or splash generously. Natural stones: splash water on the surface only — don't soak them.
- Stable platform
- Place the stone on a non-slip surface. A damp kitchen towel under the stone works fine. Rubber stone holders are better. The stone must not move when you press on it.
- Grip
- Hold the handle with your dominant hand in a pinch grip (thumb and forefinger on the blade near the bolster). Index and middle finger of your other hand press gently on the flat of the blade to control pressure and angle.
Step 1 — Sharpen the Front Face (#1000, 5–10 min)
Place the knife on the stone, edge facing away from you, at 15°. Press two fingers of your guiding hand on the flat near the edge. Push the knife away from you (edge-leading), applying light but consistent pressure on the downstroke. Lift slightly on the return stroke — no pressure coming back.
Work the entire edge in sections: heel third, middle third, tip. At the tip, gently rotate your wrist upward to maintain contact on the curved portion (essential for gyuto — the belly must follow its arc).
When to stop: Run your thumb perpendicular across the opposite side of the edge. When you feel a slight roughness or "wire edge" (burr) running continuously along the full edge, the front face is done.
Step 2 — Remove the Burr (Back Face, 2–3 min)
Flip the knife. The back face gets lighter treatment: same 15° angle, same technique, but fewer strokes. The goal is to remove the burr that built up on the previous step — not to remove equal metal. For a double-bevel knife: front 70%, back 30%. When the burr is gone (thumb test: no roughness on either side), the knife is sharp.
Alternating pass method: Some experienced sharpeners alternate sides every 5–10 strokes throughout the session instead of doing all-front then all-back. Both methods work — use whichever gives you better angle consistency.
Step 3 — Finish on a #3000+ Stone (recommended)
Repeat the same technique on a finer stone. The edge gets progressively more refined — the microscopic serrations become finer and closer together. The result: longer edge retention and a cleaner cutting feel on delicate foods. For everyday vegetable prep, a #1000 edge is sufficient. For fish and sashimi work, always add a #3000 finishing pass.
The Paper Test
Hold a sheet of printer paper vertically and draw the edge downward through it. A sharp knife cuts cleanly with minimal tearing. The tomato skin test: a razor-sharp knife pierces ripe tomato skin with zero pressure — no push, just contact. Both tests should pass after proper sharpening.
Which Whetstone to Buy
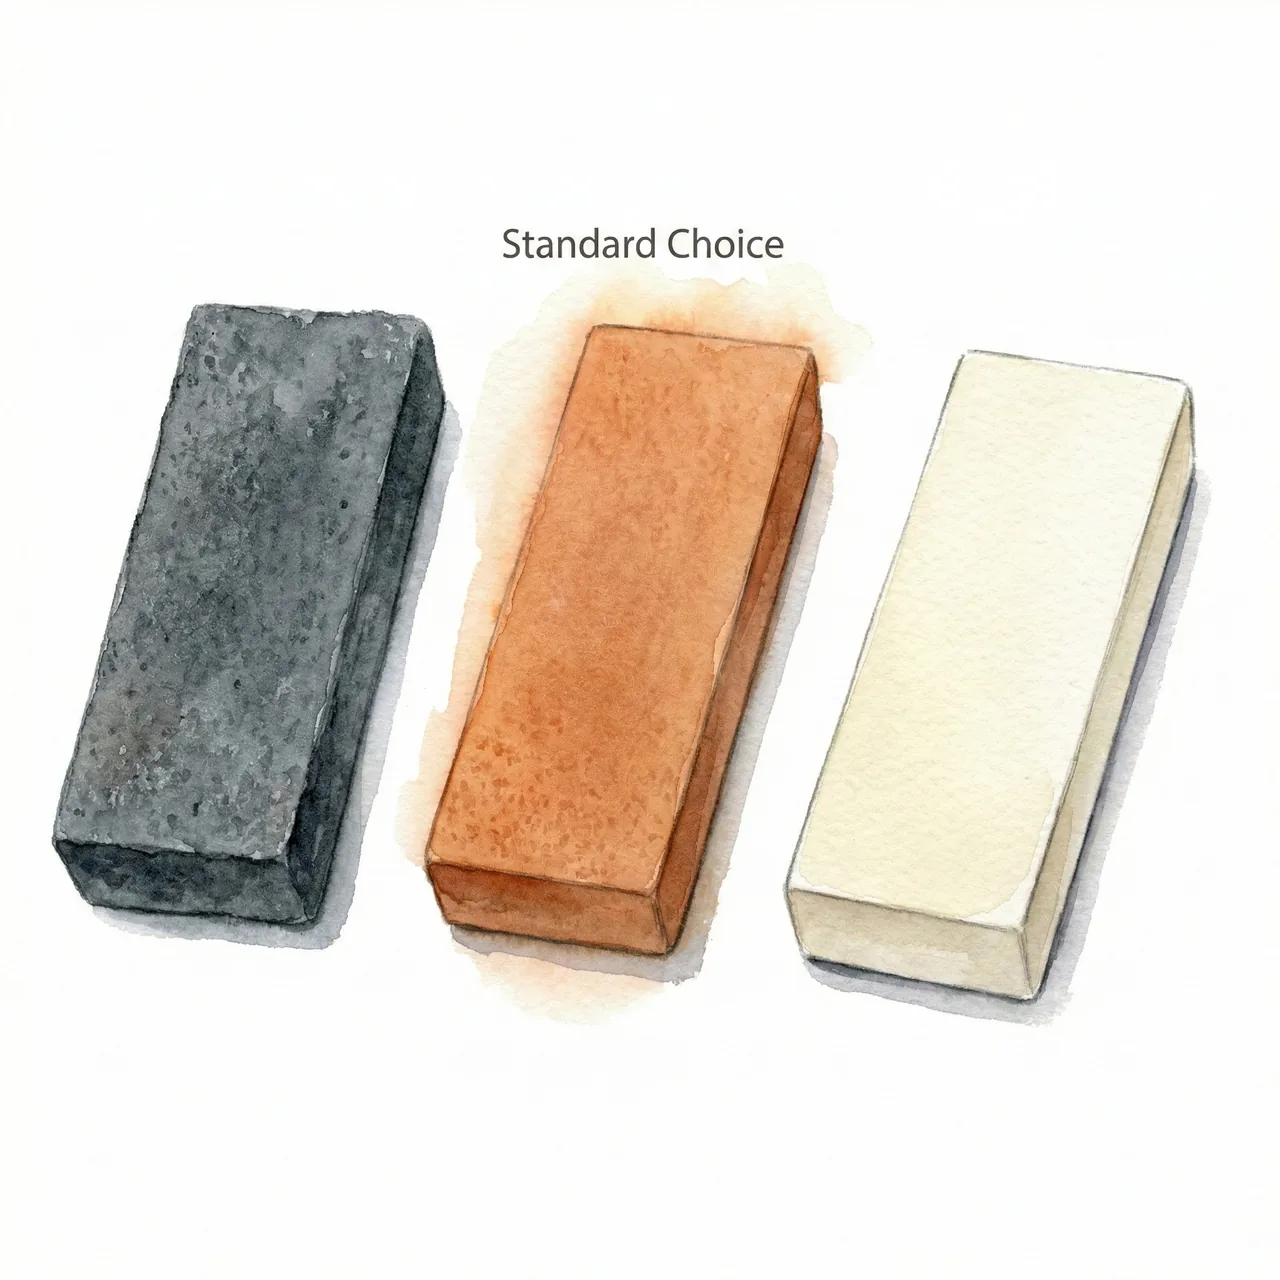
Most home cooks need two grits: a #1000 medium stone for regular maintenance sharpening (restoring a dull edge) and a #3000 finishing stone for refining the edge to its sharpest. Many combination stones cover both in one block — the best starting point for anyone new to whetstone sharpening.
- #220–#400 (coarse)
- For repairing chips or reshaping a badly damaged edge. Not needed for routine maintenance.
- #1000 (medium)
- The workhorse grit. Regular maintenance sharpening — restores a dull edge to sharpness. Every home sharpener needs this.
- #3000–#6000 (fine/ultra-fine)
- Finishing and polishing. Refines the edge left by #1000 into a finer, longer-lasting result. Especially effective on stainless steel (VG10, Cromova 18).
#1 Best for Beginners — King KW-65 #1000/#6000 Combination Stone
King is the most trusted whetstone brand in Japan — what professional sharpeners use for training, and what most Japanese households keep under the sink. The KW-65 combines a #1000 medium grit for maintenance sharpening and a #6000 ultra-fine finishing face in one stone. The single best investment for anyone starting out with a Japanese knife.
- Grit
- #1000 (medium) / #6000 (ultra-fine)
- Made in
- Japan
- Size
- 205 × 75 × 25mm
- Type
- Water stone (splash and go, no extended soak required)
- Price
- ~$40–$50
Perfect for: Anyone buying their first whetstone. Two grits in one stone covers all regular maintenance. The #6000 face is exceptional for stainless knives.
#2 Best Medium Grit — King Deluxe #1000
If you already have a finishing stone or want to build a two-stone setup, the King Deluxe #1000 is the most-used maintenance stone in Japan. Soft enough to cut quickly, hard enough to wear evenly. The slurry builds predictably, which helps maintain consistent angle feedback during strokes.
- Grit
- #1000 (medium maintenance)
- Made in
- Japan
- Size
- 205 × 75 × 25mm
- Type
- Water stone (soak 5 minutes before use)
- Price
- ~$25–$35
Perfect for: Cooks who sharpen regularly and want a dedicated medium stone that will last years.
#3 Best for Enthusiasts — Naniwa Chosera #1000 + #3000
Naniwa Chosera stones are the choice of professional sharpeners in Japan. The #1000 cuts fast and leaves a clean surface; the #3000 follows with a refined edge that genuinely improves performance on delicate ingredients. The bonded construction means minimal dishing even after heavy use. Splash and go — no soaking required.
- Grit
- #1000 and #3000 (sold separately or as a set)
- Made in
- Japan (Osaka)
- Size
- 210 × 70 × 20mm
- Type
- Splash-and-go water stone (no soak needed)
- Price
- ~$60–$80 per stone
Perfect for: Cooks who sharpen high-end knives (Misono, Ryusen, carbon steel) and want professional-grade results at home.
Flattening Your Stone and Long-Term Care
Why stones need flattening
Whetstones wear unevenly — the center dips from repeated strokes. A dished stone forces the knife into a curved path, making consistent angle impossible. After 3–5 sharpening sessions, check your stone by placing a straight edge across it. Any gap means it's time to flatten.
How to flatten: diamond plate method
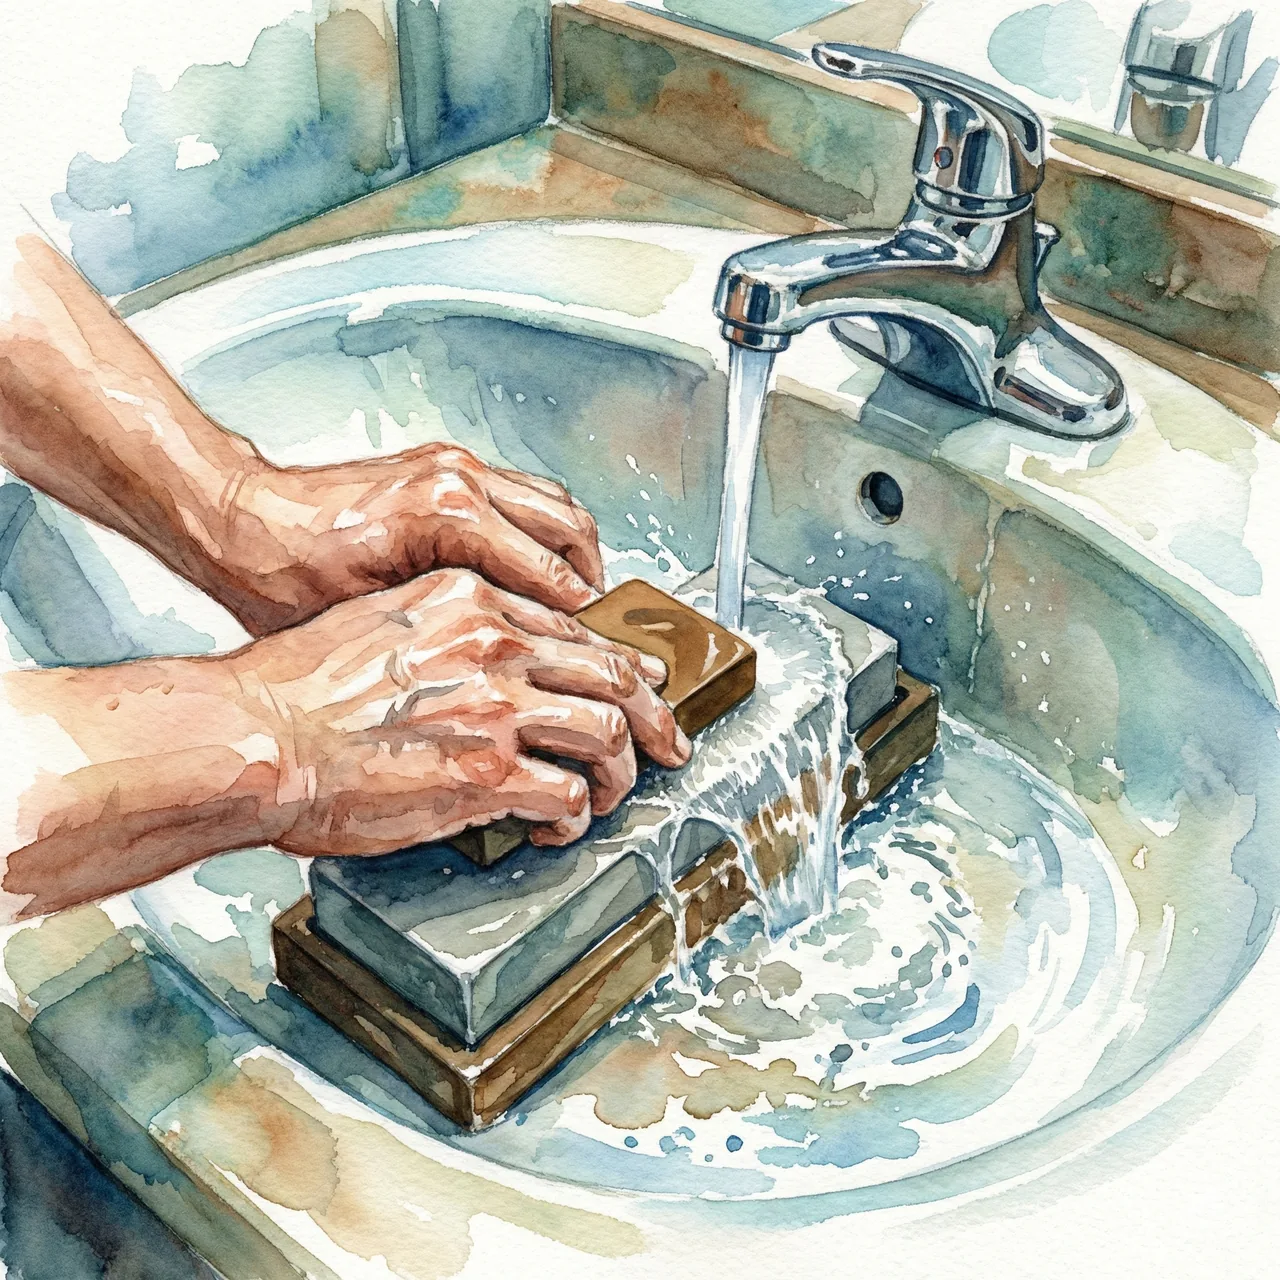
Wet both surfaces. Rub the whetstone face-down on a diamond lapping plate in circular patterns until the entire face shows grinding marks — no shiny (undisturbed) center spots. Takes 2–3 minutes. A $20–$30 DMT or Atoma diamond plate will outlast many sets of whetstones and is essential long-term equipment.
Ceramic rod: for between sharpenings
A smooth ceramic rod (not a grooved honing steel) can realign the edge between whetstone sessions. Draw the knife down at 15°, alternating sides, 3–5 passes. This extends time between full sessions. Do not use a standard ridged honing steel — it's too aggressive for Japanese steel at HRC 60+.
Daily Habits That Keep Your Knife Sharper, Longer
Sharpening frequency is mostly determined by how you treat the knife between sessions. Japanese knives are harder and take a finer edge than Western knives — they're also more sensitive to surface damage that dulls the edge prematurely.
- Cutting board material
- Use wood or plastic. Glass, ceramic, and marble boards destroy Japanese knife edges quickly — the hard ceramic steel bounces off hard surfaces and micro-chips. A hinoki (Japanese cypress) or end-grain wood board is ideal.
- Hand wash only
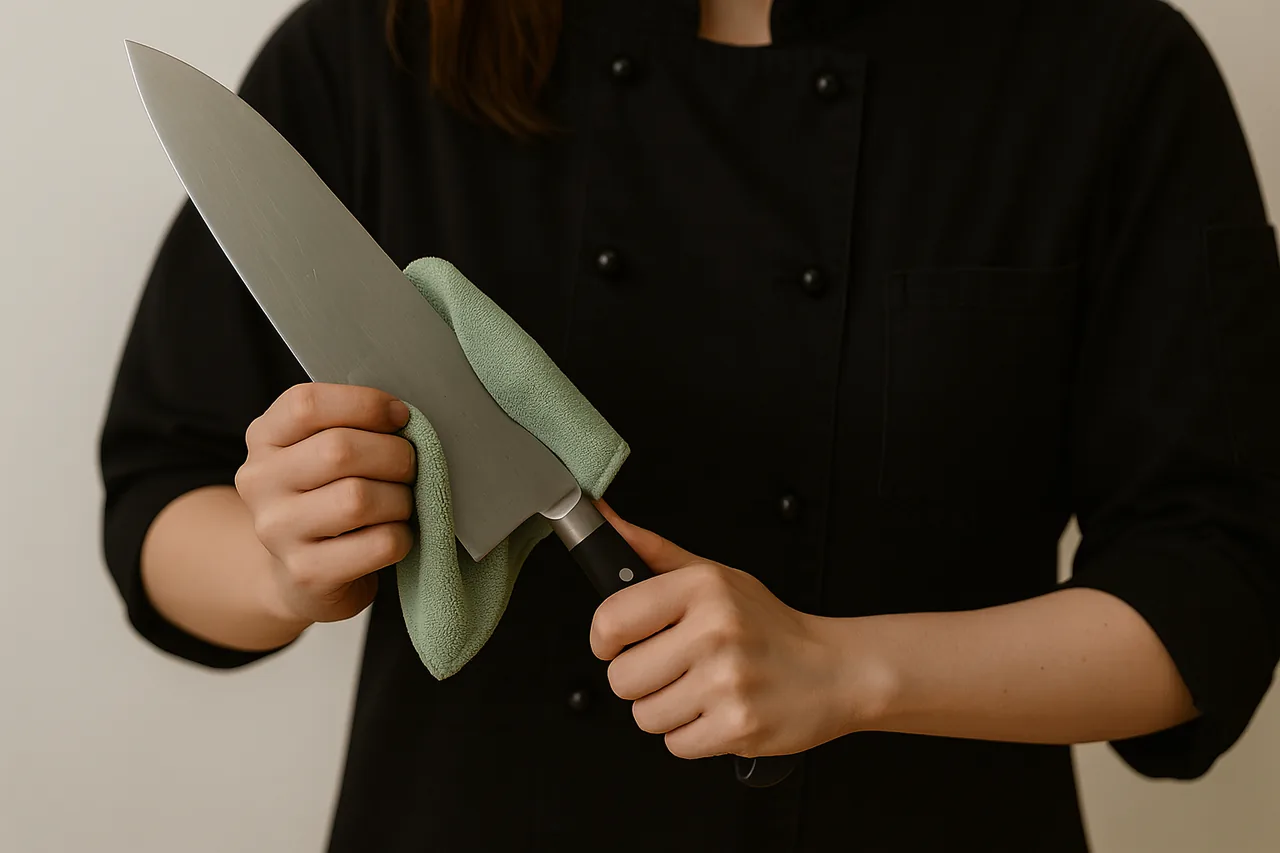
- Dishwashers dull edges fast: high heat, harsh detergents, and knife-on-utensil contact. Hand wash with mild soap, dry immediately with a soft cloth.
- Storage
- Knife block, magnetic strip, or blade guard. Loose in a drawer chips the edge every time something touches it. A magnetic strip is the best combination of accessibility and edge protection.
- Honing after use
- 5 passes per side on a ceramic rod after each cooking session. This alone can double the time between whetstone sessions for regular home cooks.
FAQ
Can I use a pull-through sharpener on my Japanese knife?
No — pull-through sharpeners will damage Japanese knives. They are set to a fixed 20° angle and use aggressive carbide or ceramic scrapers that remove metal incorrectly from hard Japanese steel (HRC 60+). After a few uses, the edge geometry is compromised and cannot be easily restored. A whetstone is the only correct tool for sharpening Japanese kitchen knives.
How often should I sharpen my Japanese knife?
For regular home use: light maintenance once a month, a full session every 3–6 months. Japanese steel (HRC 60+) holds its edge significantly longer than Western knives. The practical test: if a ripe tomato skin requires any pressure to pierce, it's time to sharpen. Between sessions, a few passes on a ceramic rod extends sharpness noticeably.
What angle should I sharpen a Japanese knife at?
15° per side (30° inclusive) is standard for most Japanese double-bevel knives — santoku, gyuto, petty. Some premium knives (Misono, Jikko) are ground to 10–12° and can be maintained at that angle. Single-bevel knives (deba, yanagiba) require a different technique — do not use this guide for those. Check your knife's documentation if unsure of its original grind angle.
What is the difference between honing and sharpening?
Honing realigns the edge; sharpening removes metal to create a new edge. A ceramic rod straightens microscopic bends in the edge that happen during normal use — useful between sessions. A whetstone physically abrades metal to rebuild the edge geometry when it has worn away. Use a ceramic rod weekly, a whetstone monthly.
How do I sharpen a single-bevel Japanese knife?
Single-bevel knives (deba, yanagiba) require different technique. The flat back is laid completely flat on the stone — no angle — and given 3–5 light passes to remove the burr from the back. The front bevel is sharpened at a steep angle matching the original grind (typically 10–15°) with the same forward stroke technique as double-bevel. Never sharpen the flat back at an angle — it will ruin the geometry that makes single-bevel knives work.
My whetstone is dishing in the middle — what do I do?
Flatten it with a diamond lapping plate. A dished stone makes consistent sharpening impossible. Wet both surfaces and rub the whetstone on the diamond plate in figure-eight or circular motions until the full face shows even grinding marks. A $25 DMT or Atoma diamond plate is a necessary accessory for anyone using whetstones long-term. Check flatness after every 3–5 sessions.
Can I use a regular honing steel on a Japanese knife?
No — use a smooth ceramic rod instead. Standard honing steels have grooves that are too aggressive for hard Japanese steel (HRC 60+). The ridges can micro-chip the edge rather than realigning it. A smooth ceramic rod achieves the same realignment effect without damaging the steel. Kyocera and Global both make excellent ceramic rods specifically for Japanese knives.
Is it hard to learn whetstone sharpening?
Less hard than it looks. The main skill is holding the angle consistently — which you can practice with the two-coin method. Most beginners get a usable edge on the first try and a good edge within 2–3 sessions. The actual technique (push strokes, burr check, flip) takes about 10 minutes to understand and 3 sessions to feel natural. The learning curve is much shorter than, say, learning to cook with a wok.
My Japanese knife has a chip in the edge — what do I do?
A small chip (under 1mm) can be worked out with a coarse #400 whetstone before moving to #1000. The process takes longer — 15–20 minutes on the coarse stone to grind metal past the chip — but the result is a clean edge without the chip. For larger chips or damage near the tip, a professional knife sharpening service is worth considering; Japanese knife shops often offer mail-in sharpening.
What cutting board is best for a Japanese knife?
Wood (preferably end-grain) or soft plastic. Hinoki (Japanese cypress) is the traditional choice — it's soft enough to be gentle on the edge, has natural antimicrobial properties, and smells wonderful when wet. End-grain hardwood boards (maple, cherry) are also excellent and very durable. Avoid glass, ceramic, marble, bamboo, and hard plastic cutting boards — all of them dull Japanese knife edges significantly faster than wood.
Final Thoughts: The Whetstone Is Worth Learning
A sharp knife is more precise, more efficient, and — counterintuitively — safer than a dull one.
A dull knife needs force; force causes slipping; slipping causes injuries.
A King #1000/#6000 combination stone costs under $50 and will last years. Twenty minutes of practice
with the two-coin angle method will give you results that feel professional. After a few sessions,
maintaining your knife's edge becomes automatic — the same meditative weekend ritual that Japanese
home cooks have practiced for generations.
Your knife repays the attention.

Japanese Kitchen Knives: Complete Buying Guide
Best Japanese Santoku Knives: Top Picks for Every Budget