
Dashi is the backbone of Japanese cooking — and it looks more complicated than it is.
In reality, you can make it in the same time it takes to boil water for instant ramen.
Even with ordinary supermarket kombu and katsuobushi, two rules are all you need to produce a restaurant-quality aroma:
① Remove the kombu just before the water reaches a full boil
② Once the katsuobushi is in, do not stir it — and do not squeeze it
This guide walks through the method step by step, clearly enough for first-time dashi makers.
Try it one weekend and experience what fresh dashi does to miso soup.
Basic Ichiban Dashi — Recipe Overview
Quick Reference: Dashi Types at a Glance
| Type | Umami Component | Flavor Profile | Best For |
|---|---|---|---|
| Kombu dashi | Glutamic acid | Delicate, smooth | Yudofu, chawanmushi |
| Katsuobushi dashi | Inosinic acid | Aromatic, clean finish | Miso soup, simmered dishes |
| Awase dashi (combined) | Glutamic acid + inosinic acid | Synergistic umami | All-purpose (ichiban dashi) |
| Niboshi (dried sardine) dashi | Inosinic acid | Rich, full-bodied | Miso soup, ramen broth |
1. Ingredients & the Golden Ratio
Great dashi starts with measuring. The golden ratio: 1% kombu and 2% katsuobushi per liter of water.
Ingredients (makes a practical batch)
- 💧 Water: 1,000 ml (1 liter)
- 🌿 Kombu: 10 g (approx. one 10 cm × 10 cm piece)
- 🐟 Katsuobushi: 20 g (two loosely cupped handfuls)
Note: The white powder on kombu is mannitol — a natural umami compound. Do not rinse it off. If the surface looks dusty, wipe gently with a barely damp cloth.
Recommended tools
Good tools make dashi-making more enjoyable.
- Yukihira nabe (aluminum saucepan): Excellent heat conductivity brings water up to temperature quickly and evenly — ideal for dashi. A model with measurement markings on the inside is especially convenient.
- Fine-mesh strainer: The finer the mesh, the clearer and more beautiful the finished dashi.
2. The 4-Step Method: Foolproof Ichiban Dashi
STEP 1: Add kombu to cold water and heat gently
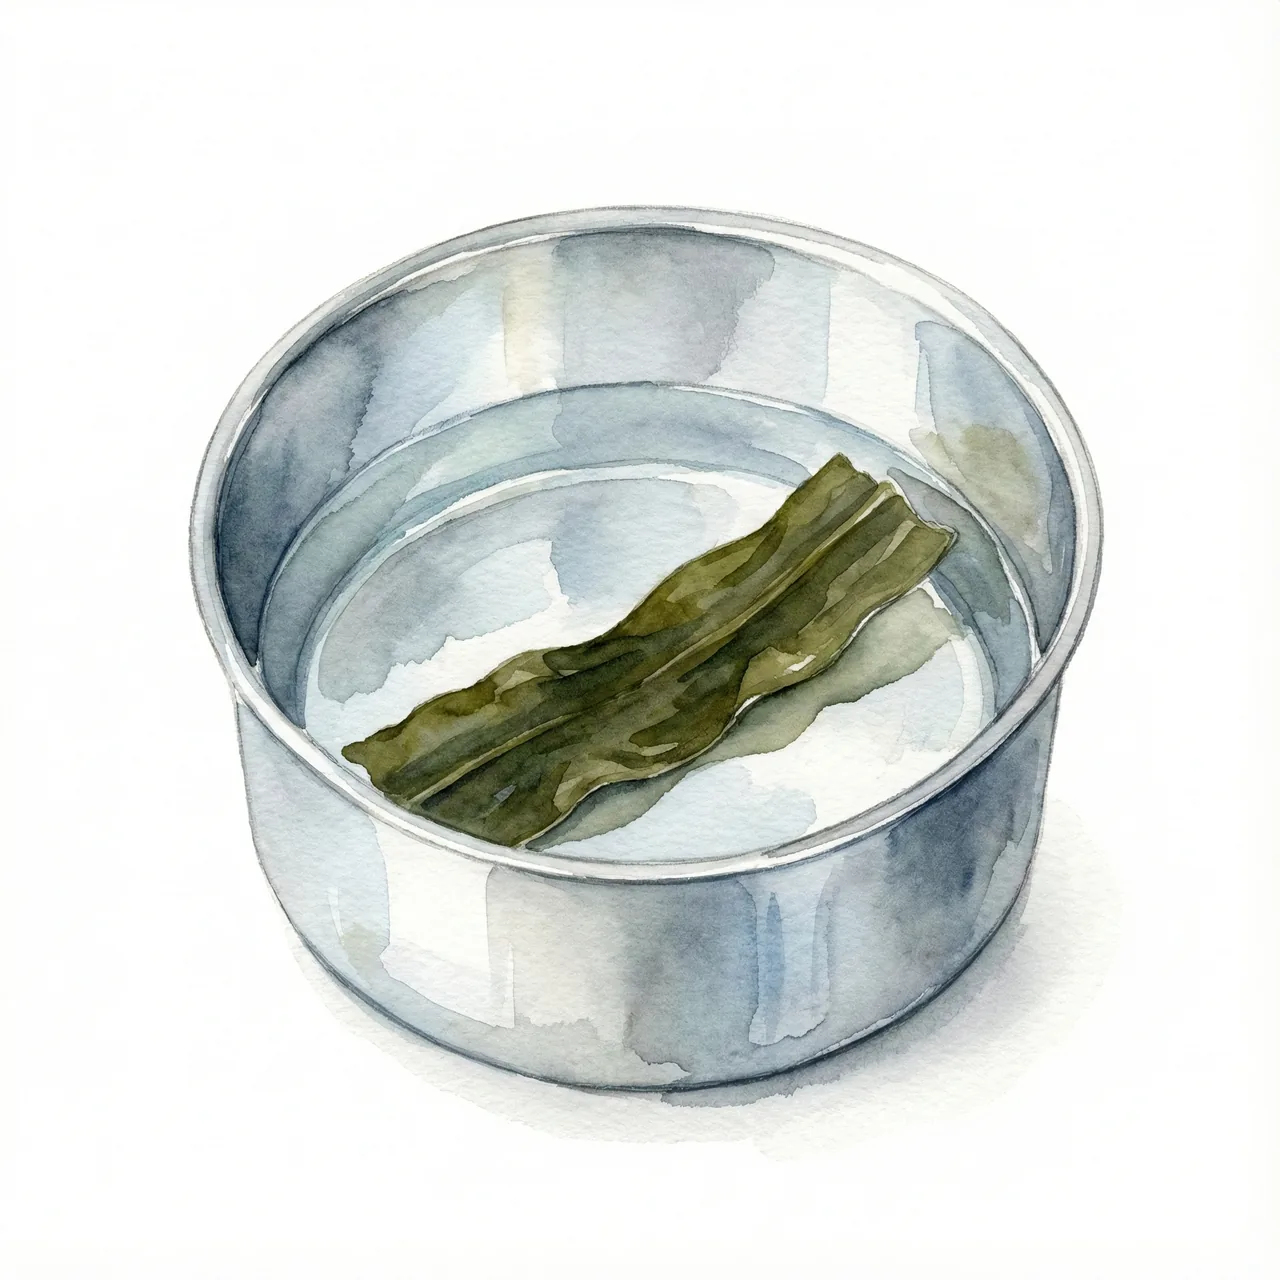
Place water and kombu in the pot. If time allows, let it soak for 30 minutes to 1 hour before applying heat — this produces a more concentrated dashi.
When ready to heat, use low to medium heat. Bringing the water up slowly maximizes extraction of the kombu's glutamic acid (umami).
High heat reaches a boil before the umami has time to extract. "Slowly and steadily" is the key.
STEP 2: [Critical] Remove the kombu just before boiling
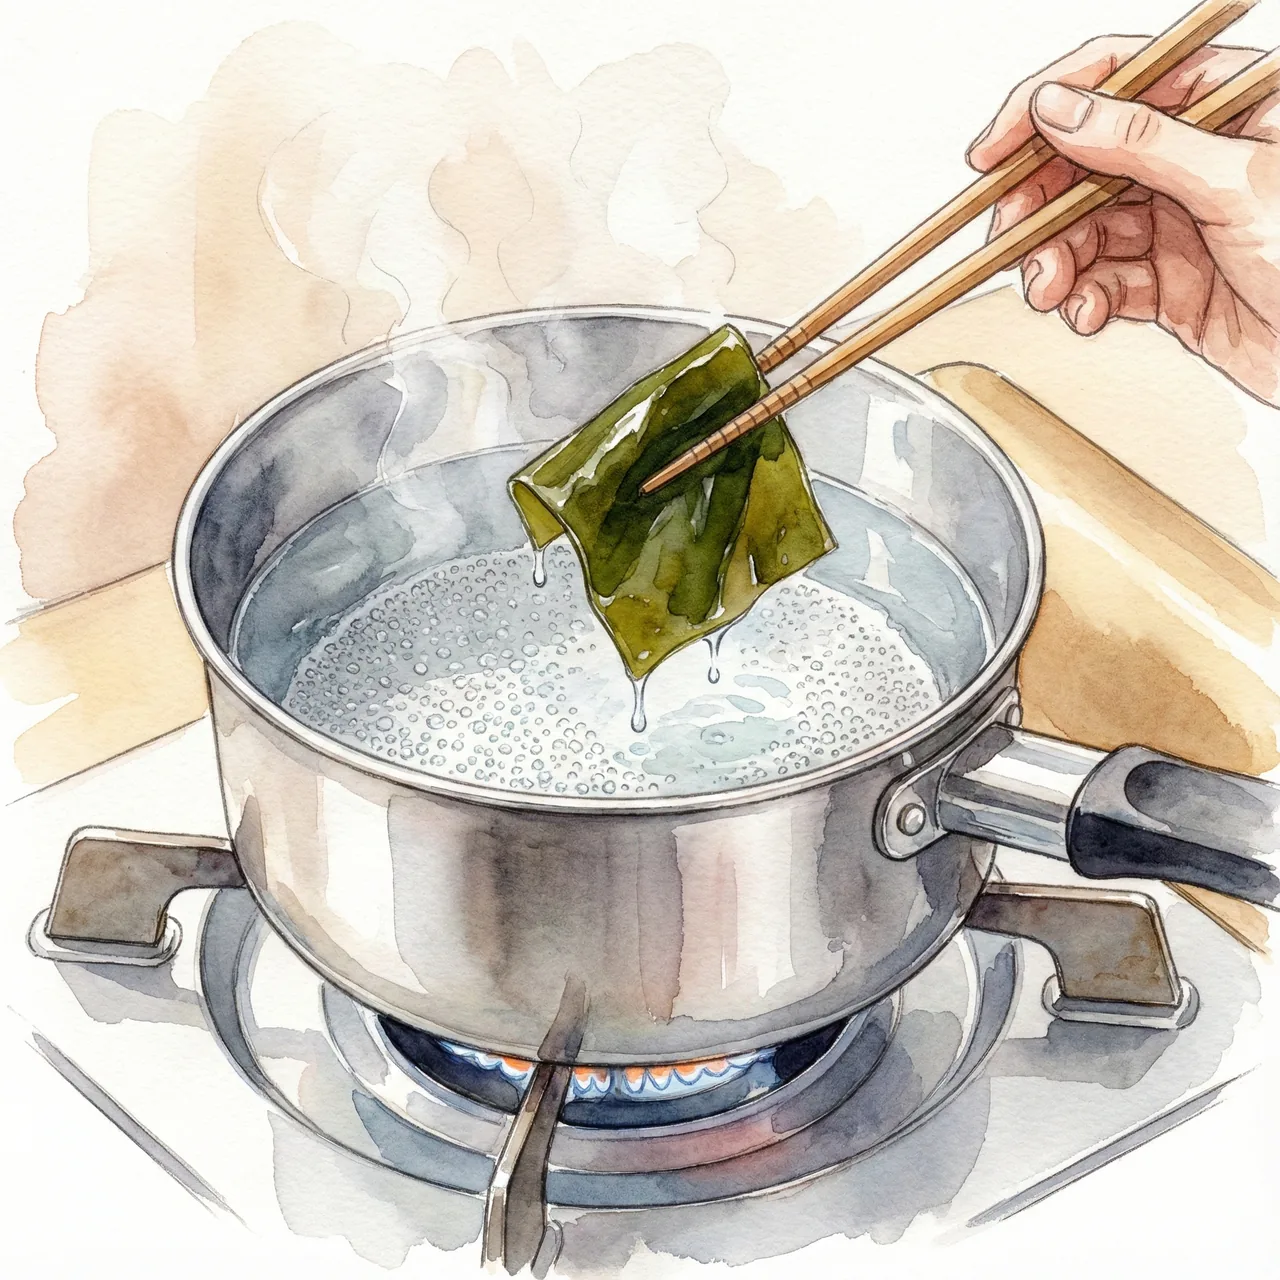
When small bubbles begin rising steadily from the bottom (~80°C / 175°F), remove the kombu before a rolling boil begins.
This is the most important step in the entire process.
⚠️ Warning: Boiling the kombu releases its alginic acid (sliminess) and a seaweed-like bitterness, dulling the flavor significantly.
STEP 3: Add katsuobushi and turn off the heat
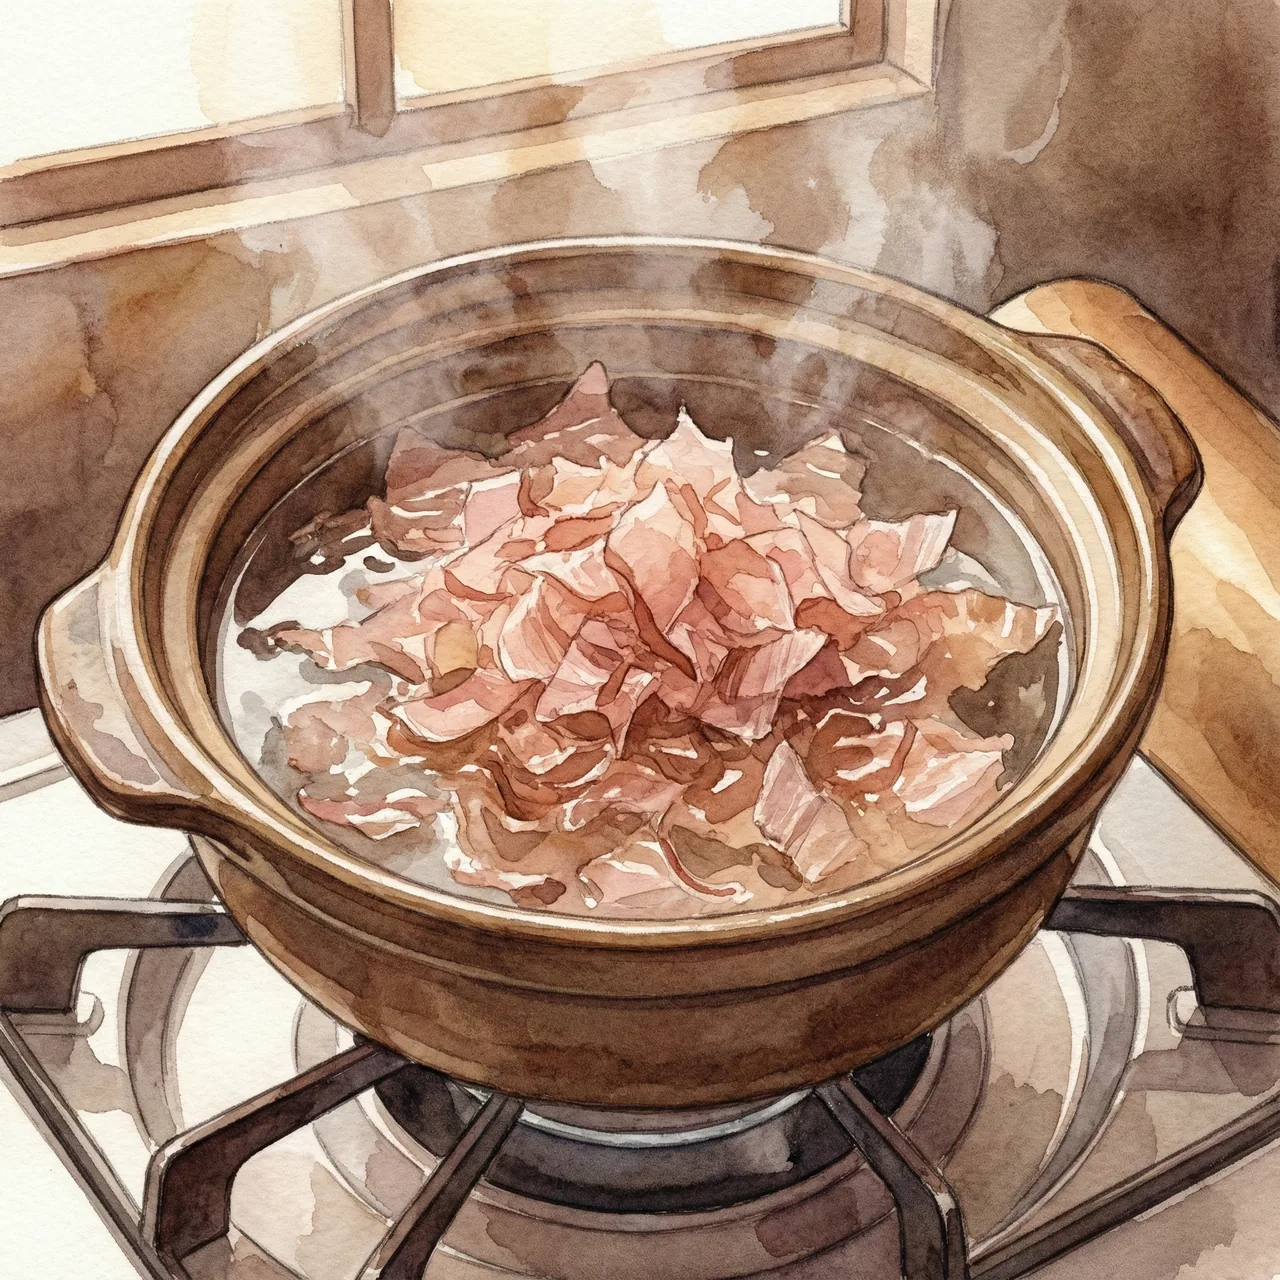
After removing the kombu, bring the water to a brief full boil to drive off any chlorine.
Turn off the heat (or reduce to a very gentle simmer), then add all the katsuobushi at once.
Do not prod, stir, or push it down — let it sink naturally over 1–2 minutes.
STEP 4: Strain gently — do not squeeze
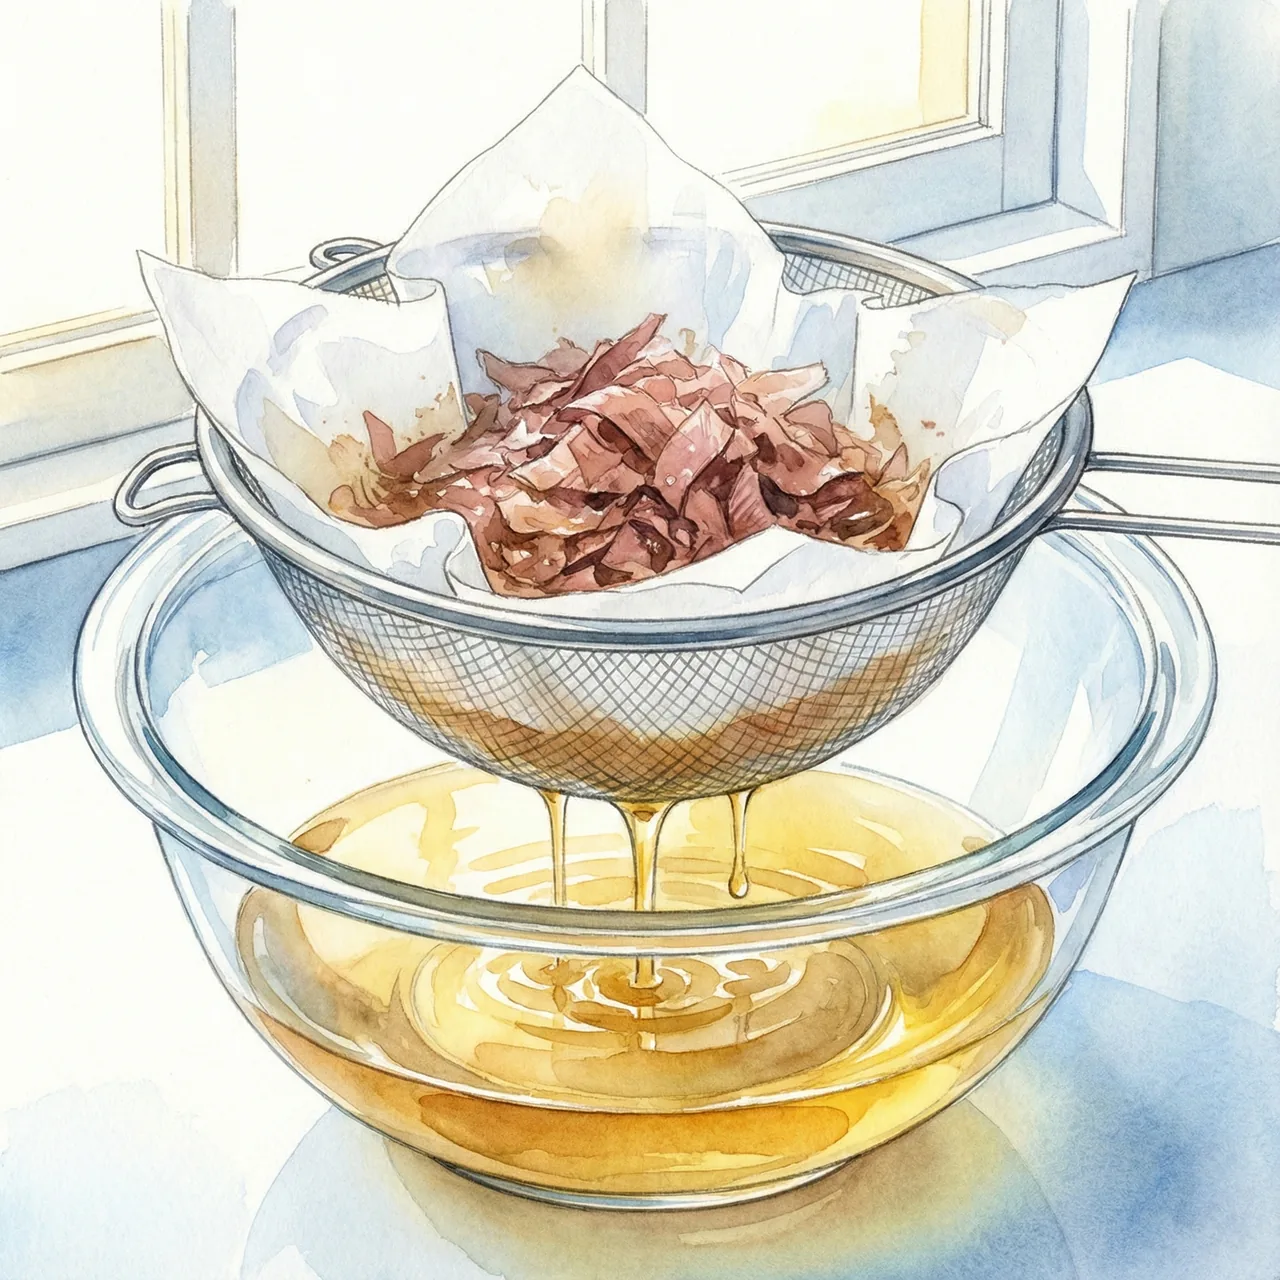
Set a strainer lined with a paper towel (or cheesecloth) over a bowl and pour the dashi through gently.
Wait for the last drop to fall on its own.
🚫 Never squeeze the katsuobushi.
Pressing or wringing the flakes forces out bitterness and astringency that will muddy the clean flavor of ichiban dashi.
Be patient — let gravity do the work. The spent flakes are not wasted; save them for furikake (see below).
3. Cold-Brew Method: Overnight Dashi Without Heat
Making dashi fresh every morning is a lot to ask on a busy weekday.
The cold-brew method is the answer — no heat, no timing, practically no effort, and no way to make a mistake.
Cold-brew steps
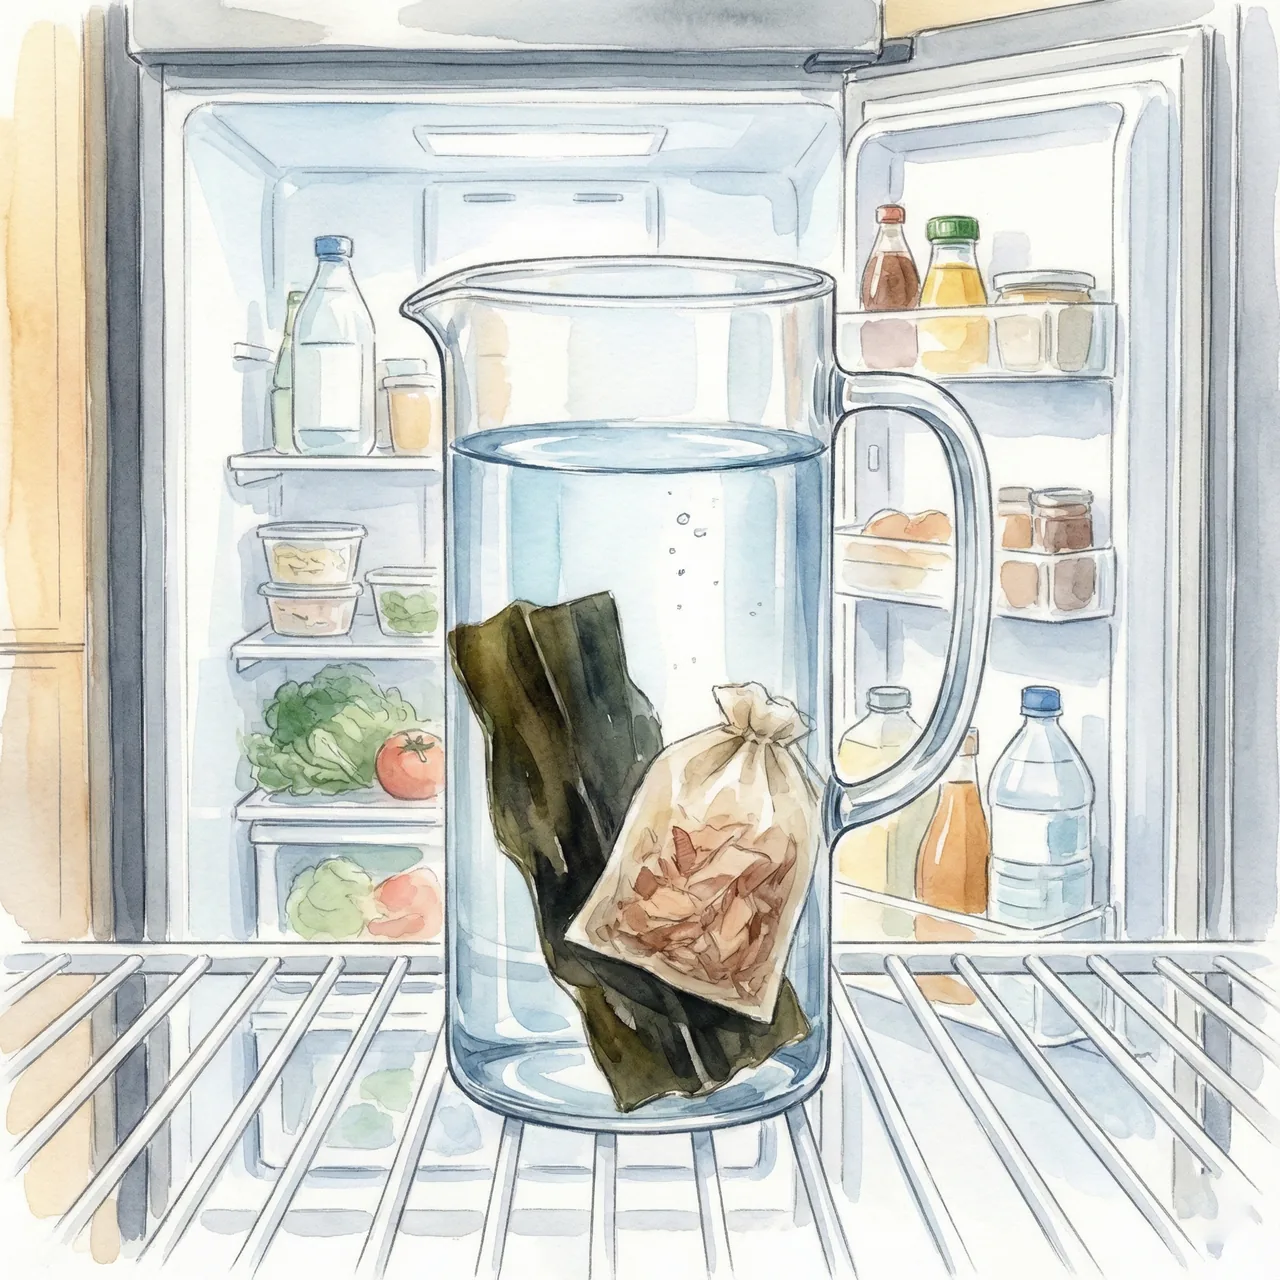
- Pour 1 liter of cold water into a pitcher or barley-tea bottle.
- Add 10 g of kombu (optionally, add 10–15 g of katsuobushi in a tea bag for awase dashi).
- Refrigerate overnight (8–10 hours).
The result is a lighter, more elegant dashi than the hot-brew version — excellent for everyday miso soup or as a cold noodle dipping broth in summer.
4. Two Things That Ruin Dashi
❌ Mistake 1: Leaving the kombu in while the water boils
Boiling kombu releases alginic acid (sliminess) into the dashi, turning it murky and introducing bitter, seaweed-forward flavors. Remove it before the boil.
❌ Mistake 2: Squeezing the katsuobushi at the end
Squeezing destroys the clean, delicate aroma you worked to create. Save the spent flakes for furikake — you'll get a second use from them without compromising the dashi.
5. How to Store Dashi: Fridge & Freezer
Homemade dashi contains no preservatives and spoils faster than store-bought stock.
Store it correctly when you aren't using it immediately.
Dashi storage guide
| Method | Duration | Notes |
|---|---|---|
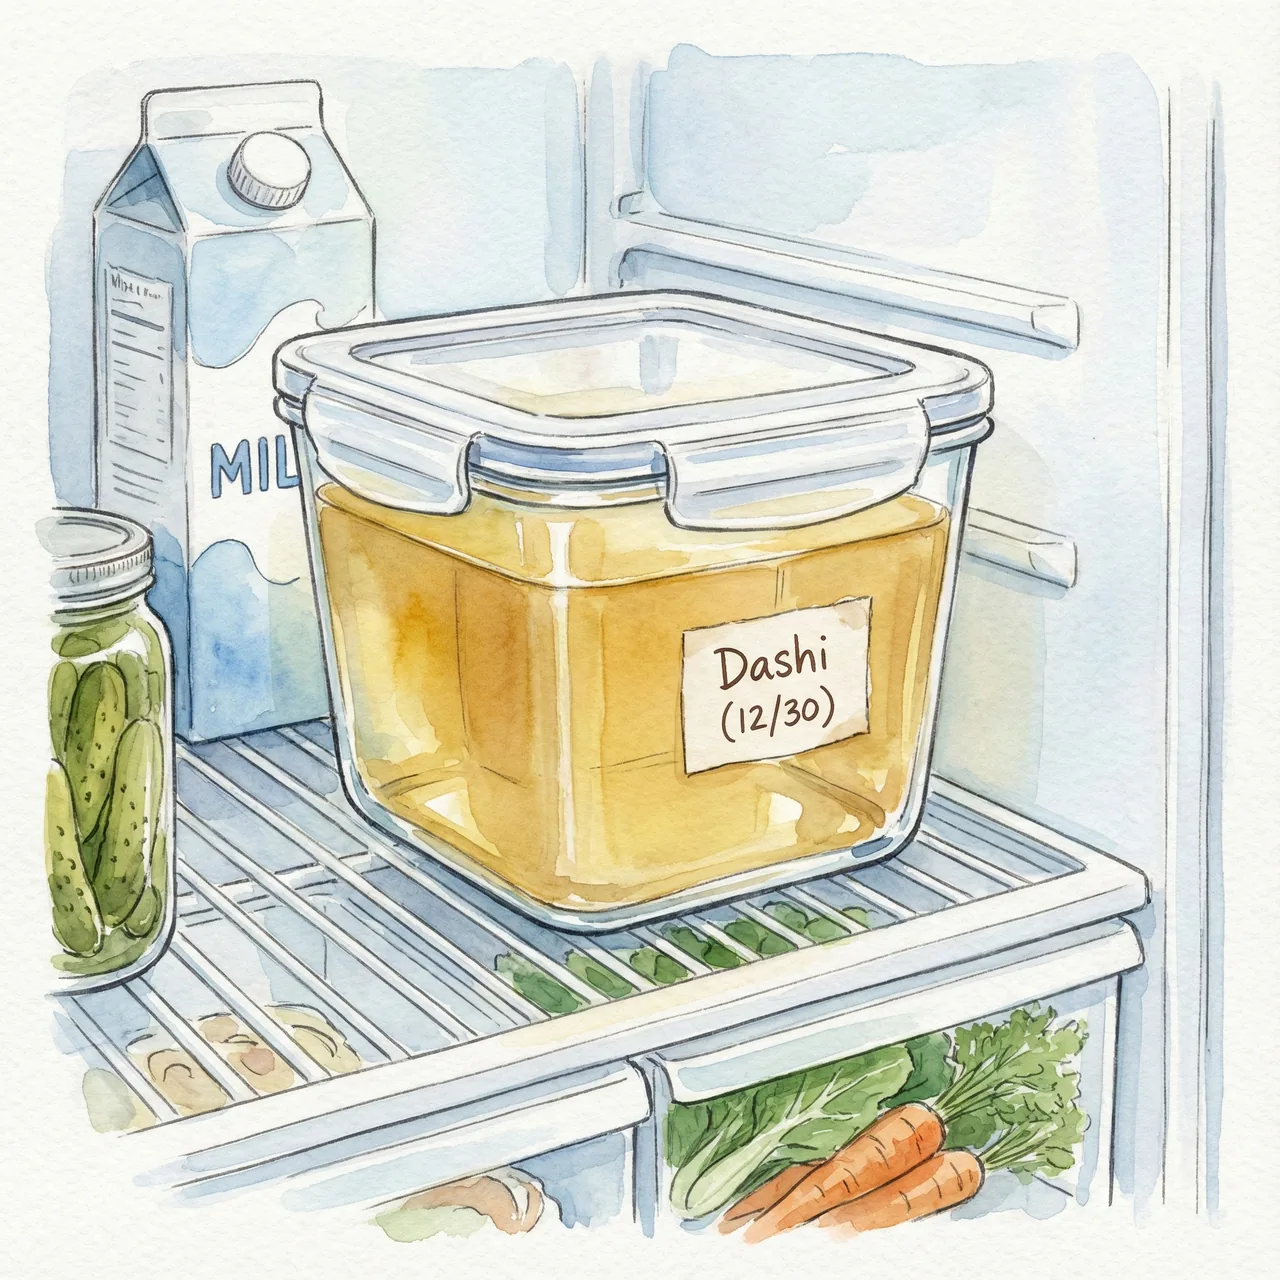
| Refrigerator | Within 2–3 days | Use a clean, airtight container. |
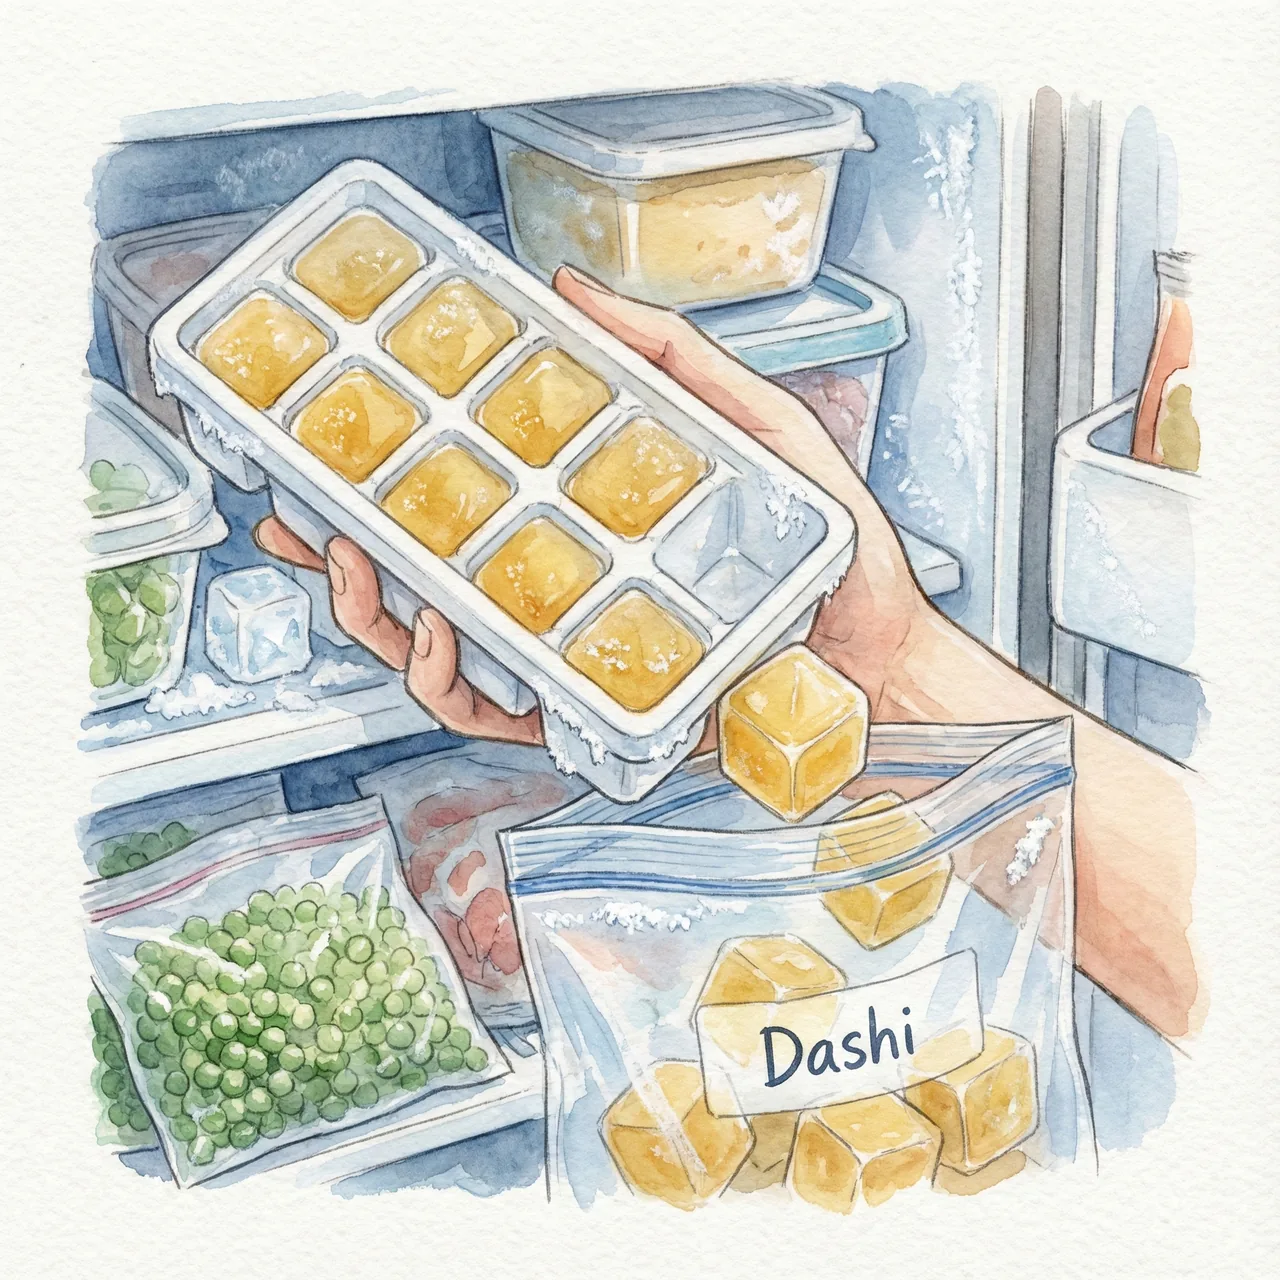
| Freezer | 2–3 weeks | Ice cube trays or freezer bags work well. |
Refrigerator: use within 2–3 days
Transfer to a clean, airtight container and refrigerate.
Flavor is best on day one — ideally use it by the next day.
After 3 days, a faint sourness may develop; always smell before using.
Freezer: up to 2–3 weeks
Pour into an ice cube tray or freezer bag — frozen portions let you defrost exactly what you need.
Particularly convenient for adding a splash of dashi to bento-box tamagoyaki or small simmered dishes during the week.
6. Using Spent Dashi Solids: Homemade Furikake
The spent kombu and katsuobushi still contain nutrients and residual flavor.
Don't discard them — turn them into homemade furikake rice seasoning.
How to make okaka-kombu furikake
1. Slice the spent kombu into thin strips.
2. Place kombu and spent katsuobushi in a frying pan.
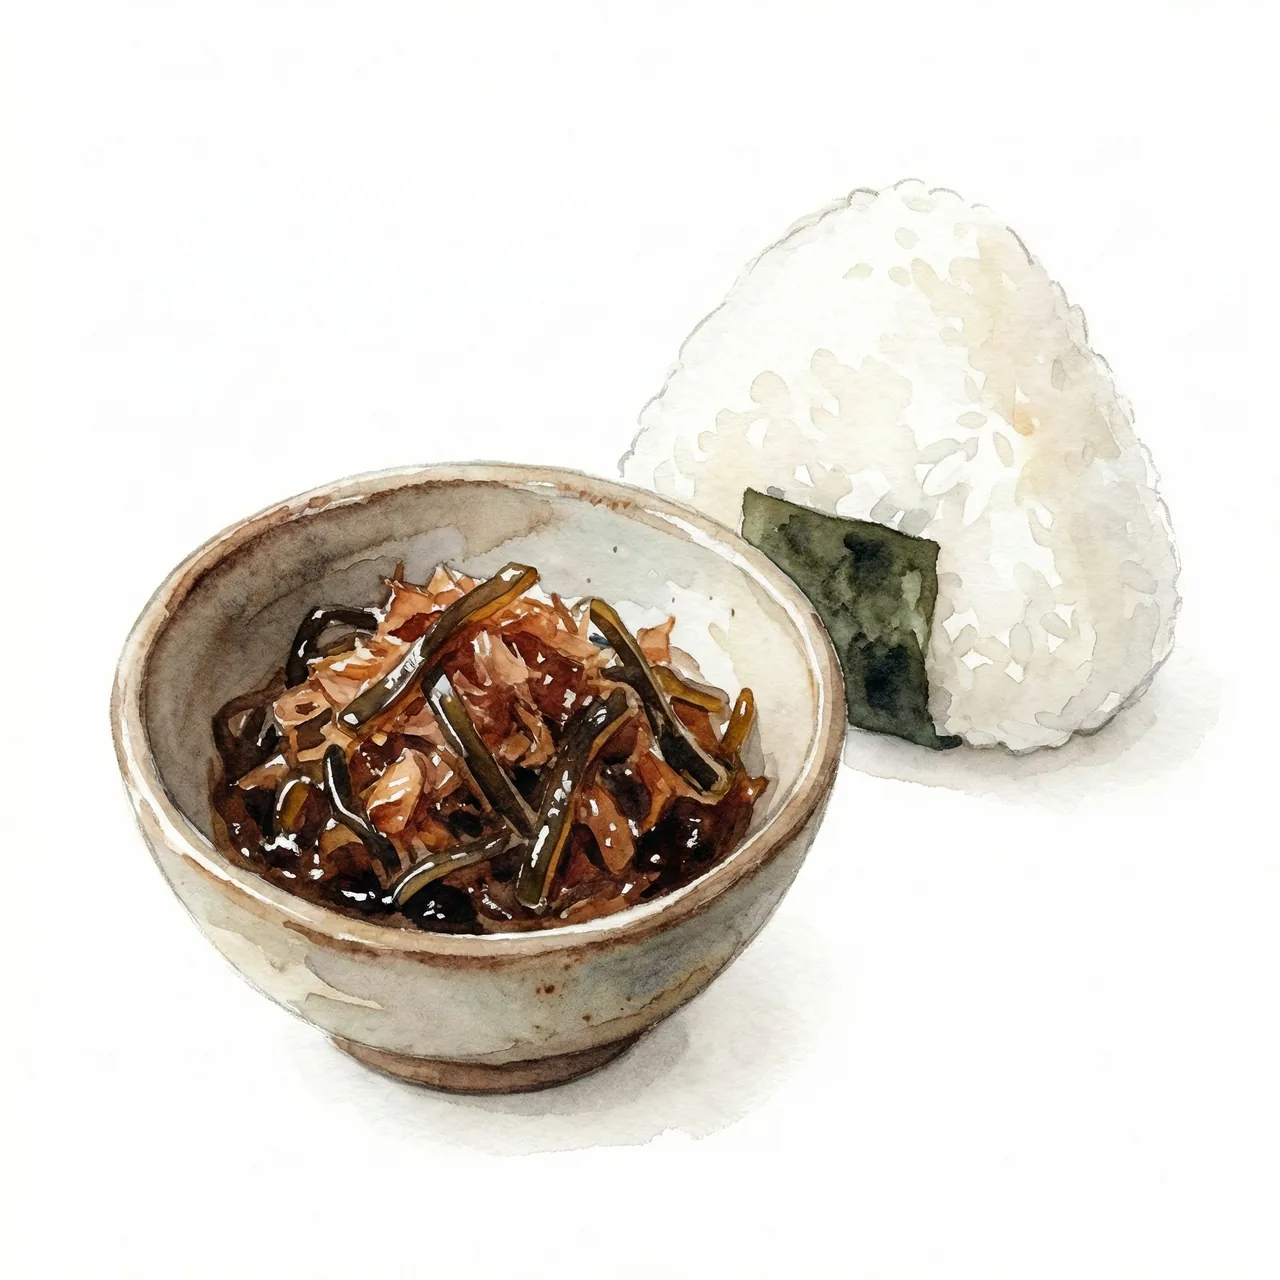
3. Add soy sauce, mirin, and a little sugar (optionally, a splash of sake). Cook over medium heat, stirring, until the liquid evaporates completely.
4. Finish with a sprinkle of white sesame seeds.
Keeps for several days in the refrigerator — great as an onigiri filling or a topping for hot rice.
7. Frequently Asked Questions
What is niban dashi (second dashi) and how do I make it?
Niban dashi is a second extraction made by re-simmering the spent solids with fresh water.
The aroma is lighter than ichiban dashi, but the umami is still substantial — ideal for heartier dishes like tonjiru (pork miso soup) or nimono (simmered vegetables).
Simmer for 3–5 minutes after bringing to a boil, and this time you can squeeze the solids at the end.
My dashi turned cloudy. Did I make a mistake?
Cloudiness is usually caused by powdery katsuobushi or simmering too vigorously.
The flavor is not significantly affected.
If you're using it for miso soup, the miso itself will cloud the liquid anyway — there's nothing to worry about.
What if I don't have a strainer?
A fine-mesh tea strainer works well for small batches. A coffee dripper lined with a paper filter is an excellent improvisation — the slow drip produces exceptionally clear dashi.
Is homemade dashi really that different from granule dashi powder?
Side by side, the difference in aroma freshness and clarity of finish is immediately obvious.
Granule dashi is convenient but typically contains significant salt — using it in miso soup can lead to excess sodium from the double salt load.
Homemade dashi tastes "light yet deeply savory" in a way that granule dashi doesn't replicate.
Tap water or mineral water — which is better?
Soft water is best for extracting kombu's umami.
Japanese tap water is predominantly soft, so it works well. Hard water (some imported mineral waters, or water in certain regions) can inhibit extraction.
For best results, use soft mineral water — the dashi will be noticeably cleaner and more refined.
Which type of katsuobushi should I buy?
Hanakatsuo (thin-shaved katsuobushi), widely available at supermarkets, is the go-to choice for ichiban dashi.
Its strong aroma and efficient extraction make it ideal for home cooking.
Thicker-shaved "atsuzuri" katsuobushi is better suited for niban dashi or long-simmered dishes where a bolder, more robust flavor is wanted.
8. Final Thoughts
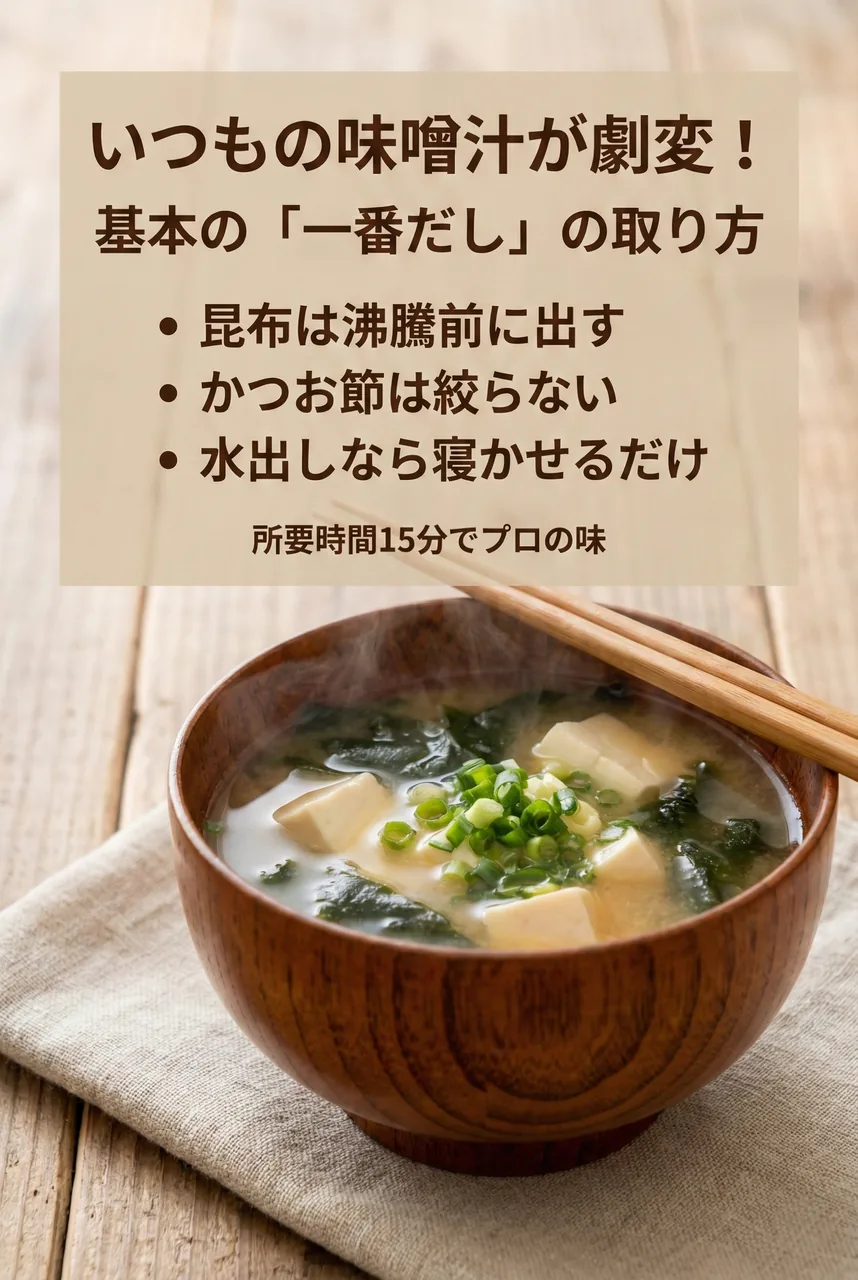
Making dashi can feel like a ritual, but the actual effort is about the same as boiling water for instant noodles.
The three rules:
· Remove kombu before the water boils
· Add katsuobushi off the heat
· Never squeeze at the end
One sip of miso soup made with fresh dashi and you'll understand why Japanese home cooks still do this by hand.
Start with one weekend batch — it takes fifteen minutes and the result will outlast any argument for granule dashi.

Miso & Dashi: How to Make Miso Soup That Actually Tastes Like Japan

Japanese Suribachi: Top Mortars for Goma-ae & Pesto