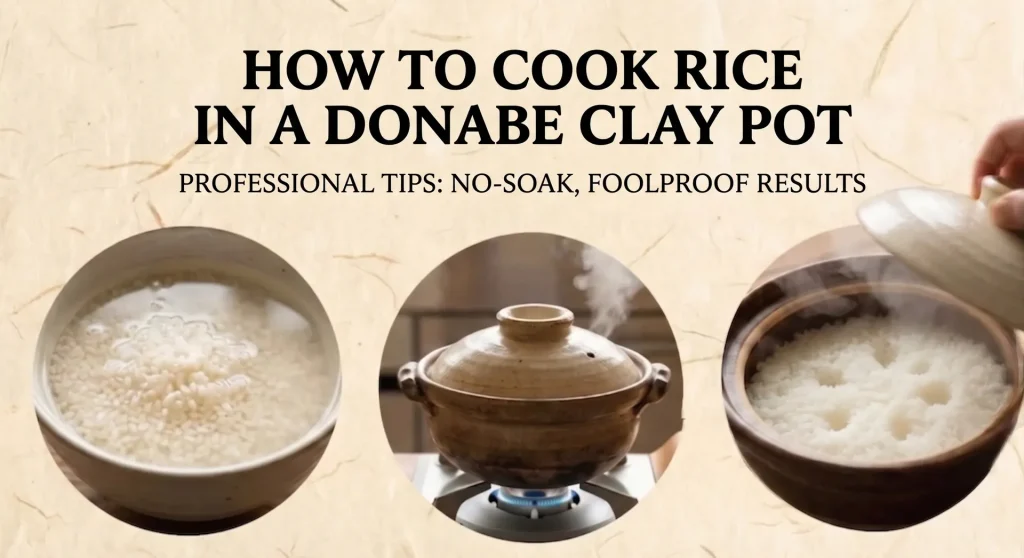
Cooking rice in a donabe is actually faster than the quick-cook setting on most rice cookers — and far simpler than it looks.
The most important factor is not the heat level. It's the soak before cooking.
① Soak properly (30 min in summer, 60 min in winter)
② Water ratio: 1.1–1.2× the volume of rice (400–450 ml for 2 go)
③ Bring to a boil, then low heat for 15 min (no touching after that)
"Heat adjustment sounds complicated." "I'll burn it." These fears stop people from trying — but follow these three rules and anyone can produce glossy, perfectly cooked rice with crab-hole steam vents.
This guide covers the complete no-fuss method, plus how to make restaurant-quality crispy okoge.
Quick Reference: Donabe Rice Cheat Sheet
Everything you need — steps, water ratios, timing — in one place. Full details in each section below.
| Step | When | Time | Key point |
|---|---|---|---|
| Rinse & drain | Before soaking | 3–5 min | Rinse until water runs mostly clear, then drain in a colander |
| Soaking (most important) | Before cooking | Summer: 30 min / Winter: 60 min | Soak until grains turn white and opaque — this step is everything |
| Medium heat | After placing on heat | 8–10 min | Until steam vents vigorously. Do not open the lid. |
| Low heat | Once boiling | 15 min | Very low heat. Set a timer and leave it. |
| Resting (mushi) | After turning off heat | 10 min | Do not open the lid. Residual heat finishes the cooking. |
| Done | After resting | — | Fold from the bottom with a rice paddle to release excess steam |
Water ratio guide
| Amount of rice | Regular rice | Musenmai (no-rinse) | New-harvest rice (use less) |
|---|---|---|---|
| 1 go (150 g) | 200–220 ml | 220–240 ml | 190–200 ml |
| 2 go (300 g) | 400–450 ml | 450–470 ml | 380–400 ml |
| 3 go (450 g) | 600–650 ml | 660–700 ml | 570–600 ml |
1. 3 Non-Negotiable Rules for Perfect Donabe Rice
No complicated techniques are required.
Follow these three rules only — they cover everything.
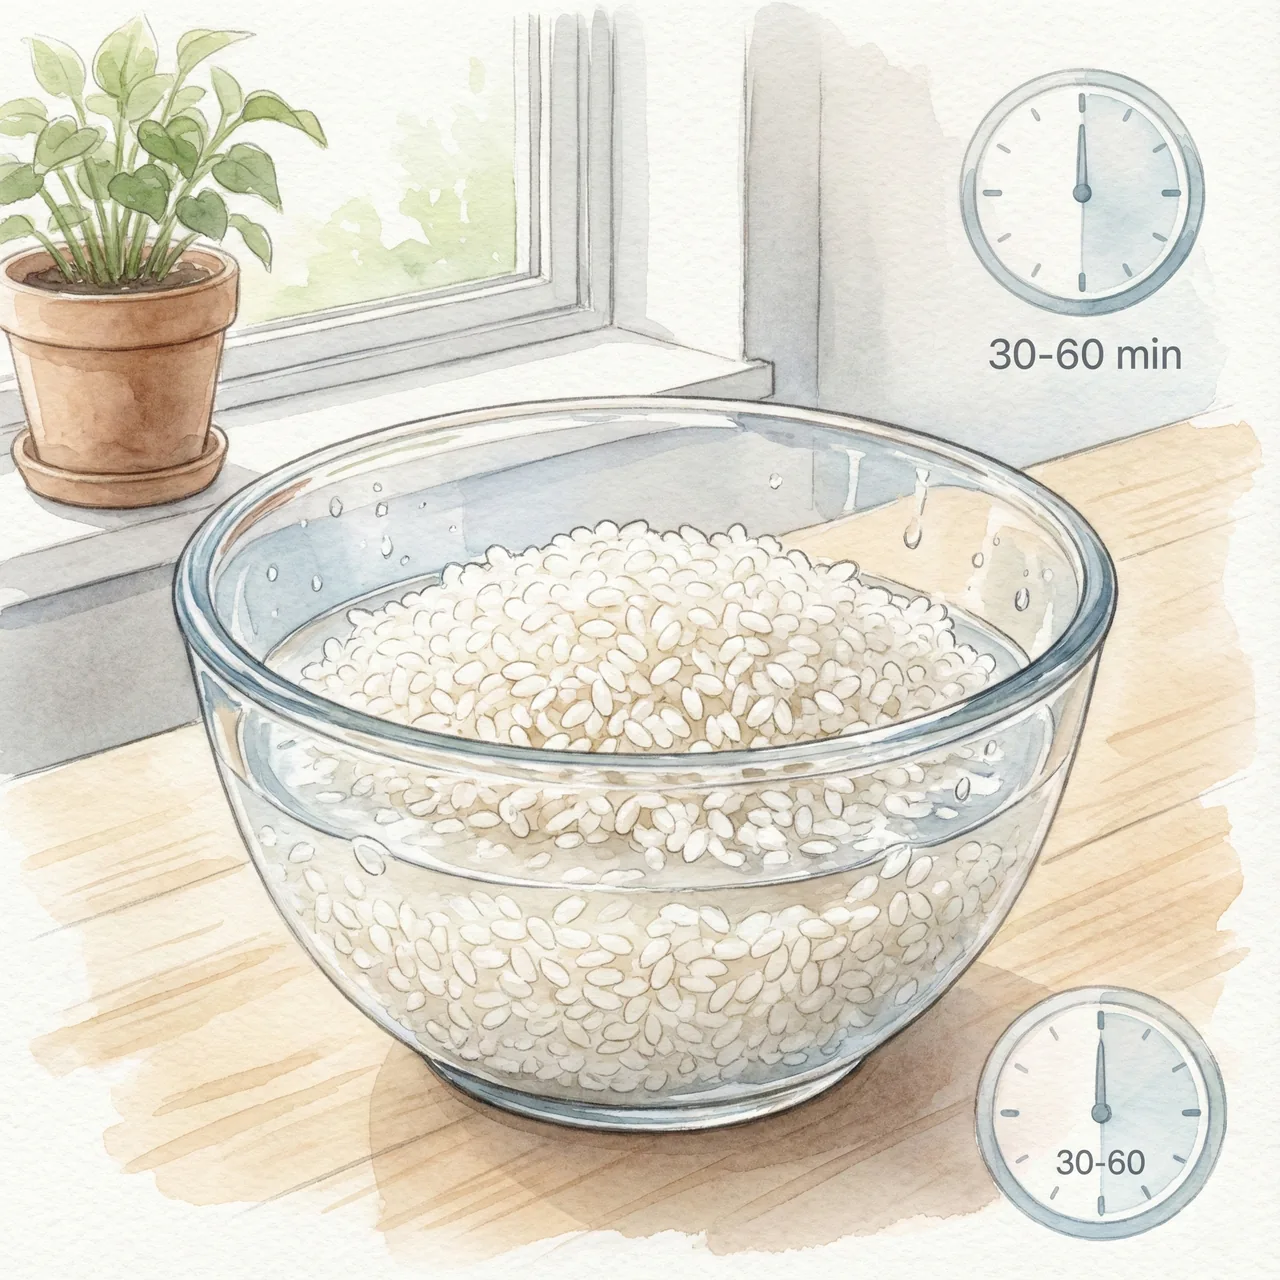
Rule 1: Soak — 30 min in summer, 60 min in winter (most important)
The most common cause of hard, undercooked donabe rice is insufficient soaking.
Letting water fully penetrate to the center of each grain allows heat to distribute evenly and gives you fluffy, tender results.
Soak until the grains turn completely white and opaque — that is the signal that they are ready.
Rule 2: Water ratio of 1.1–1.2× the rice volume
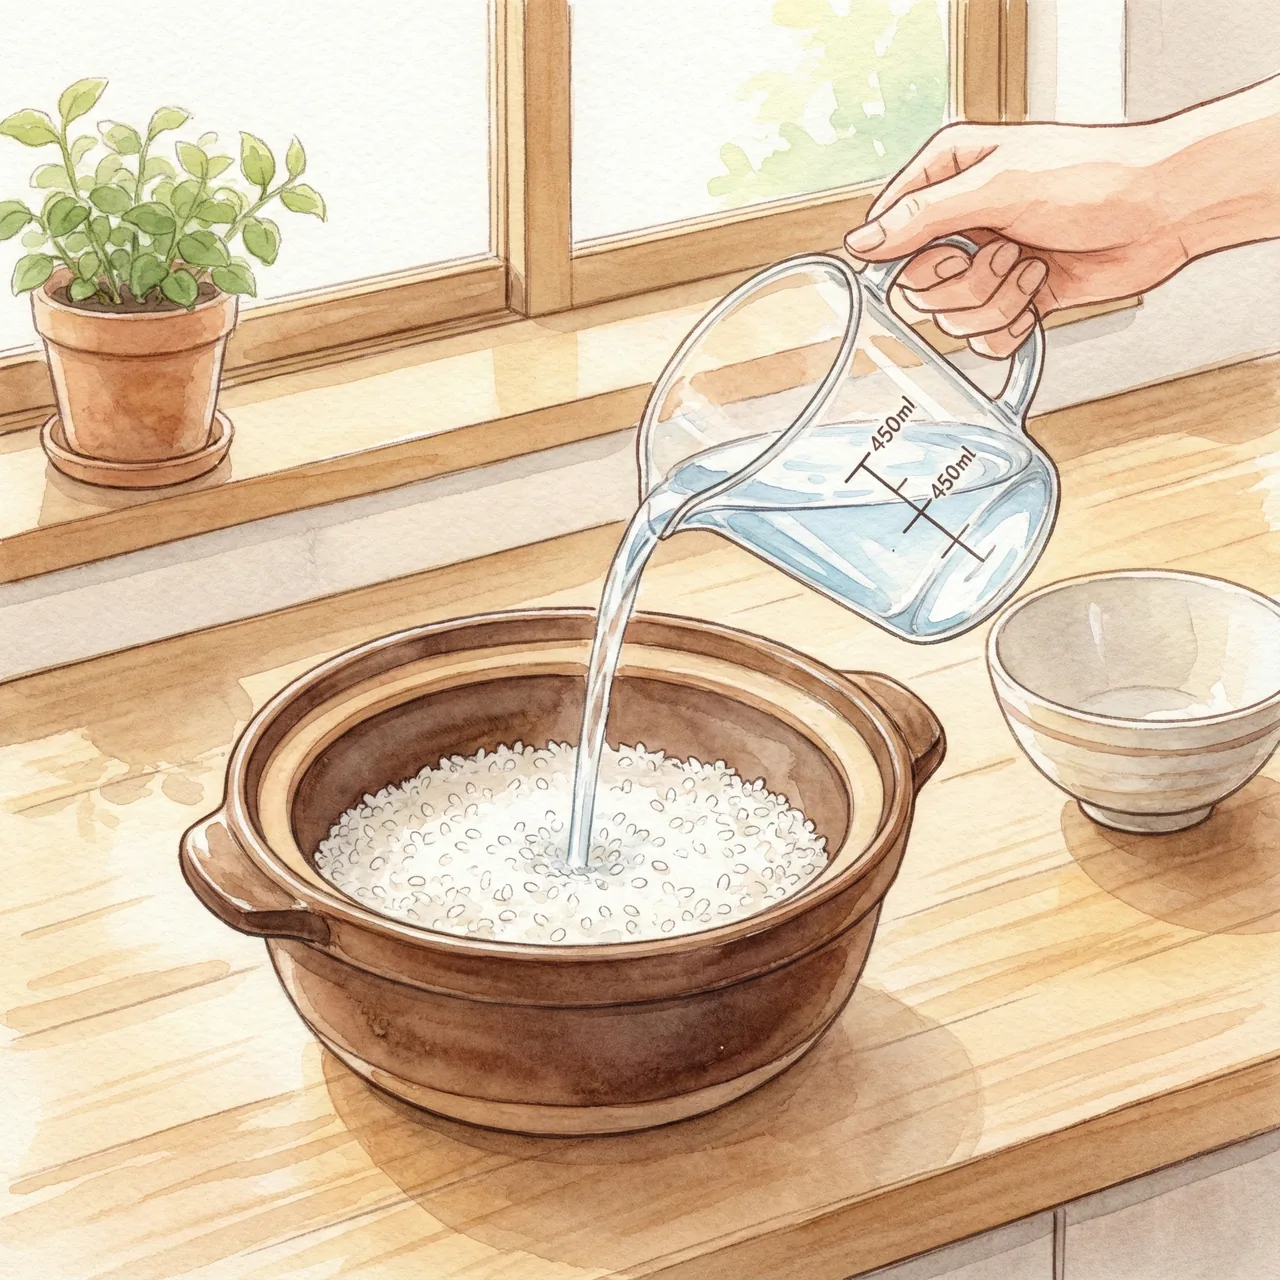
Unlike a rice cooker with built-in markings, a donabe requires you to measure your own water.
The basic formula: 200 ml per go of rice, plus a little extra.
(Example: 2 go → 400–450 ml)
Too little water risks scorching; too much causes boil-over.
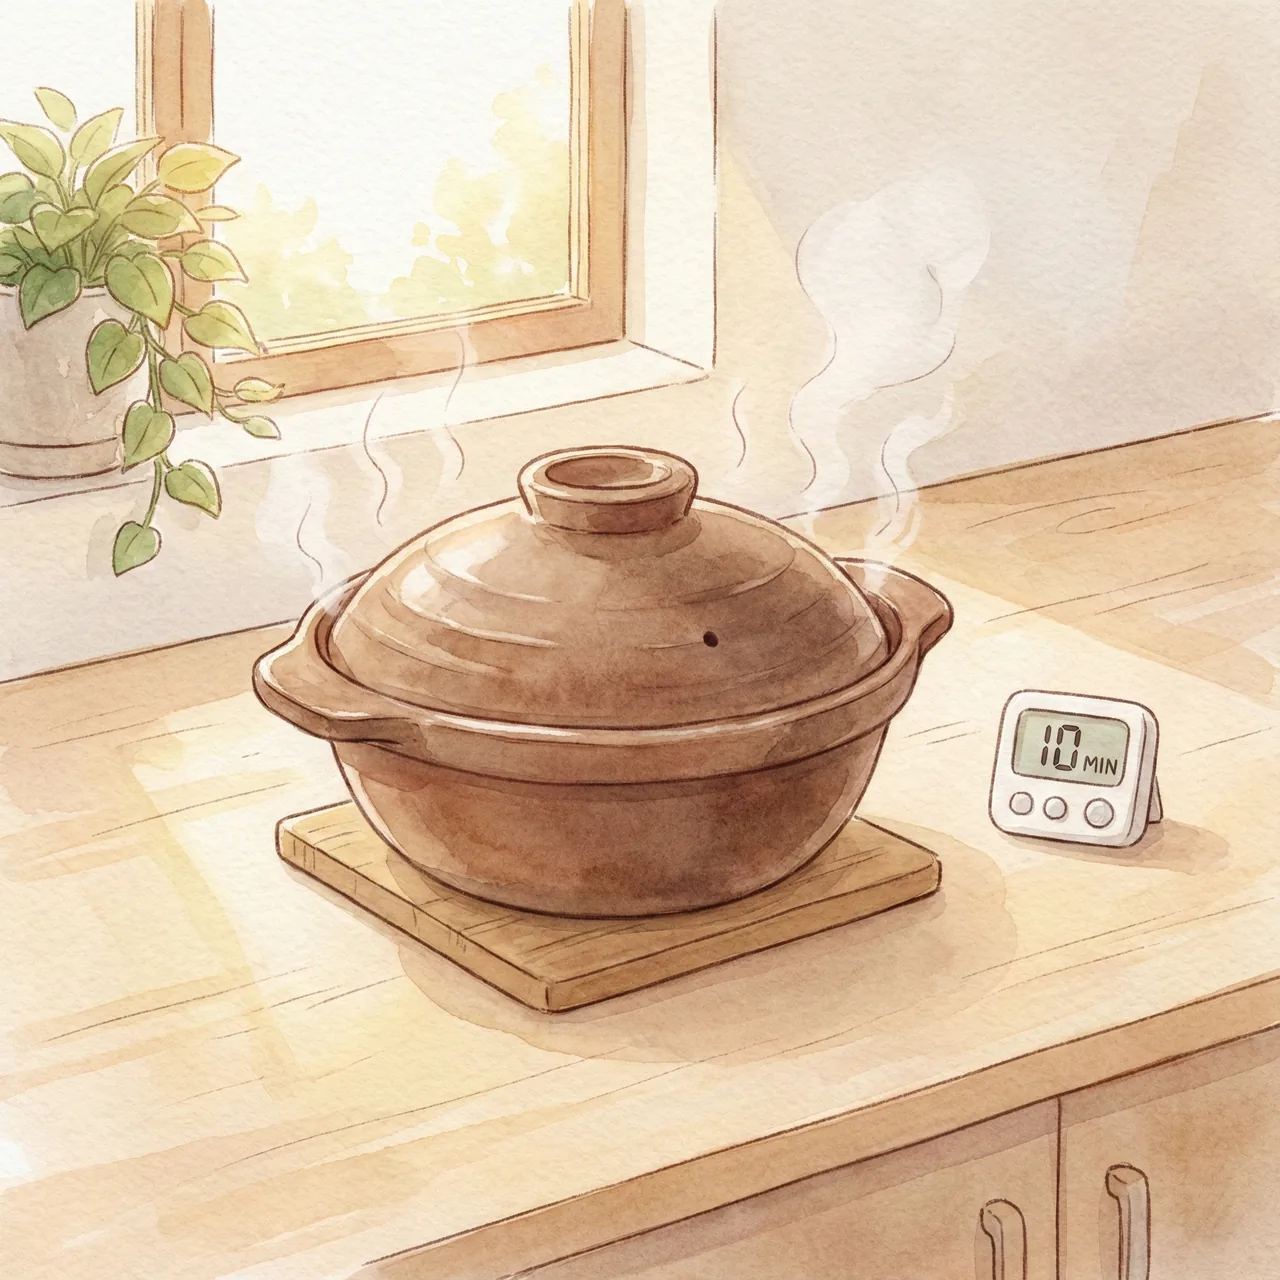
Rule 3: Do not open the lid — and steam for 10 minutes
The Japanese saying goes: "Don't lift the lid even if the baby cries." Opening the lid during cooking or steaming lets steam escape — and steam is how the rice finishes.
Even after the heat is off, the donabe's stored heat continues cooking the rice.
This 10-minute rest (mushi) evens out the moisture in each grain and makes the rice release cleanly from the pot.
2. Step-by-Step: How to Cook Donabe Rice Without Heat Adjustment
This is the most basic method using a standard Japanese donabe (such as Banko-yaki).
No complex heat management — the old "start low, end high" approach is not needed here.
Step 1: Rinse, drain, and soak in the donabe
After rinsing, transfer the rice to a colander and drain thoroughly (this ensures accurate water measurement).
Then put rice and measured water into the donabe and soak: 30 minutes in summer, 60 minutes in winter.
In a hurry? Lukewarm water shortens soaking time, but cold-water soaking gives better flavor.
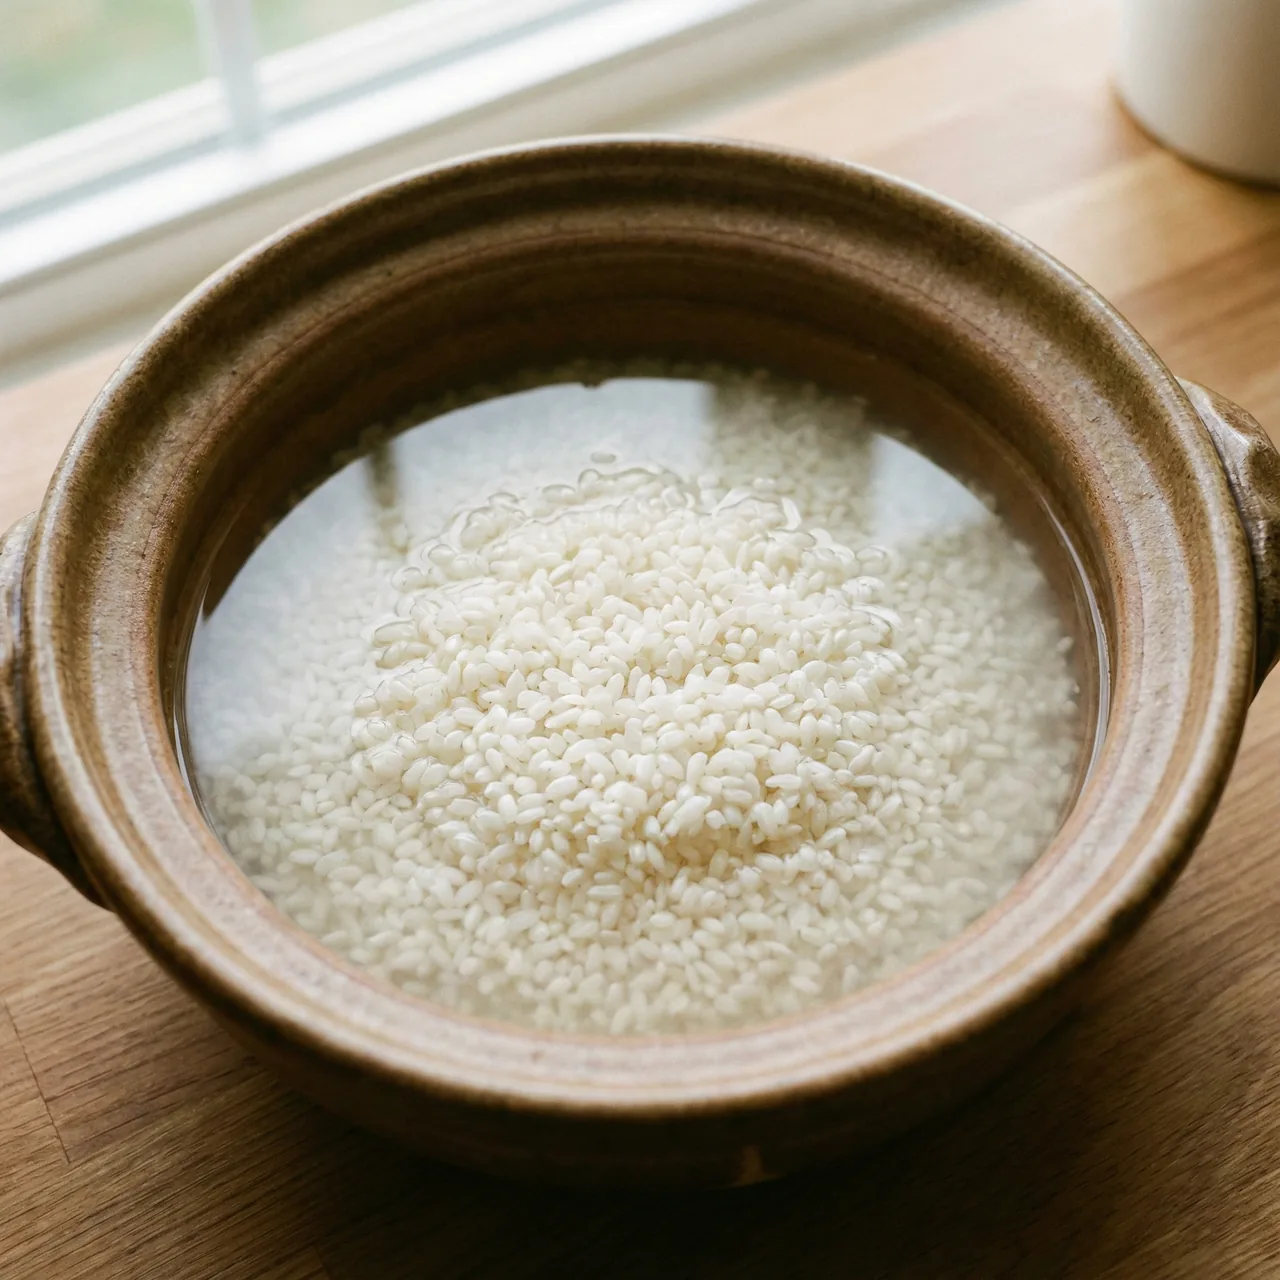
Step 2: Medium heat until boiling (~10 minutes)
Put the lid on and heat over medium heat.
After about 8–10 minutes, the pot will come to a boil and steam will push through the vent hole forcefully.
(With an opaque lid, listen for a bubbling sound and watch for steam — those are your signals.)
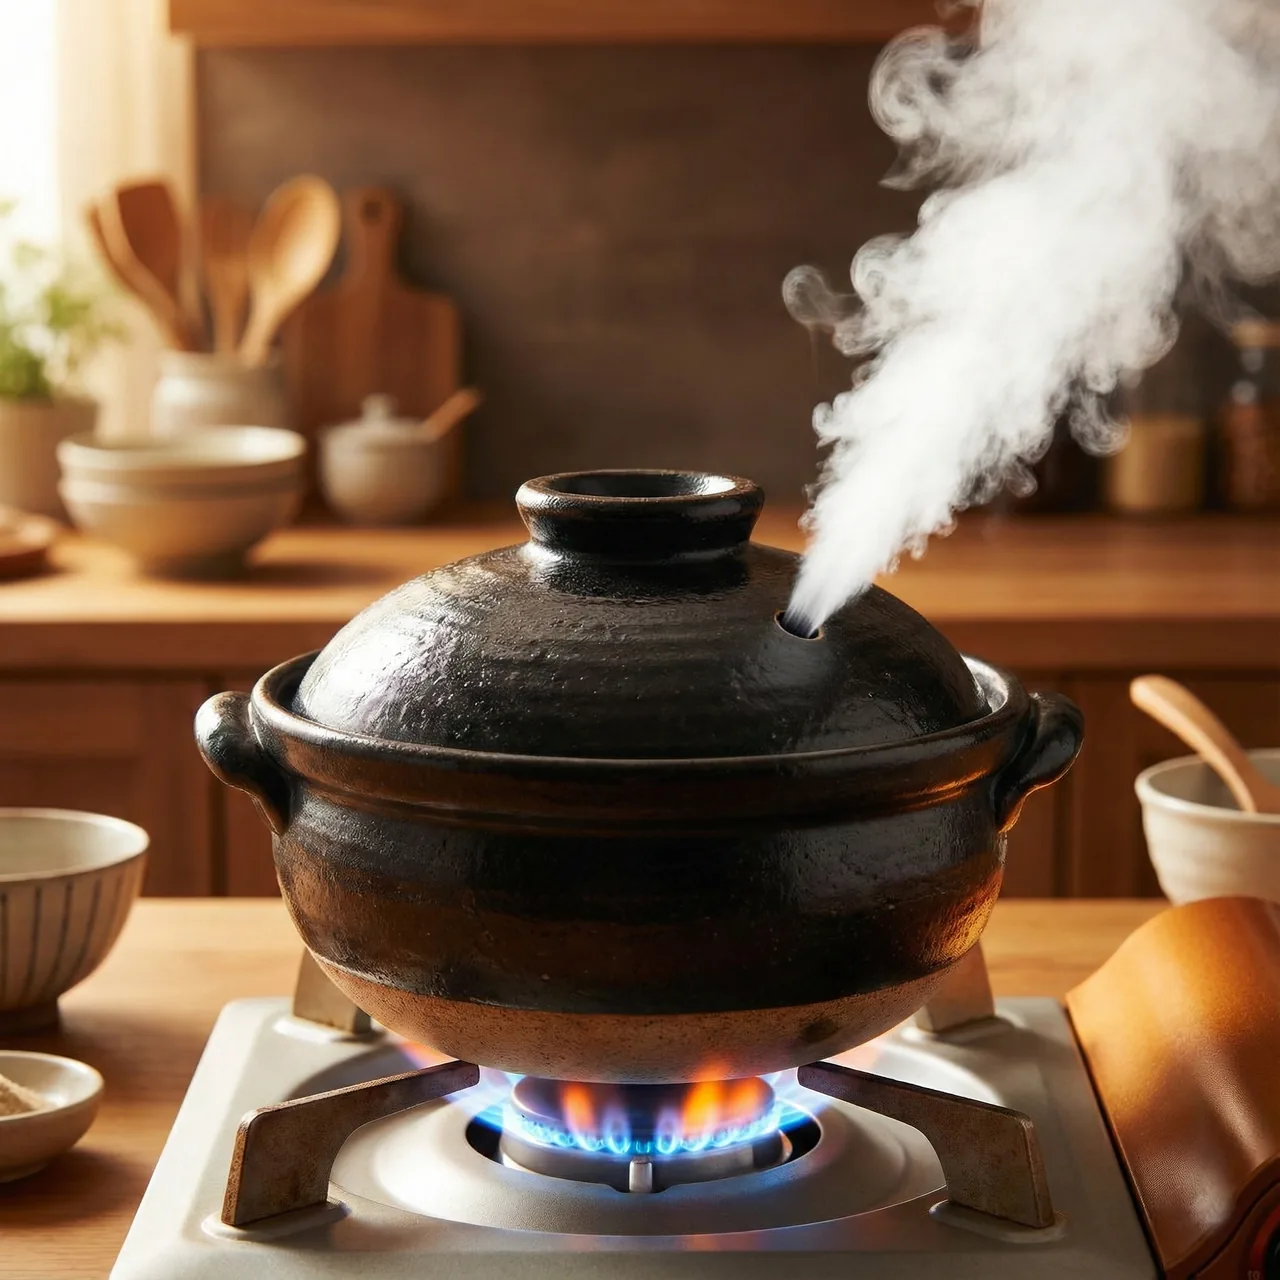
Step 3: Low heat for 15 min, then rest for 10 min
Once boiling, switch to the lowest possible heat and set a timer for 15 minutes.
After 15 minutes, turn off the heat completely and let the rice rest, lid on, for 10 minutes.
Lift the lid and you'll see crab-hole steam vents and glossy, perfectly cooked rice.
Fold from the bottom with a rice paddle to release the extra steam before serving.
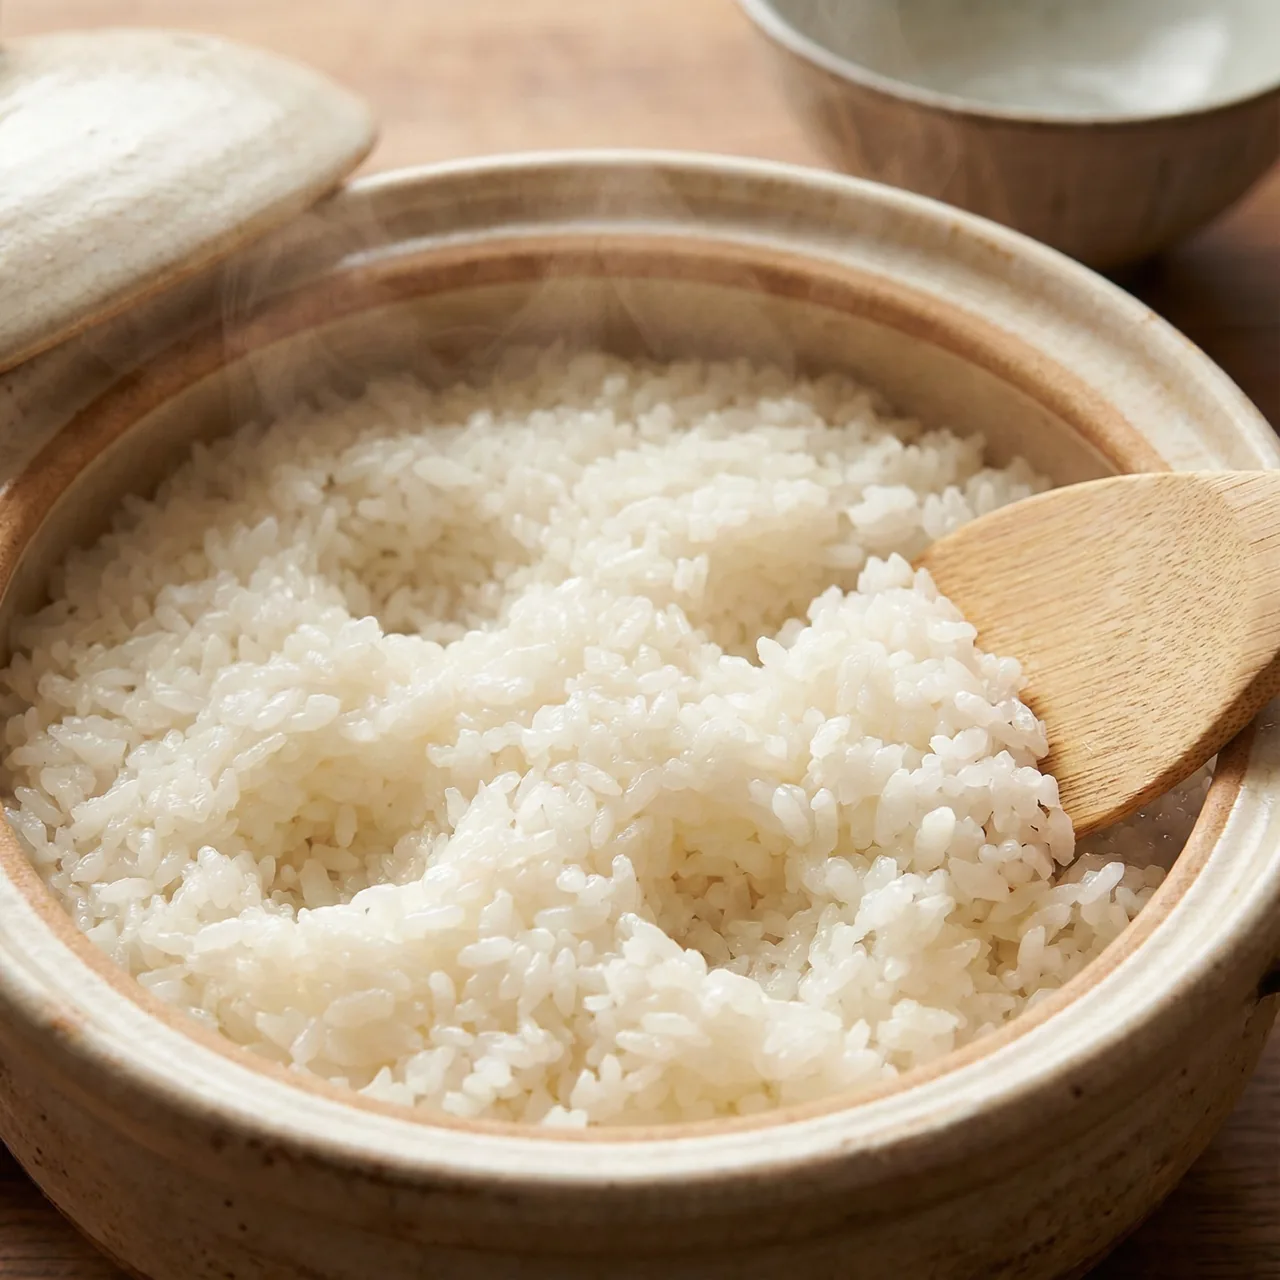
3. Water Ratio Chart for 1, 2 & 3 Go of Rice
A quick reference so you never have to do the mental math.
Adjust slightly to your preferred texture.
Standard white rice
| Rice amount | Water (approx.) |
|---|---|
| 1 go (150 g) | 200–220 ml |
| 2 go (300 g) | 400–450 ml |
| 3 go (450 g) | 600–650 ml |
Tip: new-harvest rice has higher moisture content — reduce water by about 10%. Older rice absorbs more — add a little extra.
Musenmai (no-rinse rice)
No-rinse rice packs more grains into the same measuring cup (no bran layer to account for).
Add a little more water: roughly 1–2 tablespoons extra per go.
For 2 go, start around 450–470 ml and adjust from there.
4. How to Make Crispy Okoge (Scorched Rice)
One of the great pleasures of donabe rice — and it takes just one extra step.
High heat for 10–20 seconds just before the end
After the 15-minute low-heat phase, just before turning off the heat, blast it on high heat for a brief moment.
Hold it for 10–20 seconds.
When you hear a dry crackling sound from inside the pot, turn off the heat immediately.
That sound means the bottom layer has developed into okoge.
Tip: Don't overdo it
If the crackling gets loud or you detect a burning smell, you've gone too far.
A donabe retains heat well and keeps cooking after the flame is off — stop a moment earlier than you think you need to. "A little early" is the sweet spot for perfect okoge.
5. Troubleshooting: Hard in the Middle or Too Mushy
"I lifted the lid and it didn't work…"
Don't throw it out — there is a recovery method for both problems.
Rice is hard and undercooked
Cause: insufficient soaking or too little water.
Sprinkle 1–2 teaspoons of sake (or water) over the rice evenly.
Replace the lid and cook on low heat for another 5 minutes, then rest for 10 minutes off the heat.
The alcohol aroma disappears during cooking, and the rice will fluff up.
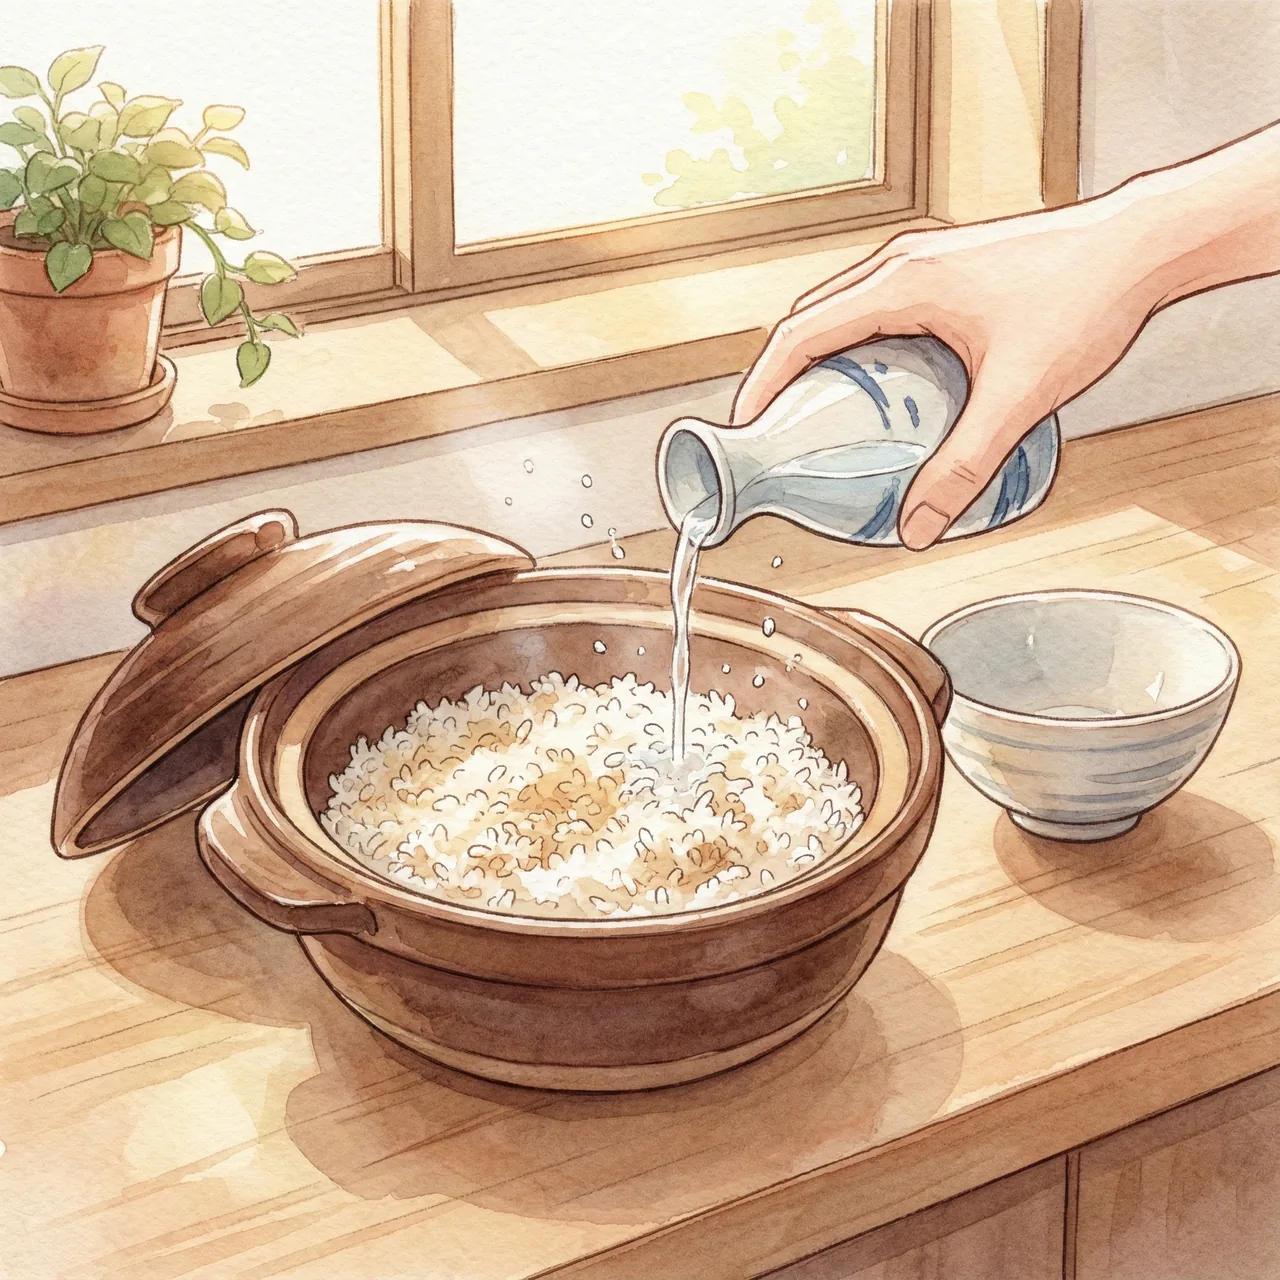
Rice is mushy and wet
Cause: too much water.
Remove the lid and stir gently from the bottom with a rice paddle to let steam escape.
If it's still too wet, repurpose it as zosui (rice porridge) or risotto — that's the tastiest solution.
Trying to reheat it back into dry rice rarely works well; better to embrace the reinterpretation.
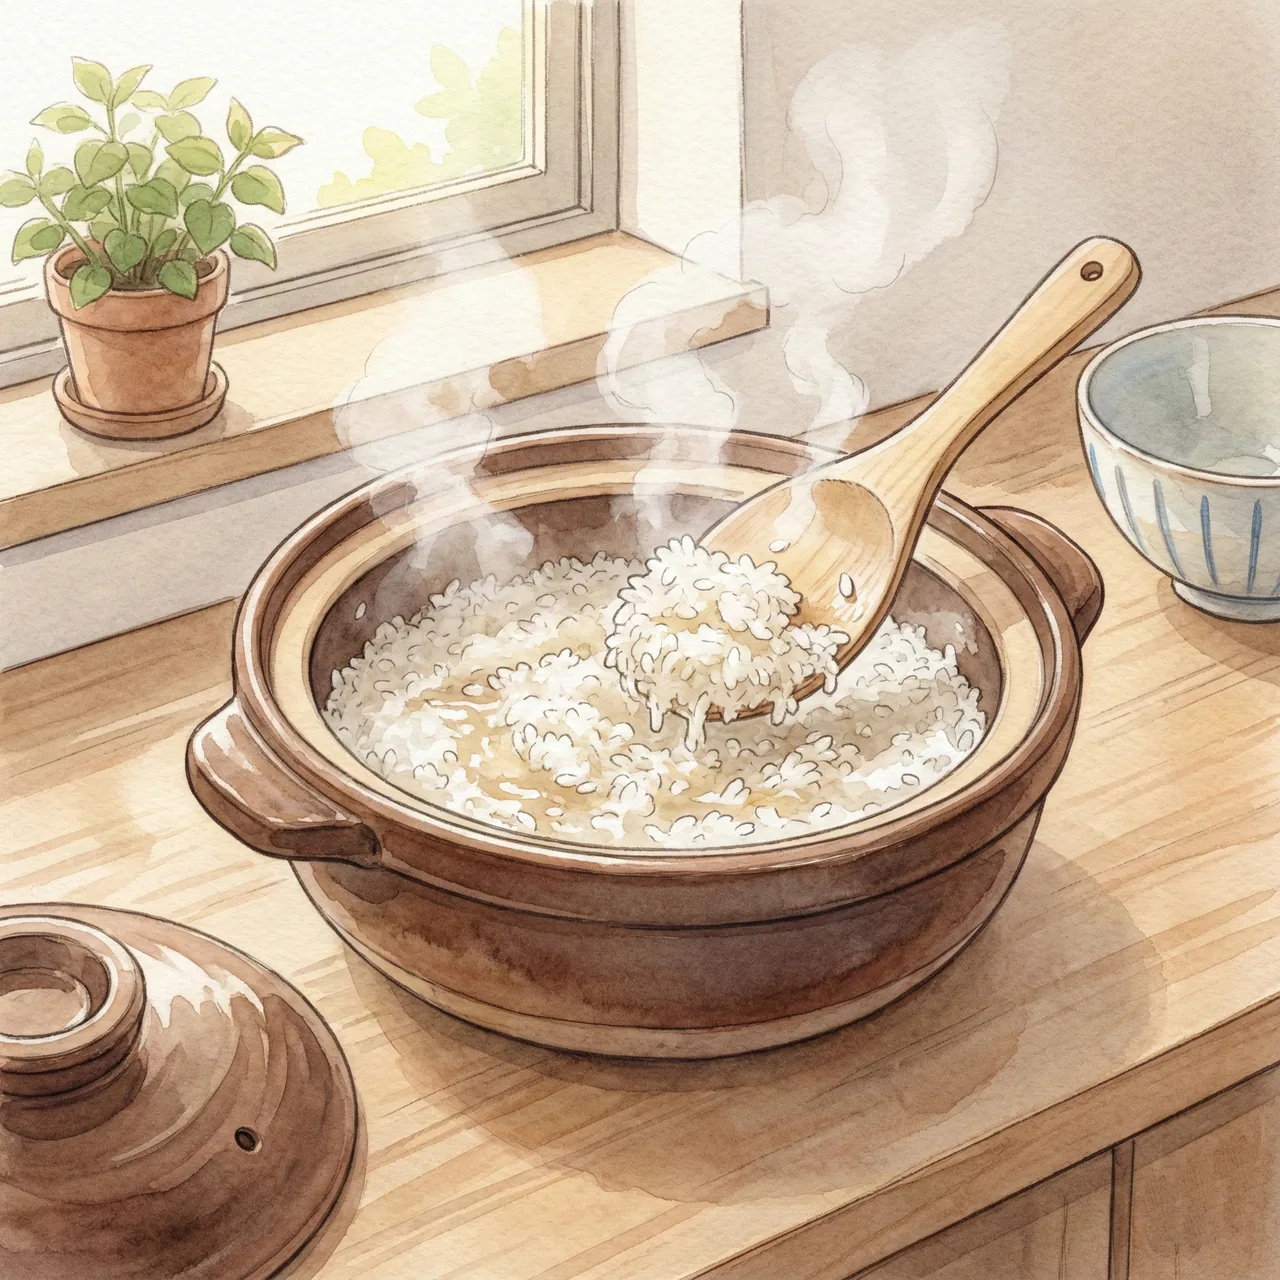
6. Real Experience: Switching to Donabe on Weekend Mornings
"Weekend-only" donabe rice — especially in winter, once you try it, you find yourself reaching for the clay pot more and more. Two things stood out after making it regularly:
It's actually faster than you think
"Donabe takes forever" — not true.
If you rinse and soak the rice in the fridge in the morning, it's ready to cook the moment you walk in the door. From lighting the flame to finished steaming: about 25 minutes.
That's the same as — or faster than — a quick-cook rice cooker setting.
And since it cooks while you prep the side dishes, it doesn't feel like extra effort.
Frozen rice reheats better
The biggest surprise came when reheating frozen leftover rice.
Donabe-cooked rice retains its moisture throughout freezing, so after a quick microwave, it has the chewy, just-cooked texture of fresh rice.
For bento boxes, this is a genuine upgrade.
7. Frequently Asked Questions
What if I don't have time to soak?
If you're really pressed for time, soak in lukewarm water (around 40°C / 104°F) for 10–15 minutes, or use no-rinse musenmai rice, which absorbs water more quickly. Skipping the soak entirely almost guarantees hard rice at the center. For the best results with zero morning effort, soak in cold water in the refrigerator overnight — the rice will be ready to cook straight away.
Can I use a donabe on an induction cooktop?
Standard donabe pots are not induction-compatible. However, IH-compatible donabe models exist and work fine. Note that induction can run hotter than expected — start at medium-low and observe the first cook closely. Models with a separate heat plate insert can scorch more easily, so reduce the cooking time slightly.
How do I store leftover rice?
A donabe has no keep-warm function, so transfer any uneaten rice to a container while it's still hot — don't let it sit in the pot. Once the steam has settled, cover and refrigerate or freeze. Leaving rice in the donabe causes it to stick stubbornly to the walls and can degrade the pot over time. For the best bento-quality storage, a magewappa (cedar bento box) keeps rice moist and fragrant.
Does water ratio change with different rice varieties?
The basic ratio works across most varieties, but new-harvest (shinmai) rice has higher natural moisture — reduce water by about 10%. Varieties with large, absorbent grains — like Yumepikari or Tsuyahime — also cook up fluffy with slightly less water than the standard ratio. Cook once at the standard amount, then fine-tune to taste.
What size donabe should I buy for rice cooking?
A 2-go donabe works well for 1–2 people; a 3-go donabe suits 3–4 people. Very large pots (6-go, 8-go) can be used for rice, but the increased surface area changes how water evaporates, making water ratios harder to calibrate. For a pot you'll also use for hot pot and simmered dishes, a deep 8-go or larger is ideal.
How do I clean a donabe after cooking rice?
Dish soap is fine, but no steel wool or abrasive scrubbers. After cooking, fill the pot with water and let it sit for 15–30 minutes until stuck grains soften, then clean with a soft sponge. Because donabe is porous and absorbs moisture, dry it thoroughly immediately after washing. Storing it while still damp — especially inverted — causes mold and cracks.
8. Final Thoughts
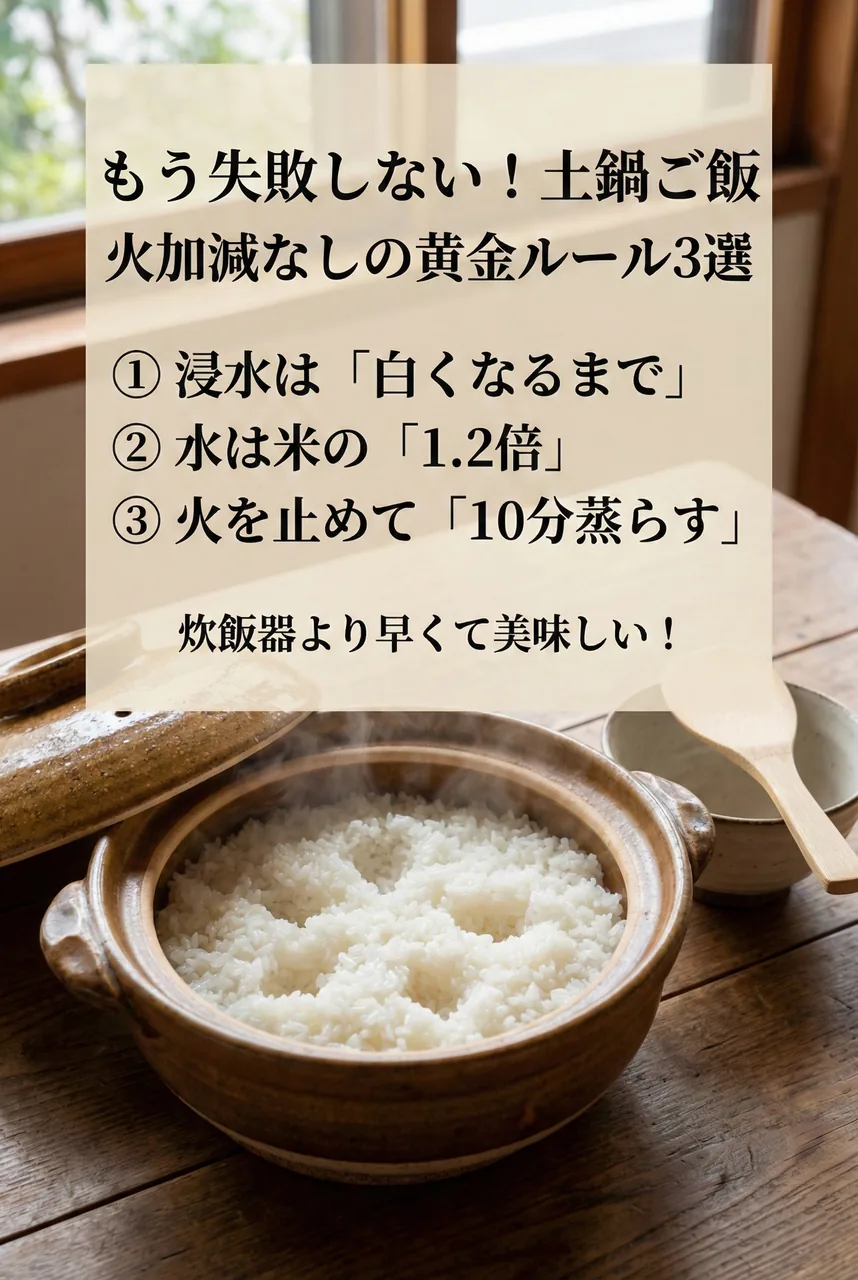
There is nothing complicated about donabe rice.
The right water ratio and proper timing matter far more than precise heat control — and the results will outperform any electric cooker.
The formula for success:
1. Soak until grains are white (most important)
2. Cook on low heat for 15 minutes after boiling
3. Rest for 10 minutes — lid on, heat off
Once you taste it, going back to a standard rice cooker becomes difficult to imagine.
Try it on a relaxed weekend morning — fifteen minutes of active effort, and breakfast becomes an event.
The idea that donabe rice is difficult — we hope this guide has put that to rest.
Soak, water ratio, rest: master these three habits and restaurant-quality rice is yours every time. Start this weekend.
Donabe Care: Medome Seasoning, Crack Treatment & Cleaning

Magewappa Bento Box Care: Washing, Black Stains & Mold

Japanese Bento Boxes: How to Choose One That Keeps Rice Delicious When Cold
Tetsubin Care & Rust Removal: The Complete Guide