"I lugged this heavy Dutch oven to three camping trips and only ever made baked sweet potatoes…"
"I want to cook something that actually shows off what Nanbu Tekki can do."
Good news: your cast-iron Dutch oven is capable of restaurant-quality cooking at a campsite — and the difference is
knowing how to use it.
Japanese Nanbu Tekki (南部鉄器, traditional cast iron from Iwate Prefecture) is not just a heavy pot. Its exceptional
seal and heat retention allow it to function as both a pressure cooker and a stone
oven simultaneously.
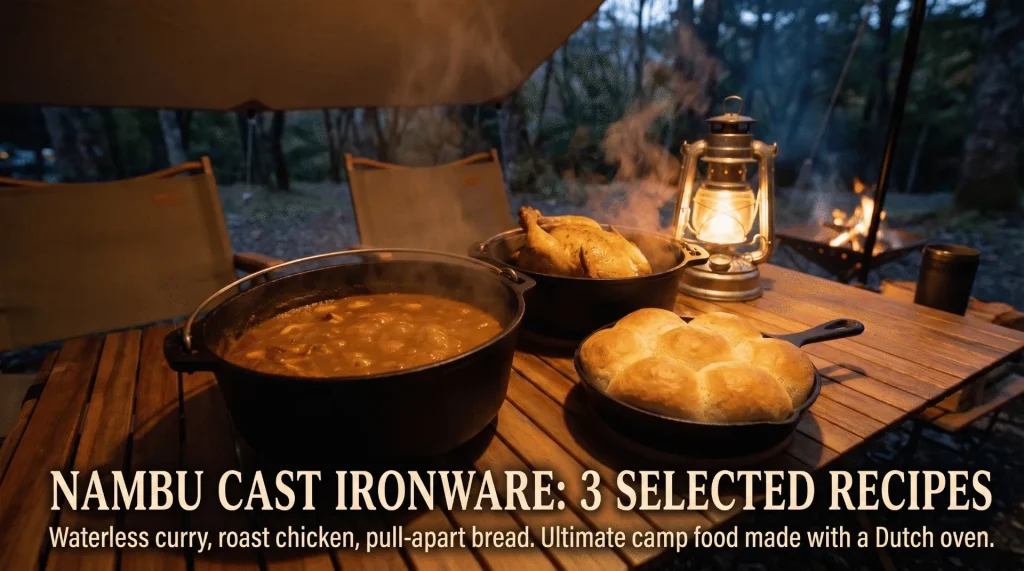
This guide walks through the three definitive Nanbu Tekki dishes: waterless curry, whole roast
chicken, and skillet pull-apart bread — with the fire management and post-cook care that
make each one work.
Related:
If you haven't picked up your cast iron yet, start here first.
Japanese Nanbu Tekki Dutch Ovens & Skillets | Outdoor Cooking
Guide
Quick Reference: What to Cook in Nanbu Tekki
| Dish | Best Vessel | Key Benefit | Tip |
|---|---|---|---|
| Steamed Rice | Dutch oven / iron pot | Sweetness, fluffy texture | Steam when "crab holes" appear |
| Tea | Tetsubin / kyusu | Smooth, mellow mouthfeel | Iron ions dissolve into the water |
| Braised Dishes | Dutch oven | Concentrated umami | Low heat, long braise |
| Soups & Stews | Skillet / iron pot | Added depth from the iron | Reheat using residual heat |
1. Why Food Tastes Better in Cast Iron | Pressure and Far-Infrared Heat
Before the recipes, it helps to understand exactly why Nanbu Tekki produces results that other cookware can't replicate.
The Heavy Lid Is the Secret Ingredient
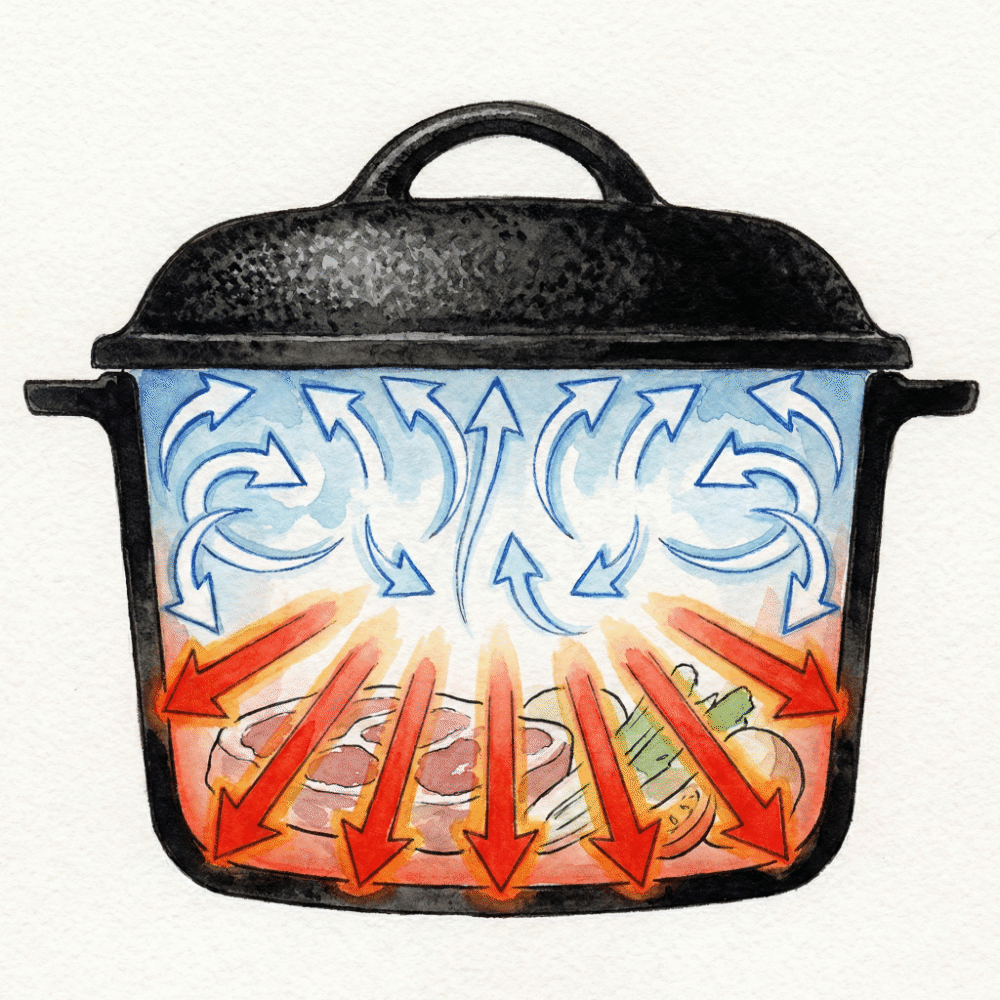
Nanbu Tekki's lid is heavy enough to form a near-perfect seal with the pot body.
Steam from the ingredients can't escape — it circulates back down onto the food (water seal effect), effectively
pressure-cooking the contents.
The thick cast iron also stores heat so efficiently that it penetrates ingredients from all sides simultaneously
— a far-infrared radiant effect similar to a stone oven.
The result: the best of a pressure cooker and a wood-fired oven in one pot.
2. Recipe 1: Waterless Curry | Unlocking Sweetness from Vegetables Alone
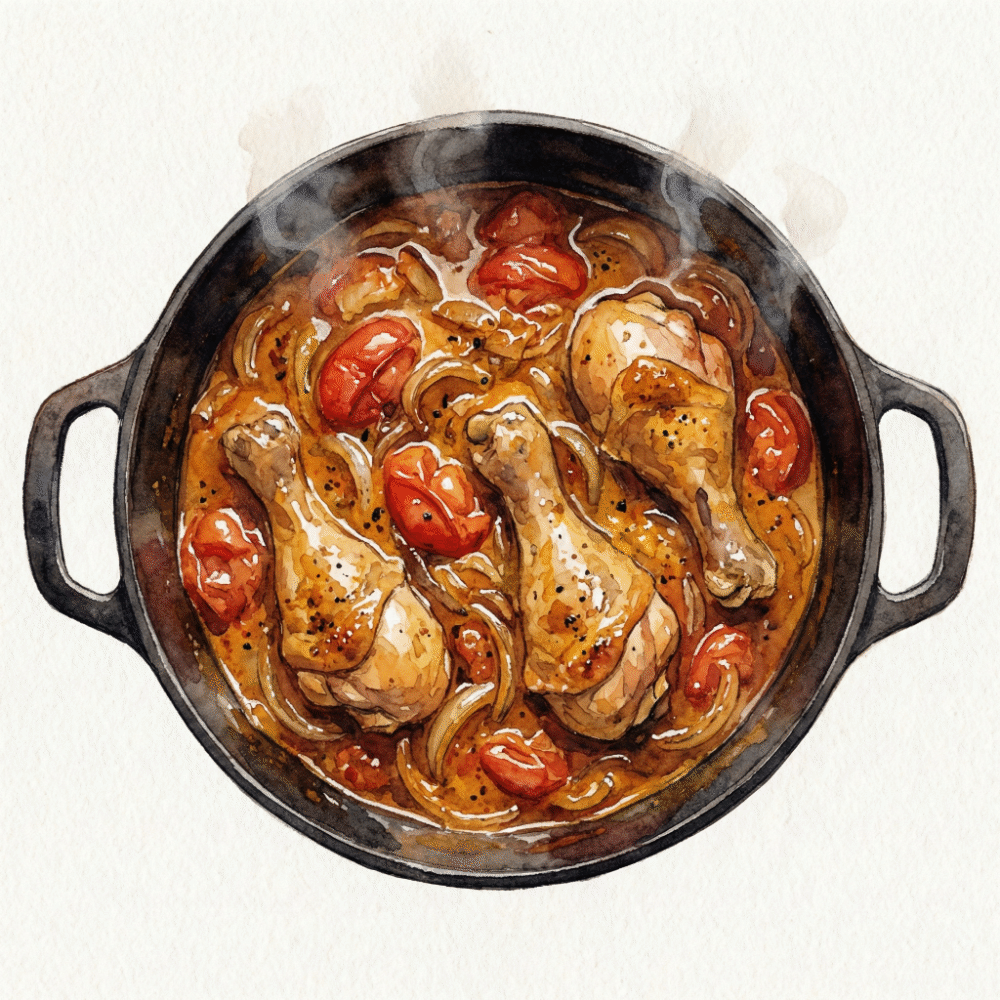
The first dish to make when you get a Nanbu Tekki Dutch oven is waterless curry — zero water added, yet the result is richer and sweeter than any curry you've made before.
Ingredients (serves 4)
- Chicken thighs: 2 pieces, cut into bite-sized pieces
- Tomatoes: 3 large, roughly chopped (essential)
- Onions: 3 large (half minced, half in wedges)
- Celery: 1 stalk, minced (optional but recommended)
- Curry roux: 1 box
- Bay leaf: 1
Note: The tomatoes and onions supply all the liquid — use more than you think you need.
Method and Key Tips
1. Place vegetables in first, chicken on top (the vegetables buffer the chicken from the hot base).
2. Seal the lid and cook on low heat for 1 hour.
3. The critical rule: do not open the lid. Every opening releases the steam pressure the pot
has built up.
4. After an hour, the vegetables will have melted into a thick, fragrant liquid. Add the roux, stir, and serve.
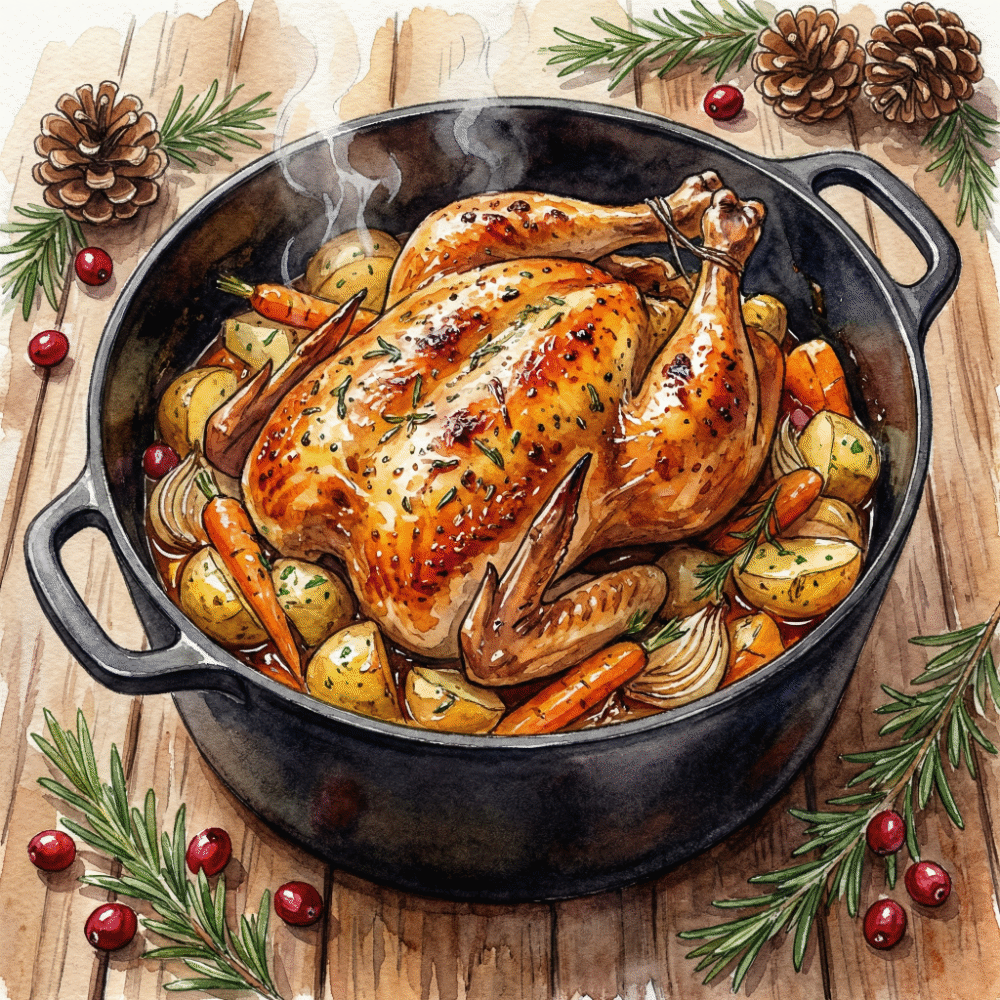
3. Recipe 2: Whole Roast Chicken with Top Coals | The Dutch Oven Oven Effect
The Dutch oven's signature campfire dish. Whole roast chicken that crisps from above and below simultaneously — the camp table centerpiece that draws every eye.
Ingredients & Prep
- Whole chicken (eviscerated): 1 bird
- Frozen pilaf rice: for stuffing (convenience stuffing — no prep needed)
- Potato, carrot, garlic: arranged around the chicken
- Olive oil, salt and pepper, rosemary
Tip: Frozen pilaf as stuffing is a practical camp shortcut — no prep, great flavor absorption.
Technique and Tips
1. Place a trivet (roasting rack) in the pot so the chicken doesn't sit directly on the iron.
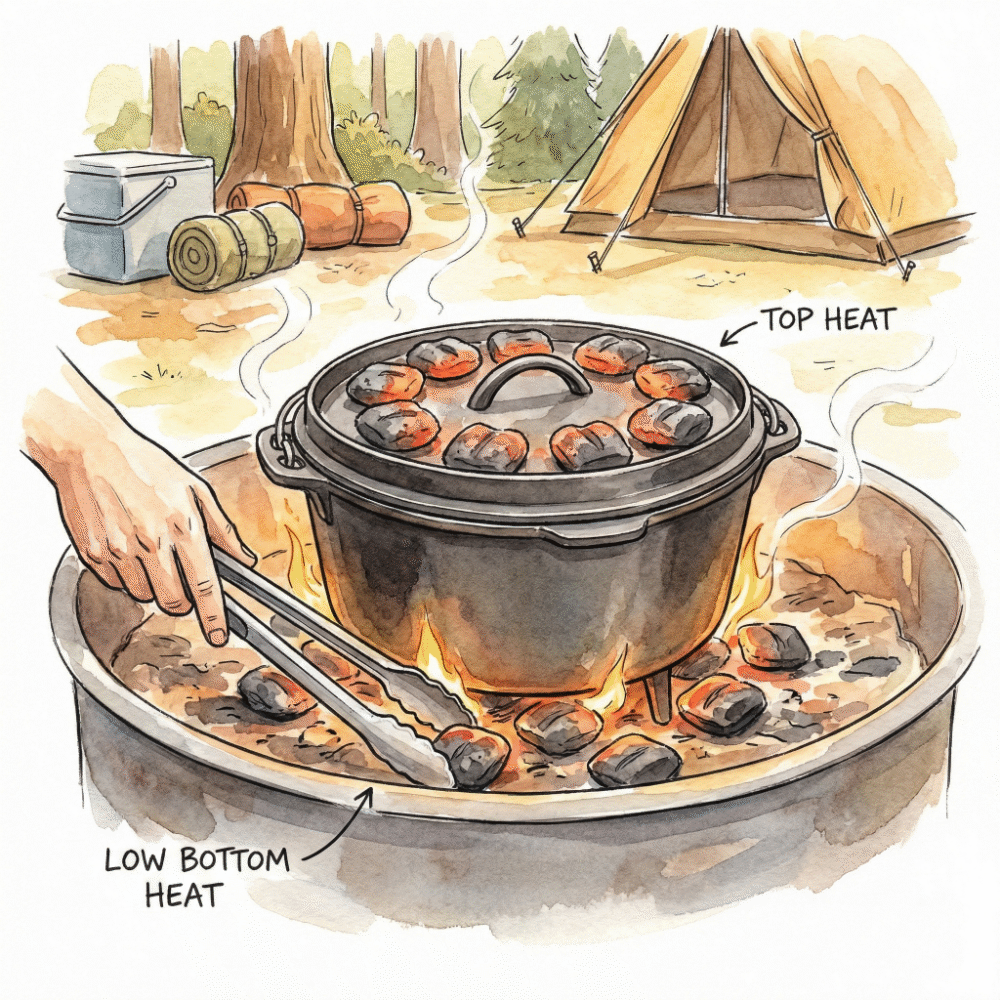
2. Place coals on top of the lid as well — ratio roughly 7 parts top heat to 3 parts bottom.
3. The top heat crisps the skin; the bottom heat cooks through. Both are essential.
4. Just before serving, remove the lid and blast the skin briefly with a burner for extra browning.
4. Recipe 3: Skillet Pull-Apart Bread | Fluffy Camp Breakfast
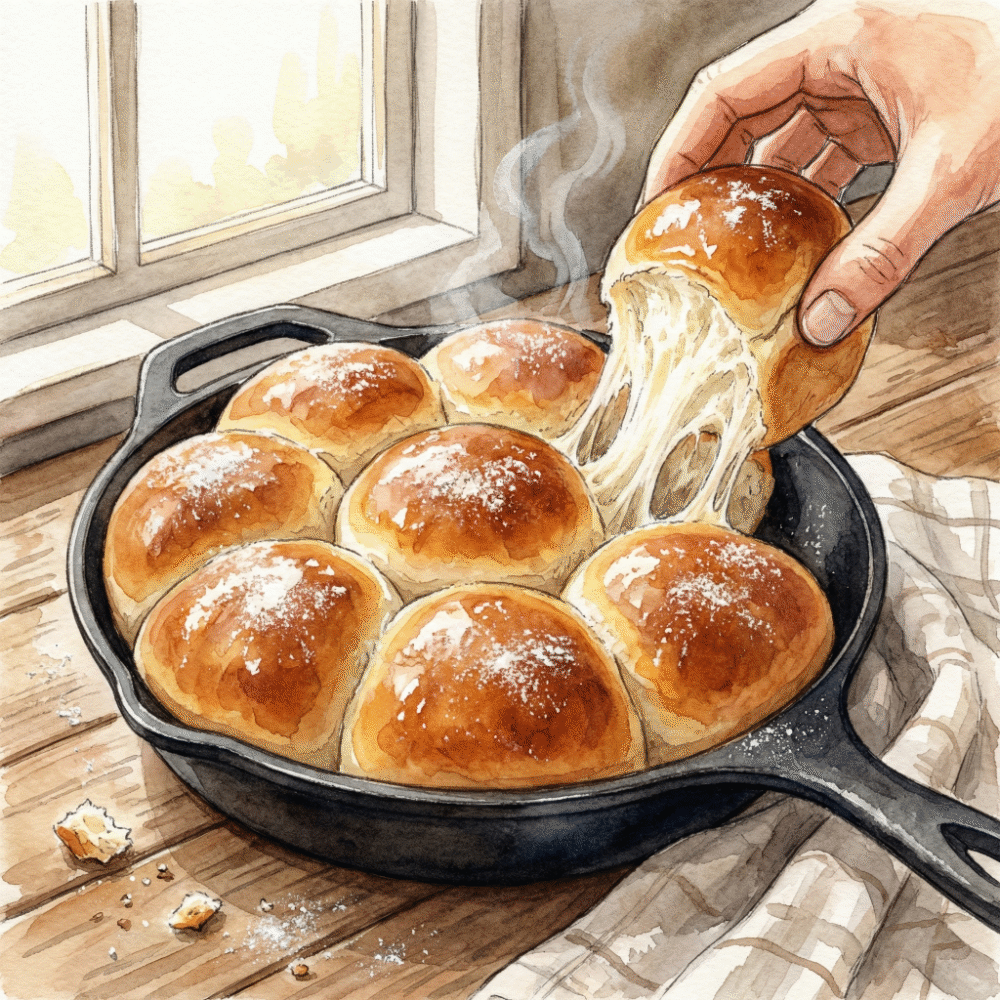
Waking up at camp to the smell of fresh-baked bread. It sounds indulgent — but a cast-iron skillet makes it entirely achievable.
Ingredients (one skillet)
- Bread flour: 200g
- Dry yeast: 3g
- Sugar, salt, butter, warm water
- (Recommended: complete the first rise at home, then freeze and transport)
Technique and Tips
1. Thaw and complete the second rise; shape dough into balls and arrange in the skillet.
2. Cover with another skillet or foil tent.
3. Cook on very low heat for 10–15 minutes.
4. Flip and brown the other side.
Note: the bottom scorches easily — placing a burner diffuser pad under the skillet is the most reliable way to
avoid burning.
5. The Essential: Perfectly Steamed White Rice | Chasing the "Crab Hole"
Curry and chicken are spectacular — but there's an argument that simple white rice from a Nanbu Tekki pot is the single greatest thing you can cook in it.
The "Crab Hole" Is Your Signal
Cast iron distributes heat evenly from all sides, creating vigorous convection inside the pot as rice cooks.
When you see small bubbles breaking through the surface of the rice — those are "crab holes" (kanikana) — the
rice is ready to steam off heat.
Each grain stands upright, fully cooked from even heat throughout.
Iwachu's dedicated rice pot makes achieving a crispy bottom crust (okoge) effortlessly repeatable.
6. Fire Management Guide | Strong Heat Only at the Start
The number one Nanbu Tekki cooking mistake is burning. Cast iron retains heat so well that treating it like a conventional pot over high heat almost guarantees scorching.
The Rule: High Heat Only for Preheating
- Preheat: Heat empty over high heat until it just begins to smoke — this is the only time high heat is appropriate.
- During cooking: Once ingredients are added, drop immediately to low or medium-low.
- Charcoal fire: Don't let coals directly contact the pot base. Distance cooking over indirect heat is the standard.
A cast iron pot at cooking temperature holds heat through a low flame that would barely warm a thin pan.
"A little less than feels right" is the correct instinct — err on the side of too cool, not too hot.
7. Post-Meal Care | The Three Steps That Prevent Rust
The meal is done — the worst thing you can do now is leave food in the pot overnight.
The salt and acidity in cooked food will oxidize cast iron by morning.
Commit the following three steps as a ritual you do before you relax.
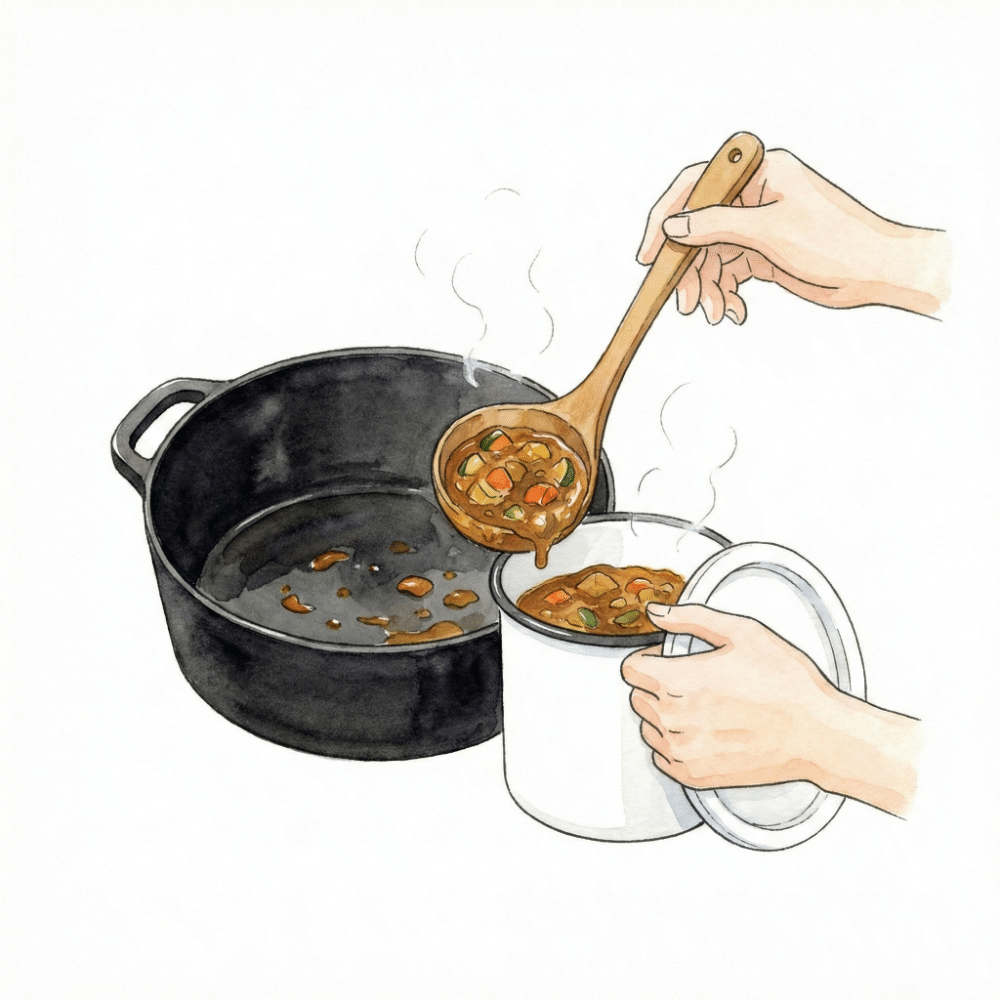
Step 1: Transfer immediately (no exceptions)
Move all remaining food to a separate container right after the meal.
Food left in the cast iron — even for a few hours — causes rapid surface rust from the combined moisture and
salt.
It also lets the iron flavor migrate into the food. Transfer to a sealed container and refrigerate.
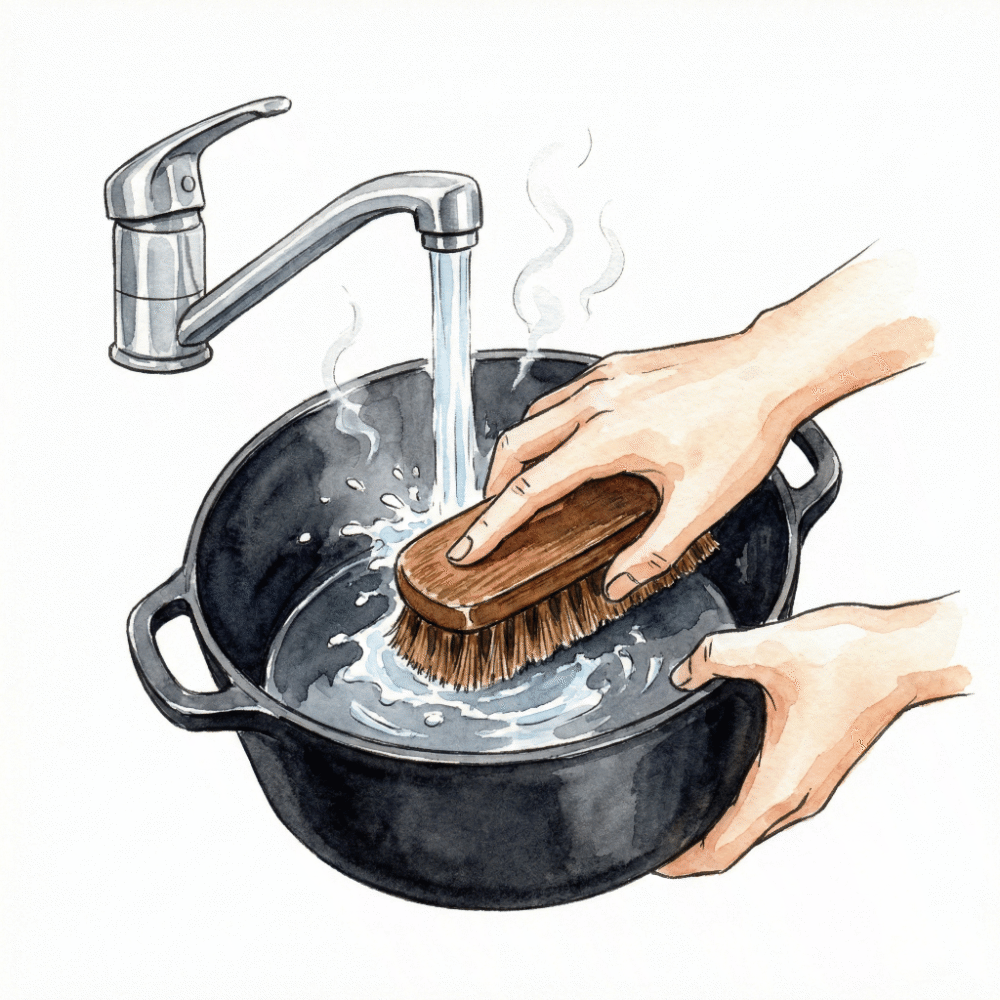
Step 2: Hot water, no soap
Rinse with hot water and scrub with a stiff brush or sasara (bamboo whisk brush) — no dish
soap.
Soap strips the seasoning layer (the polymerized oil coating) that prevents sticking and rust.
While the pot is still warm, fill with hot water and scrub. For stuck bits, bring the water to a brief simmer —
residue lifts off easily.
Step 3: Dry over heat, then oil
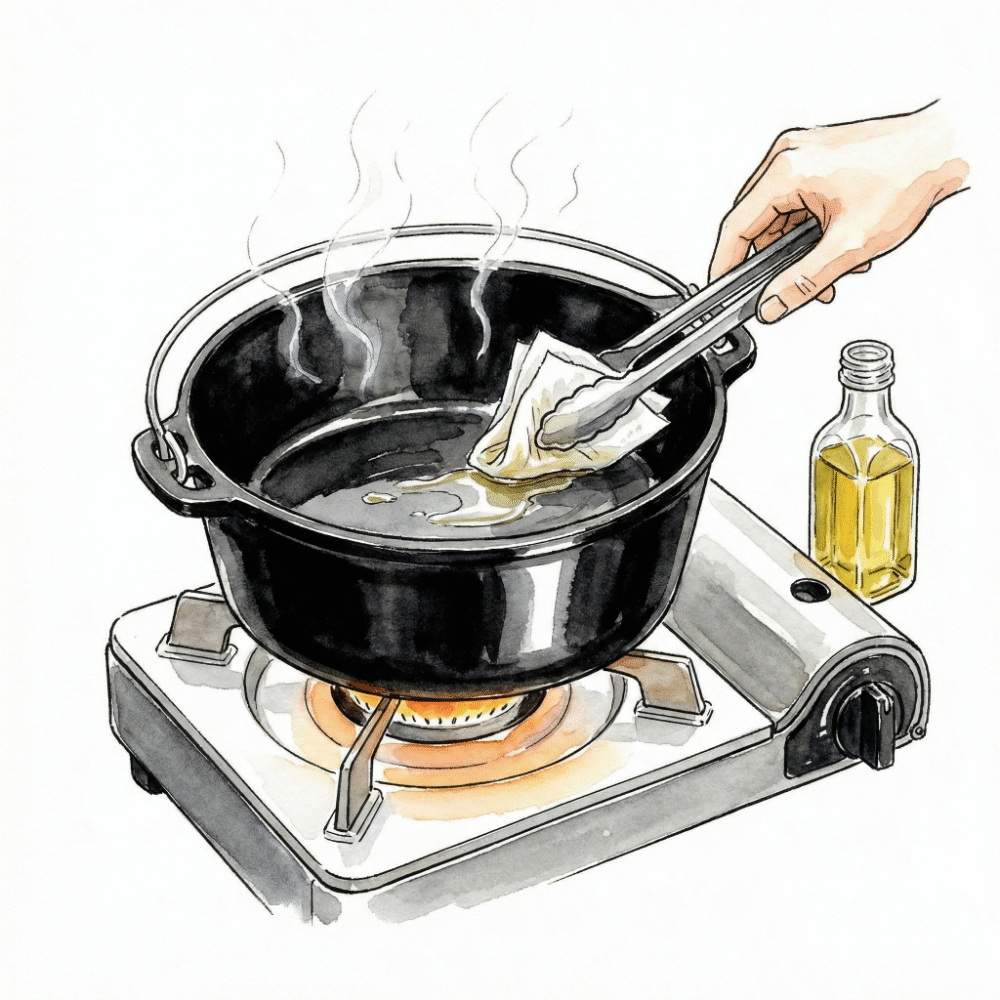
Heat the pot to evaporate all moisture, then wipe with a thin coat of oil.
Towel-drying alone leaves residual moisture that rusts overnight. Place the pot back over the heat for a minute
or two until completely dry.
Wipe the interior with a paper towel lightly coated in cooking oil (olive oil or any neutral oil) — done. Store
in a dry place.
8. Frequently Asked Questions
Can Nanbu Tekki be used on an IH (induction) cooktop?
IH-compatible Nanbu Tekki exists, but not all pieces are compatible — it varies by product.
Check for "IH compatible" labeling before purchasing.
If it's compatible, performance on induction is virtually identical to gas — all the same recipes apply.
Does waterless cooking work with any vegetables?
High-moisture vegetables — tomatoes, onions, cabbage, eggplant — are ideal. They release enough liquid to keep
everything moist throughout the cook.
Root vegetables alone don't produce enough moisture, so always include tomatoes or onions in any waterless
dish.
With those in the pot, a wide range of ingredient combinations works beautifully.
Does a new Nanbu Tekki pot need any preparation before first use?
Yes — "seasoning" (abura narashi, or oil curing) is required before the first cook.
Sauté vegetable scraps to neutralize any metallic odor, discard them, then wipe the interior with a thin coat of
oil and heat briefly.
This process builds the non-stick seasoning layer that improves with every subsequent use.
What do I do if it rusts?
Surface rust is easily removed with steel wool or a stiff scrubbing pad.
After removing the rust, heat the pot thoroughly to drive off all moisture, then re-season with oil.
Unlike most cookware, cast iron is fully recoverable from rust — this is one of its defining advantages.
Is the water ratio for rice the same as a regular pot?
Start with the standard water ratio and adjust from there — the high heat retention of cast iron means you may
find slightly less water gives a firmer result you prefer.
On the first cook, use the standard amount and observe; refine on the next session.
Watch for boiling over — tilt the lid slightly to allow a small steam vent if needed.
Can I use Nanbu Tekki at home, not just camping?
Absolutely. Nanbu Tekki is outstanding for everyday home cooking — the Dutch oven replaces a braising pot or
roasting pan, and the skillet replaces a frying pan.
Daily use actually improves the pot over time as the seasoning layer builds. The more you use it, the better it
cooks.
Final Thoughts: Tasting Japan's Craft Tradition Around the Campfire
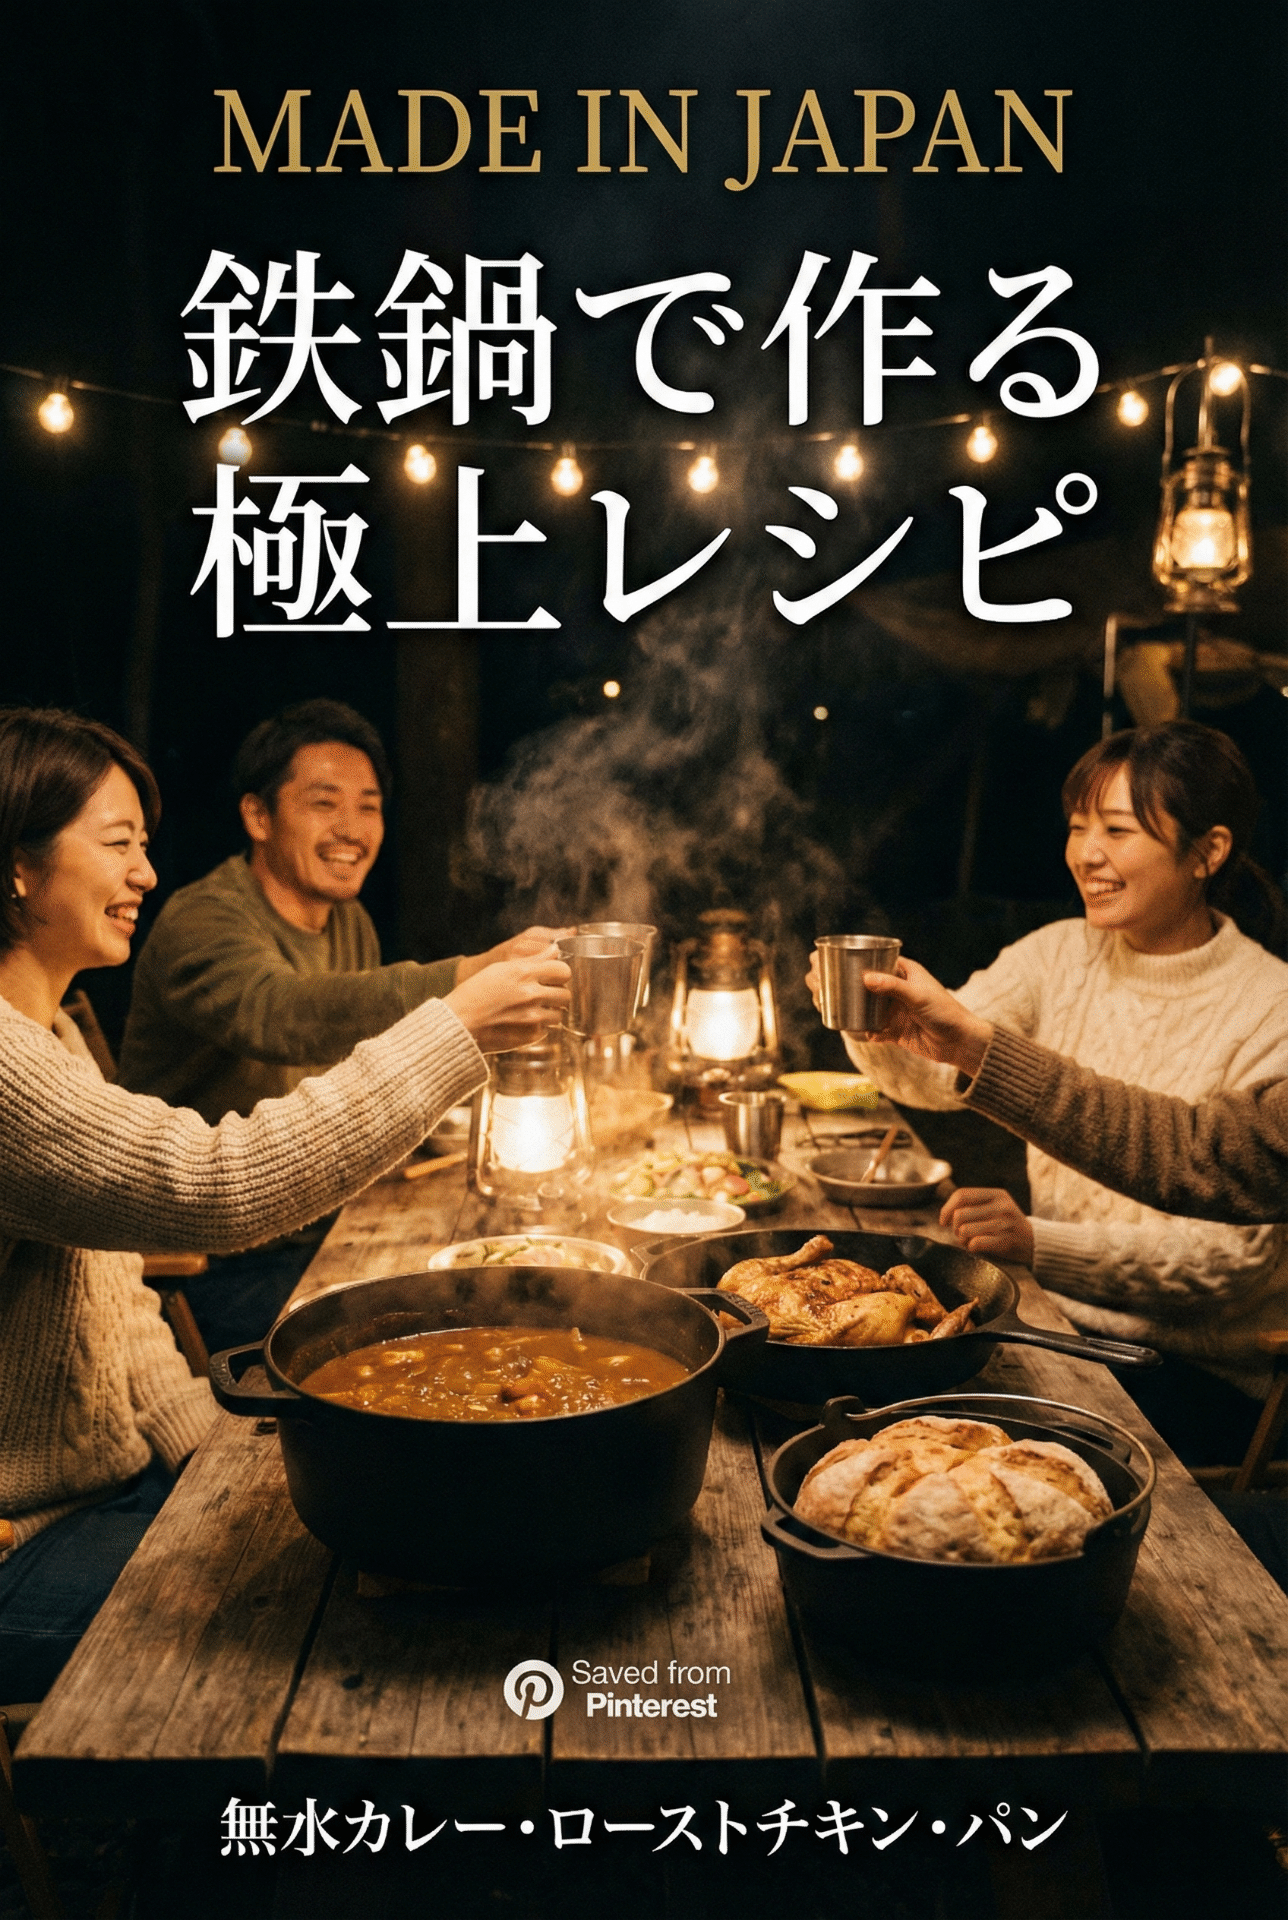
Why does food cooked in a Nanbu Tekki Dutch oven taste better?
Because it's the product of two things working together: the precision that Iwate's craftspeople built into the
pot, and the patience you brought to the fire.
The depth of that waterless curry. The crackling skin of a whole roast chicken. The pull of fresh bread that
came out of a skillet over coals.
None of it tastes like anything from a bag or a can.
"The maintenance is fussy, but I can't stop bringing it camping."
If you find yourself saying that, you've arrived.
Best Nanbu Tekki | Tetsubin Kettles, Kyusu Teapots & Dutch Ovens — How to Choose
Japanese Iron Kettles (Tetsubin) | Boiling Better Water with Nanbu Tekki Cast Iron