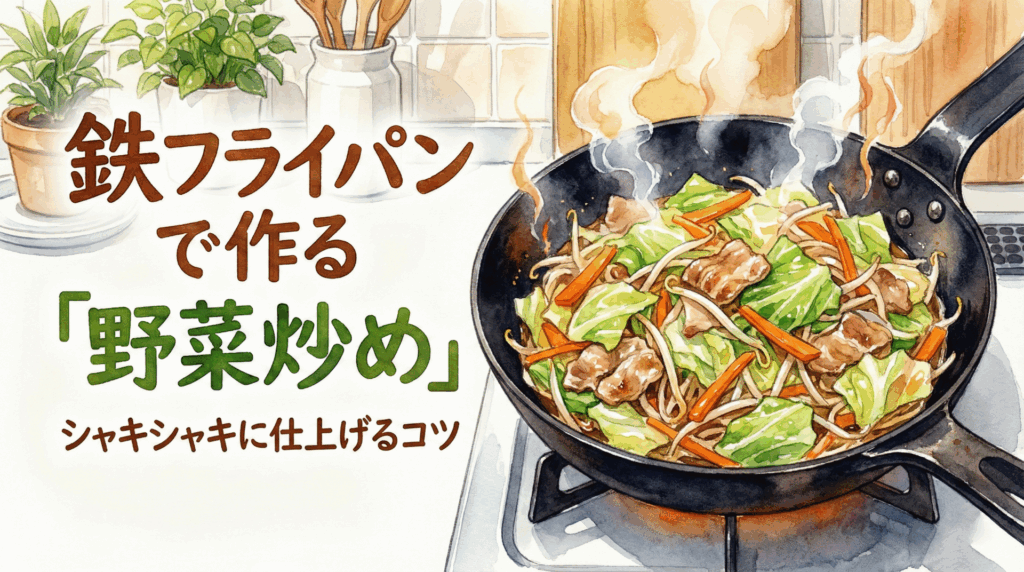
Soggy, watery stir-fry is almost always caused by the pan, not the cook. A non-stick aluminum pan can't hold enough heat when cold vegetables hit the surface — the temperature drops, moisture steams out, and you end up with something closer to braised vegetables than stir-fry. An iron pan holds heat through that thermal shock, searing the surface of each vegetable before moisture has a chance to escape. The result: crispy exterior, juicy interior, with the faint char that defines great stir-fry.
This guide covers the two techniques that make the biggest difference — the oil return (aburakaeshi) and when to add salt — plus care basics and the long-term benefits of cooking with iron.
Iron Pan Stir-Fry: Quick Reference
| Step | What to do |
|---|---|
| Preheat | Medium heat until a faint wisp of smoke appears from the surface |
| Oil return | Add a generous pour of oil, coat the pan fully, return excess to the oil pot |
| Add in order | Meat / carrots / onion → cabbage / bean sprouts / leafy greens |
| Don't toss | Press vegetables against the surface to build char; toss only occasionally |
| Salt timing ★ | Season right before turning off the heat — never during cooking |
| Cleaning | Hot water and a scrubber brush while still warm; no soap |
| Storage | Heat-dry on the stove, apply a thin oil film, store dry |
Why iron pan stir-fry tastes better
Professional woks in Chinese restaurant kitchens are made of iron. That's not tradition — it's physics. Iron has far greater thermal mass than thin aluminum: it stores more heat energy per unit volume, and releases it steadily even when cold food is added to the pan.
Here's what happens in each pan when you add cold vegetables:
- Thin coated aluminum: Surface temperature drops sharply. The pan takes 20–30 seconds to recover. During that window, moisture releases from the vegetables before they can sear — producing steam, not char. The result is soft, wet vegetables.
- Iron pan: Surface temperature dips slightly but stays high enough to immediately begin the Maillard reaction (browning). The vegetable surface sears before water can escape. Interior moisture is sealed in. Result: crispy outside, juicy inside.
At home, you don't have a restaurant-grade burner. But a good iron pan compensates for lower BTU output by storing heat before the food goes in — acting as a thermal buffer between your stove and the food.
Did you know? The Maillard reaction — responsible for the golden-brown crust and savory aroma in seared food — only occurs efficiently above about 140°C (285°F). Most thin non-stick pans can't maintain this temperature long enough after cold food is added. Iron pans hold it throughout the cook.
The oil return technique: how to stop food sticking
The number one complaint about iron pans is that food sticks. In 90% of cases, the cause is inadequate preheat or skipping the oil return step — not a flaw in the pan.
The oil return (aburakaeshi): four steps
- Preheat empty: Place the pan on medium heat. Wait until you see a faint wisp of smoke rise from the surface — this signals the iron has reached working temperature throughout.
- Add generous oil: Pour in enough oil to coat the entire surface (roughly one ladle's worth — more than you think you need).
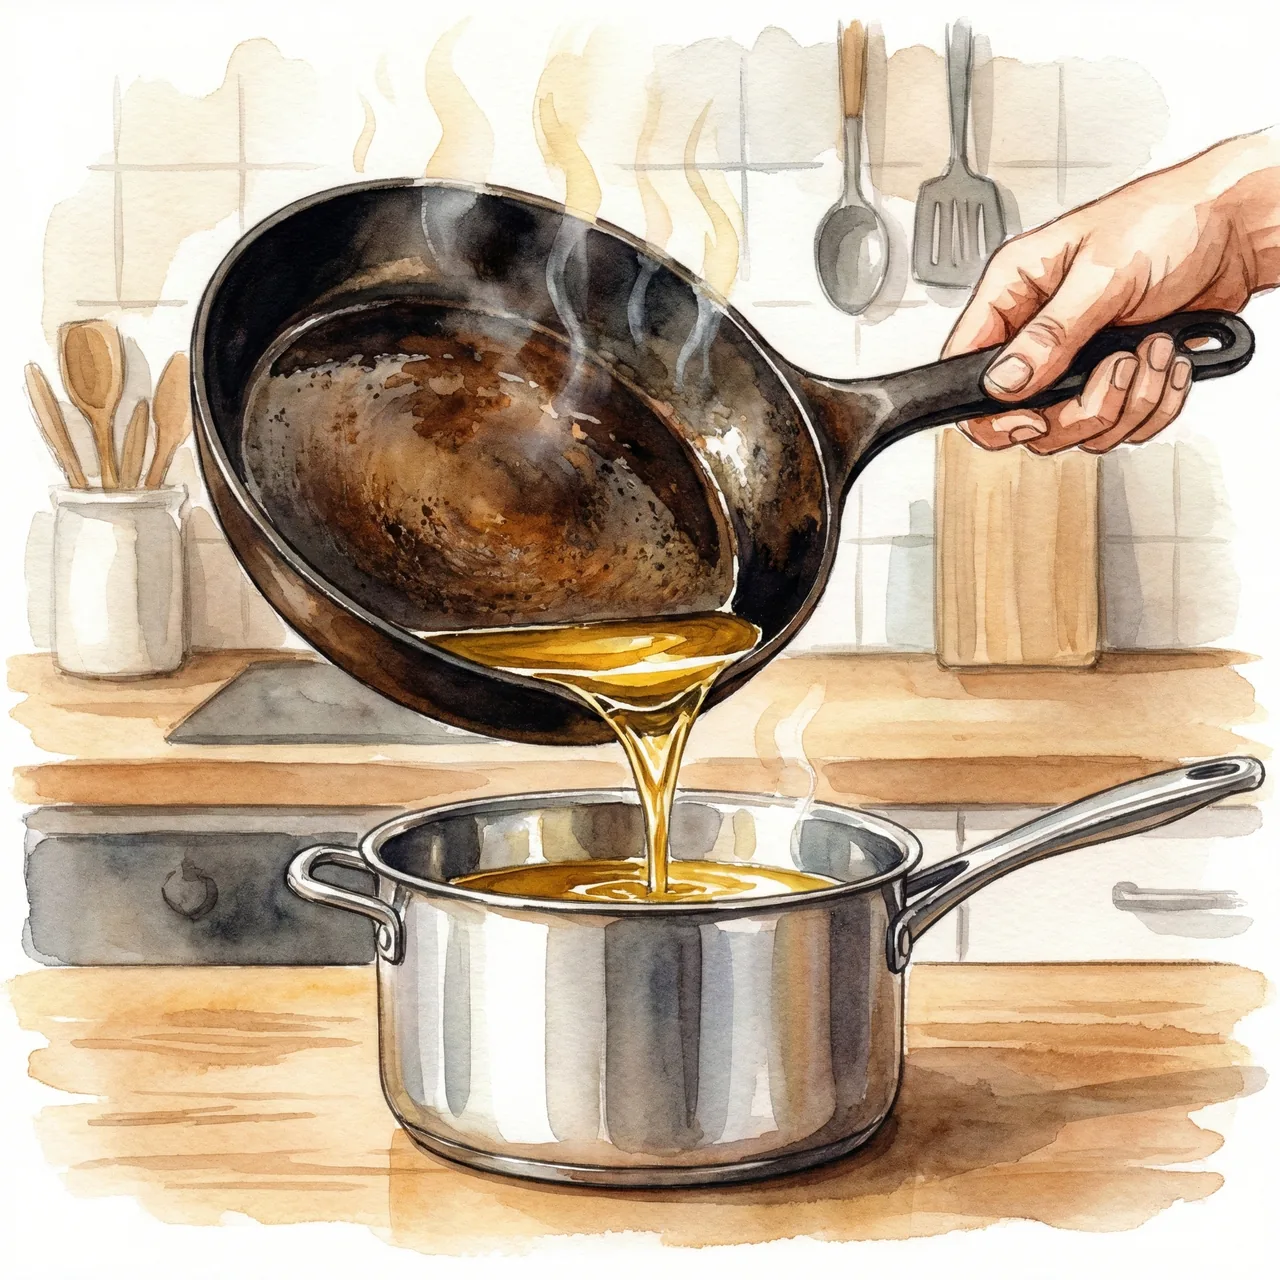
- Coat and return: Swirl the oil to coat the full interior, then pour the excess back into an oil pot or container. A thin, even film remains on the surface.
- Add cooking oil and food: Add your normal cooking oil amount, let it heat for 10–15 seconds, then add your ingredients.
This creates an oil-seasoned surface every time you cook, not just when you first season the pan. Food will release cleanly once it's had time to develop a crust — don't try to move it immediately after adding to the pan.
Crispy stir-fry step by step
The biggest mistake home cooks make when mimicking restaurant stir-fry: tossing the pan constantly. Restaurant chefs toss because their burners output 30,000+ BTU and the pan never loses heat in the air. At home, lifting the pan off the burner kills your temperature. Keep the pan on the heat, and press the vegetables down instead.
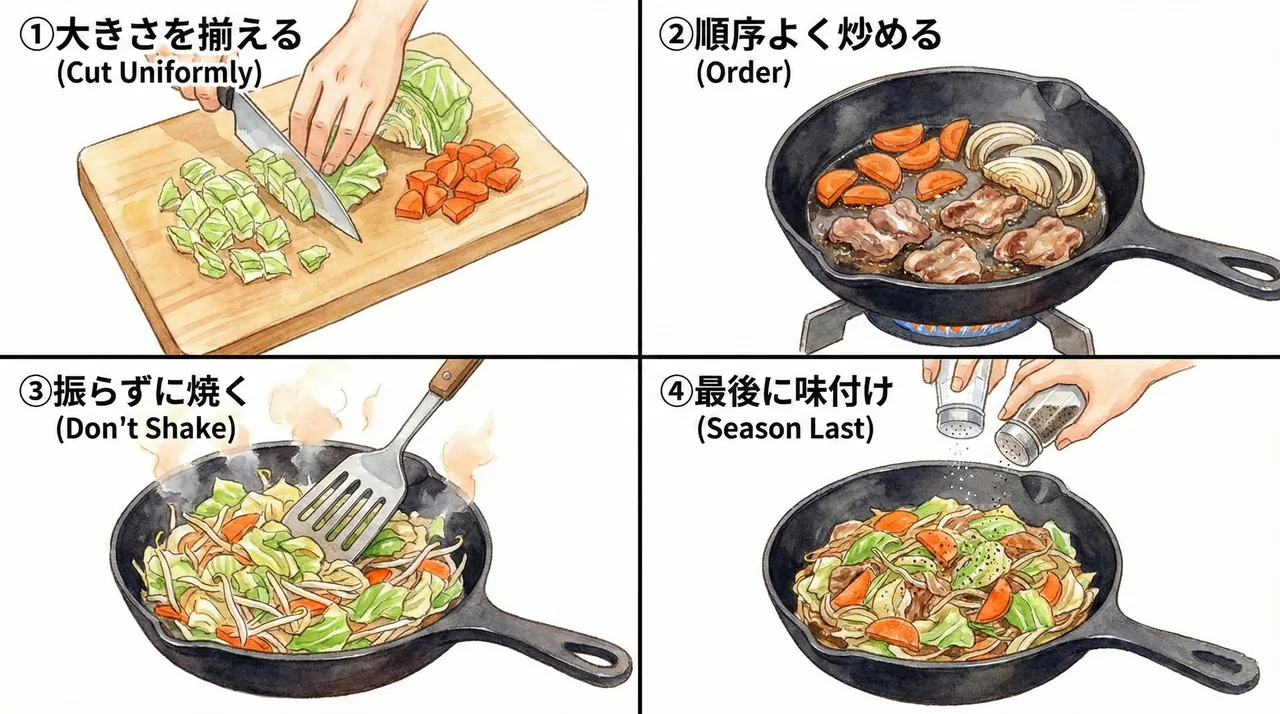
- Cut uniform pieces: If vegetable pieces vary in size, smaller ones overcook before larger ones are ready. Aim for consistent thickness — not identical shapes, just similar volume.
- Add in order of density: Start with meat, then hard vegetables (carrots, onion, capsicum). Add soft vegetables (cabbage, bean sprouts, leafy greens) last — they need only 60–90 seconds.
- Press, don't toss: After adding vegetables, press them against the surface with a spatula. Let them sit for 30–60 seconds to build color. Toss or stir only occasionally.
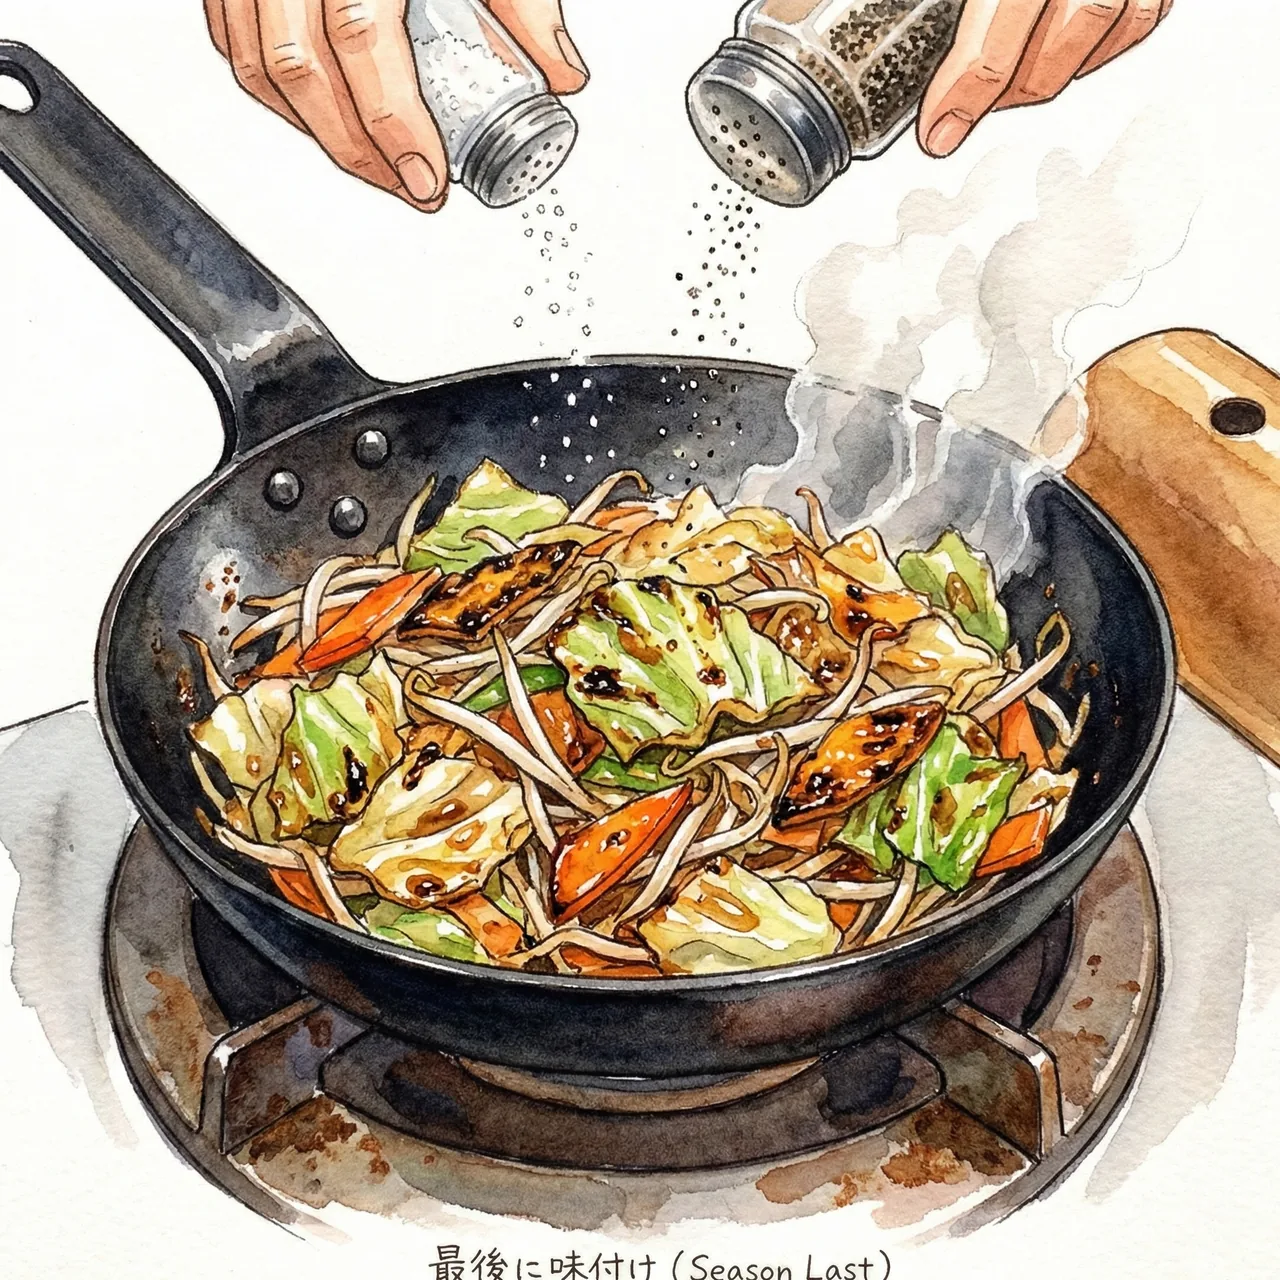
- Season at the end: When everything is cooked through, add your salt, pepper, and soy sauce right before turning off the heat. Toss once to coat. Plate immediately.
The salt timing rule
Salt draws moisture out of vegetables through osmosis. Add salt early in a stir-fry and the vegetables will release water continuously as they cook — making the dish progressively wetter and the pan temperature progressively lower.
The rule: add salt, soy sauce, and any other seasoning right before you turn off the heat. This gives the salt almost no time to draw moisture. The vegetables stay crispy, the liquid stays minimal, and the seasoning coats rather than saturates.
The same applies to other high-sodium ingredients: miso, oyster sauce, fish sauce. All should go in at the very end, after the heat is reduced or off.
Caring for your iron pan after cooking
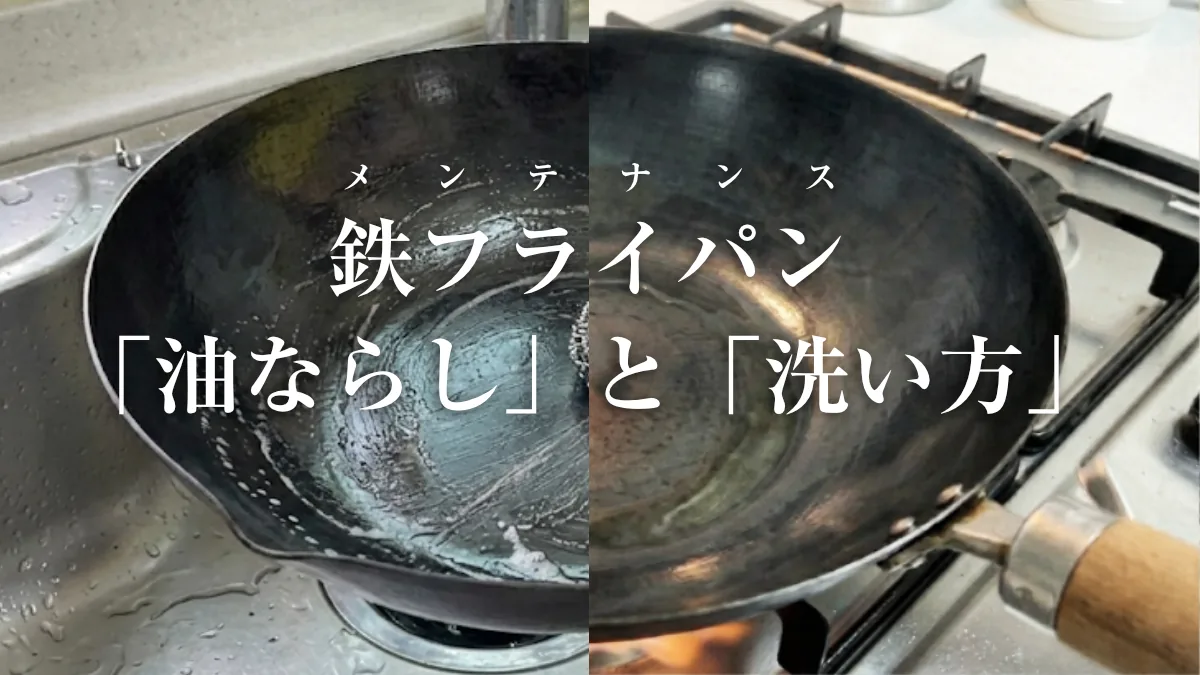
Iron pan care after stir-frying follows the same routine as general iron pan care, with one addition: stir-fry residue is stickier and more built-up than everyday cooking. Clean while warm, not after the pan has cooled and residue has hardened.
- Rinse while warm: Run hot water into the pan immediately after plating. Use a natural fiber brush (tawashi) or chain mail scrubber to remove residue. No soap — the seasoning layer is an asset, not a hygiene problem.
- Heat-dry on the stove: Return the cleaned pan to medium heat for 1–2 minutes until all moisture has evaporated. You'll see steam stop rising — that's the signal it's done. This step prevents rust.
- Thin oil coat: While still warm, wipe the interior with a paper towel and a few drops of cooking oil. Wipe off any excess — you want a sheen, not a pool.
If you've cooked a particularly sticky sauce (teriyaki, miso glaze) and residue won't budge with rinsing, add water to the pan and bring it to a boil. The residue will loosen within 60 seconds. Pour out, scrub with the tawashi, then heat-dry and oil as usual.
Three long-term benefits of iron pan cooking
1. Dietary iron from everyday cooking
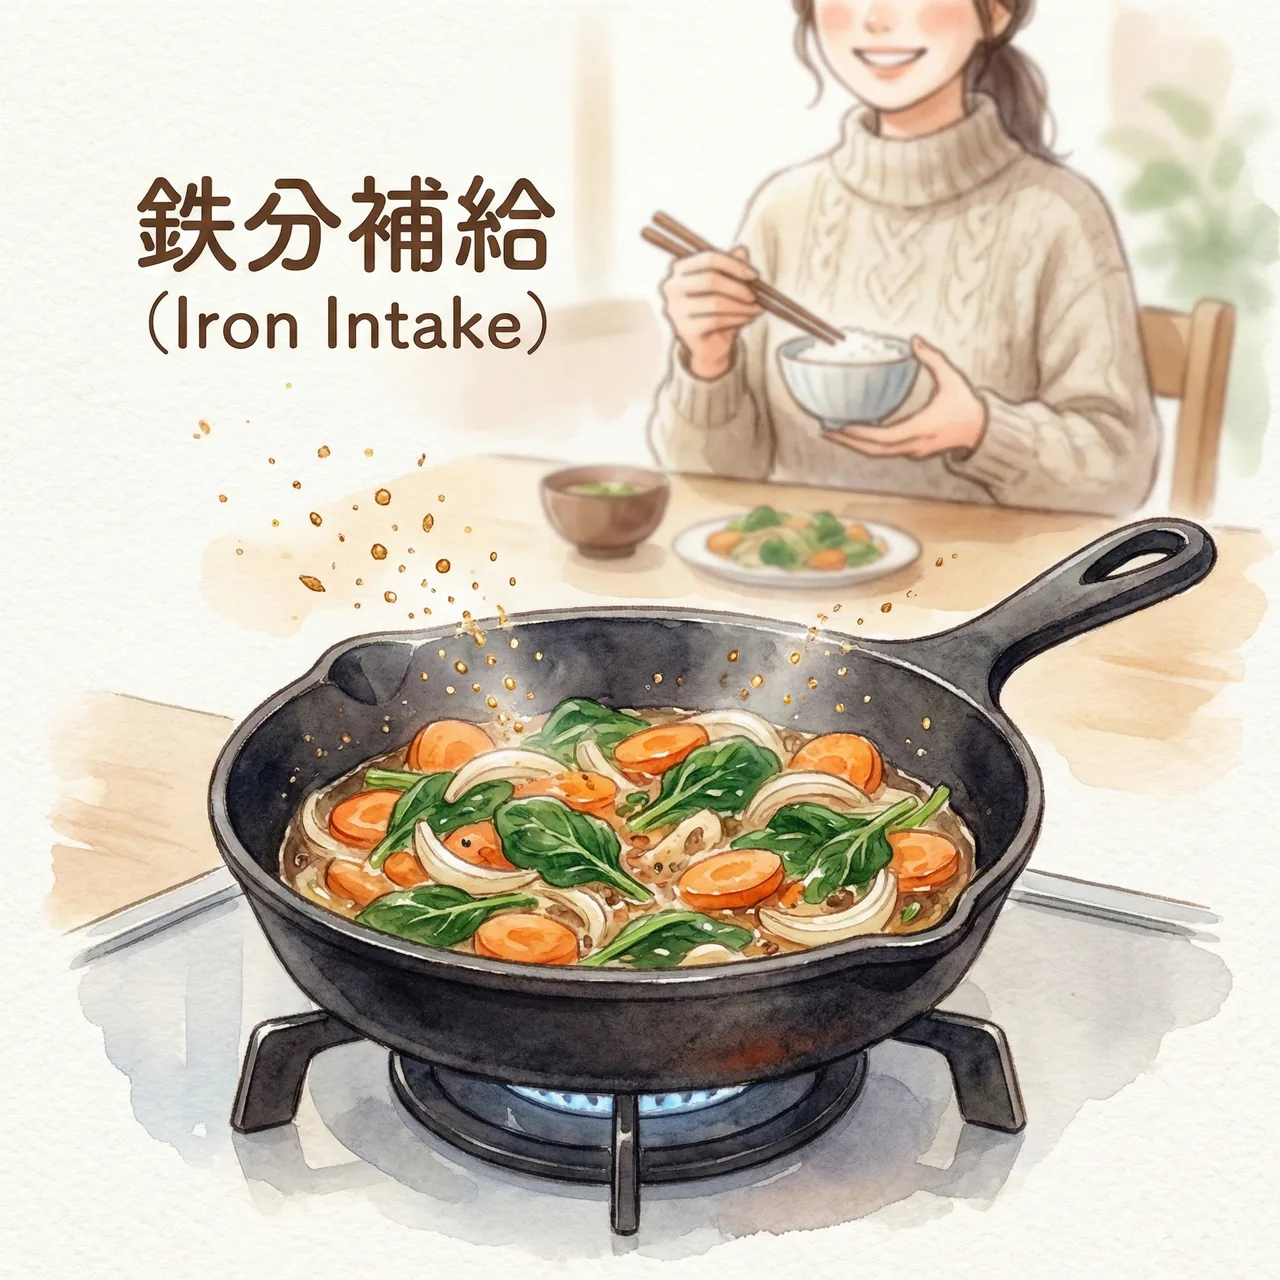
Cooking in an iron pan transfers trace amounts of iron into food — specifically ferrous iron (Fe²⁺), the form most readily absorbed by the body. This isn't a dramatic supplement-level dose, but cooking acidic or moist foods (tomatoes, leafy greens, sauces) in iron can meaningfully contribute to daily iron intake. For people who are prone to iron deficiency, this is a genuine side benefit.
2. A pan that improves with use
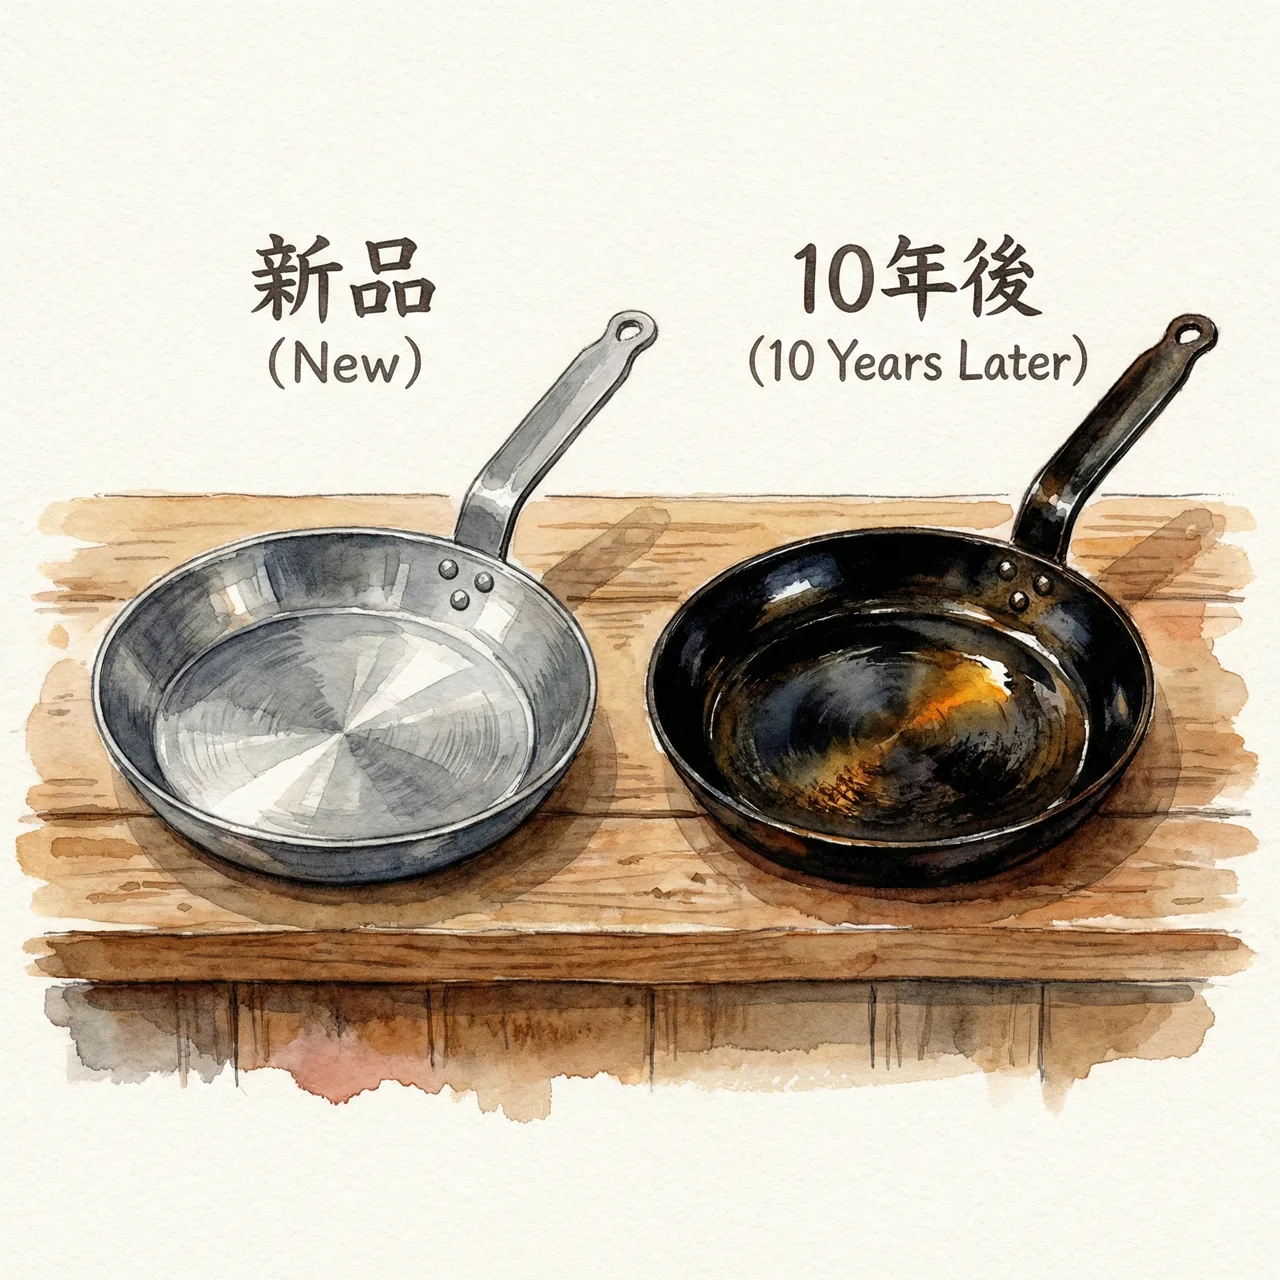
Non-stick pans degrade with time — the coating wears, food starts sticking, and you replace it. Iron pans work in reverse: each use builds the seasoning layer, reduces sticking, and deepens the pan's patina. A pan used daily for five years cooks better than the same pan on day one. The aging process isn't something you manage around; it's the point.
3. Stir-fry isn't the half of it
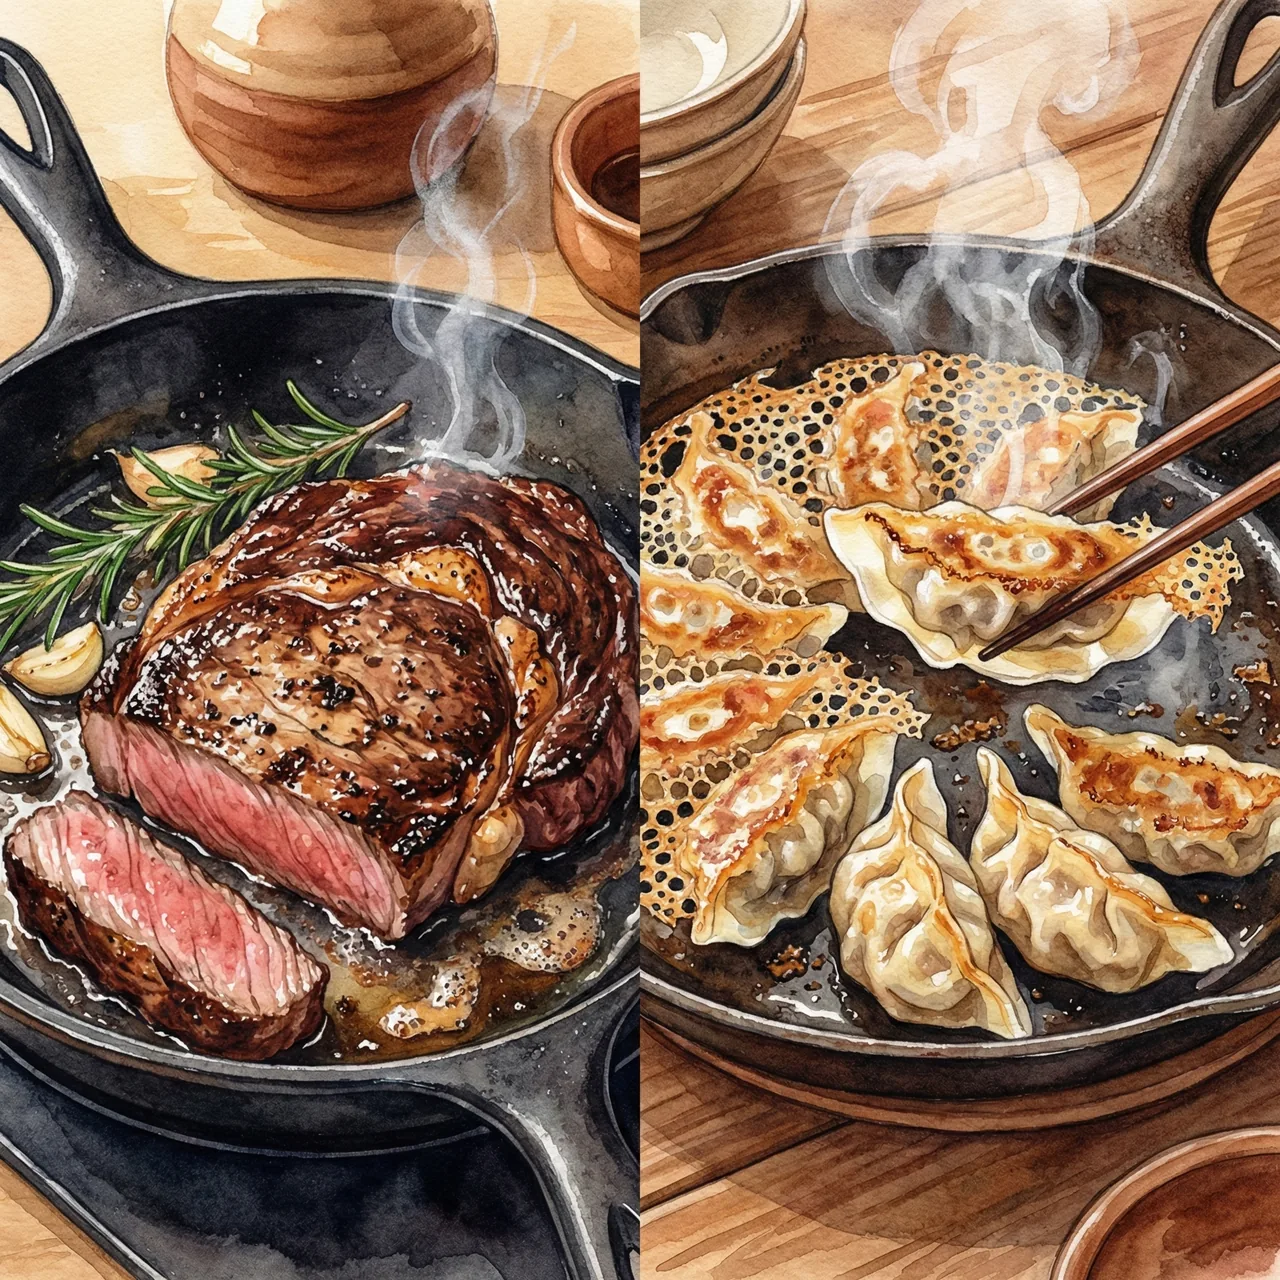
The same heat retention that makes iron ideal for stir-fry also makes it the best pan for searing steak (crust forms before the interior overcooks), for crispy-bottomed gyoza (the pan holds temperature through the steam phase), and for any dish where you want hard surface contact and consistent high heat. A good iron pan doesn't specialize in one thing — it excels at anything that benefits from heat.
FAQ
Food stuck to the pan and burned. How do I fix it?
Add water to the pan and bring it to a boil — most burnt residue will lift within 60 seconds. For stubborn carbon buildup, a chain mail scrubber or steel wool is fine (iron is forgiving of abrasion). After scrubbing, rinse, heat-dry on the stove, and re-apply your oil coat. If the oil coating was stripped by the scrubbing, repeat the oil return technique once before cooking again.
I haven't used the pan in months and it's rusty. Can I save it?
Yes — iron pan rust is almost always surface rust, not structural damage. Scrub the rust off with a fine scrubber or fine-grit sandpaper. Wash, then heat-dry thoroughly on the stove. Once dry, re-season by applying a thin oil layer and heating until it smokes, then wiping and repeating 2–3 times. The pan will be ready to use again.
My vegetables turned slightly dark. Is that a reaction with the iron?
Yes — certain vegetables high in tannins (burdock root, lotus root, eggplant) react with iron and can discolor. This is not harmful; it's a normal chemical reaction and the iron content is still safe to eat. If the color bothers you, blanch tannin-rich vegetables briefly in acidulated water before stir-frying, or use a stainless pan for those specific dishes.
Can I use an iron pan on an induction (IH) cooktop?
Yes — iron is magnetic, so it works perfectly on induction. One caution: induction heats the base of the pan very rapidly and unevenly compared to gas. Start on low-to-medium and let the pan come up to temperature gradually. Starting on high heat with induction can warp the pan base over time. Once the pan is preheated, you can increase the heat setting.
Can I cook tomato sauce or vinegar-based dishes in an iron pan?
You can, but acidic ingredients strip the seasoning layer. After cooking a tomato or vinegar dish, the pan surface may feel rough or dull — this is normal. After cleaning, do one or two rounds of the oil return before your next cook to rebuild the coating. Avoid long simmering of acidic sauces in iron; if you need to reduce a tomato sauce for 30+ minutes, a stainless pan is more appropriate.
Which Japanese iron pan is best for stir-fry?
For stir-fry specifically, a nitrided iron pan like Riverlight's Kiwame JAPAN is an excellent starting point — it doesn't require initial seasoning, handles high heat well, and is made in Chiba Prefecture. For traditional cast iron, OIGEN from Iwate (Nambu tekki) offers superb heat retention but is heavier. If you want to minimize weight while keeping iron performance, a thinner pressed iron pan in the 1.6mm range is easier to maneuver.
Summary
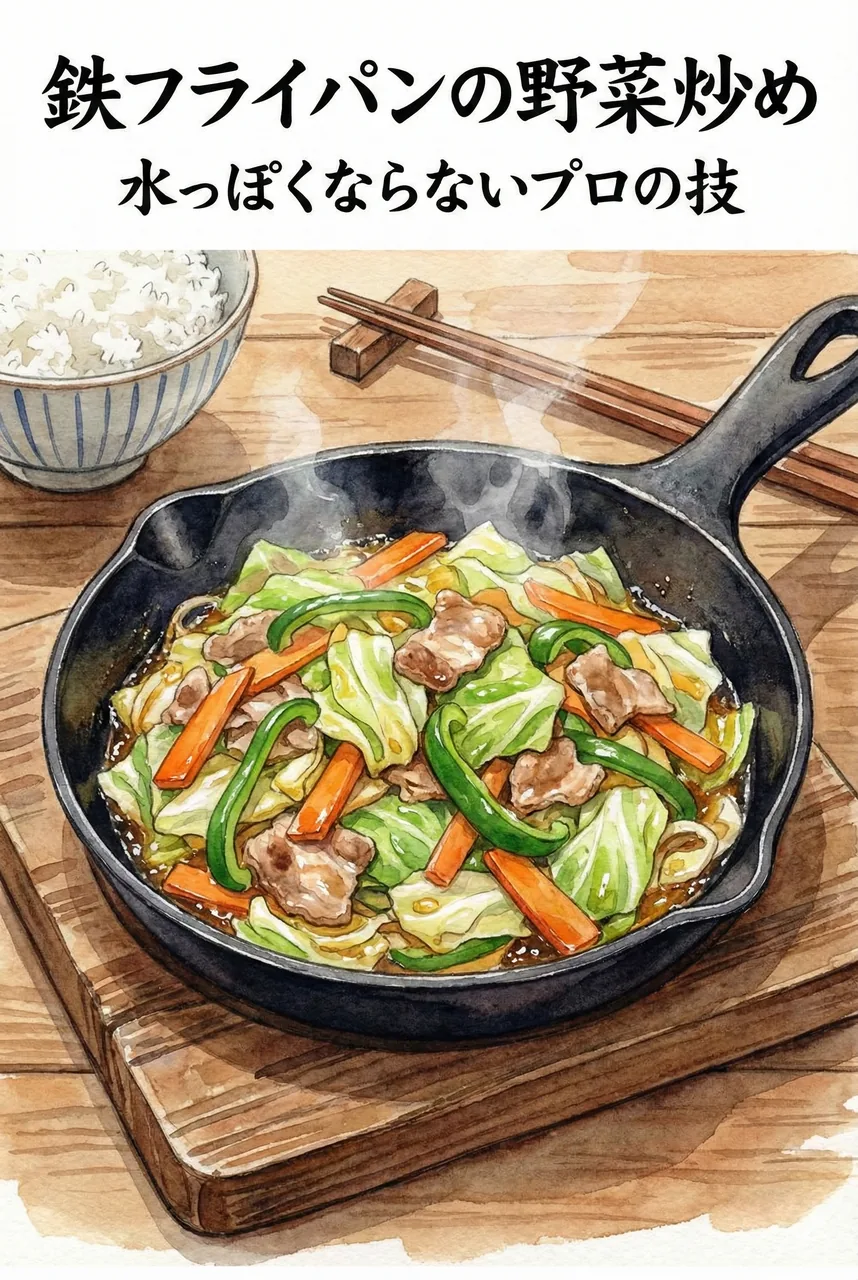
An iron pan doesn't make stir-fry better through magic — it makes it better through heat. The key is trusting the process: preheat until you see smoke, do the oil return to create a non-stick surface, add vegetables in order of density, press them down rather than toss them, and hold the salt until the very end.
The pan itself gets better with every use. Within a few months of regular cooking, the surface will be seasoned dark and slick, food will release easily, and the slightly laborious care routine will feel like a natural part of cooking rather than extra work. Start with a simple stir-fry, and let the pan teach you the rest.