Japanese iron frying pans are easier to maintain than their reputation suggests — especially modern nitrided iron pans that need no initial seasoning. The daily routine is three steps: wash with hot water and a brush while warm, heat on the stove to dry completely, apply a thin film of oil before storing. That's it. This guide covers that routine in detail, plus how to season a traditional iron pan and how to rescue one that has rusted.
And if you've been avoiding iron pans because seasoning sounds like too much work: modern Japanese brands like Riverlight (Kiwame JAPAN) have solved this with factory pre-treatment that makes traditional seasoning unnecessary.
Quick Reference: Iron Pan Problems & Solutions
| Problem | Cause | Fix | Prevention |
|---|---|---|---|
| Rust spots | Residual moisture in storage | Scrub with steel wool + cleanser, re-season | Always heat-dry after washing |
| Food sticking | Insufficient oil layer or underpreheat | Re-season with 3 oil rounds | Preheat fully before adding oil |
| Burnt residue | Too high heat, insufficient oil | Boil baking soda water, scrub, re-season | Use medium-high, not maximum heat |
| Metallic smell/taste | Insufficient seasoning layer | Complete full seasoning cycle 2–3 times | Regular use builds up the oil layer |
Why Iron Pans Need Seasoning (and What That Actually Means)
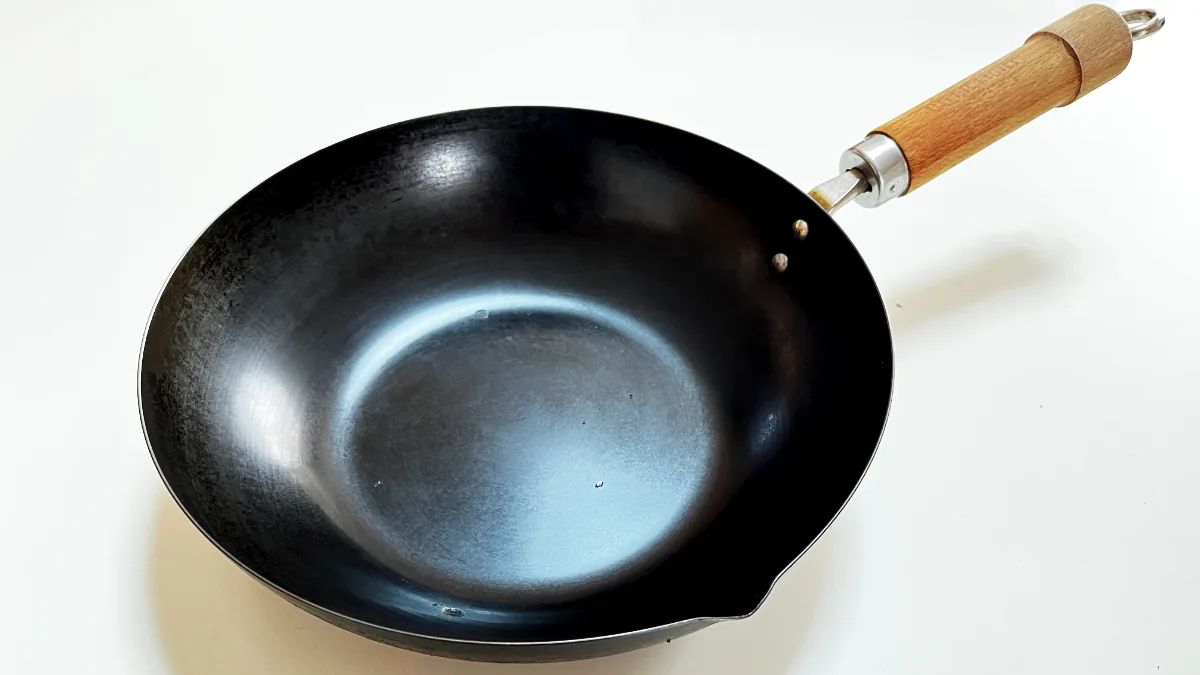
Iron is a porous material at a microscopic level. A new, bare iron pan has an uneven surface that food proteins bond to — causing sticking. Seasoning fills and smooths those pores with layers of polymerized oil: fat that has been heated to the point where it chemically bonds to the iron surface, creating a slick, stable layer.
Unlike synthetic coatings, this oil layer gets stronger with use. After six months of regular cooking, a well-maintained iron pan becomes genuinely non-stick for most foods — and after a year or two, many people find their iron pan outperforms any coated pan they've owned. The seasoning is self-repairing: every time you cook with oil in an iron pan, you're adding to it.
Did you know: iron pans and dietary iron
Cooking in an iron pan transfers trace amounts of dietary iron into food — particularly with acidic or moisture-rich dishes. Studies have shown that regular iron pan cooking can meaningfully increase dietary iron intake, which is beneficial for people who are iron-deficient or at risk of anemia. This is one of the few cases where your cookware is also a nutritional tool.
Initial Seasoning: Step-by-Step
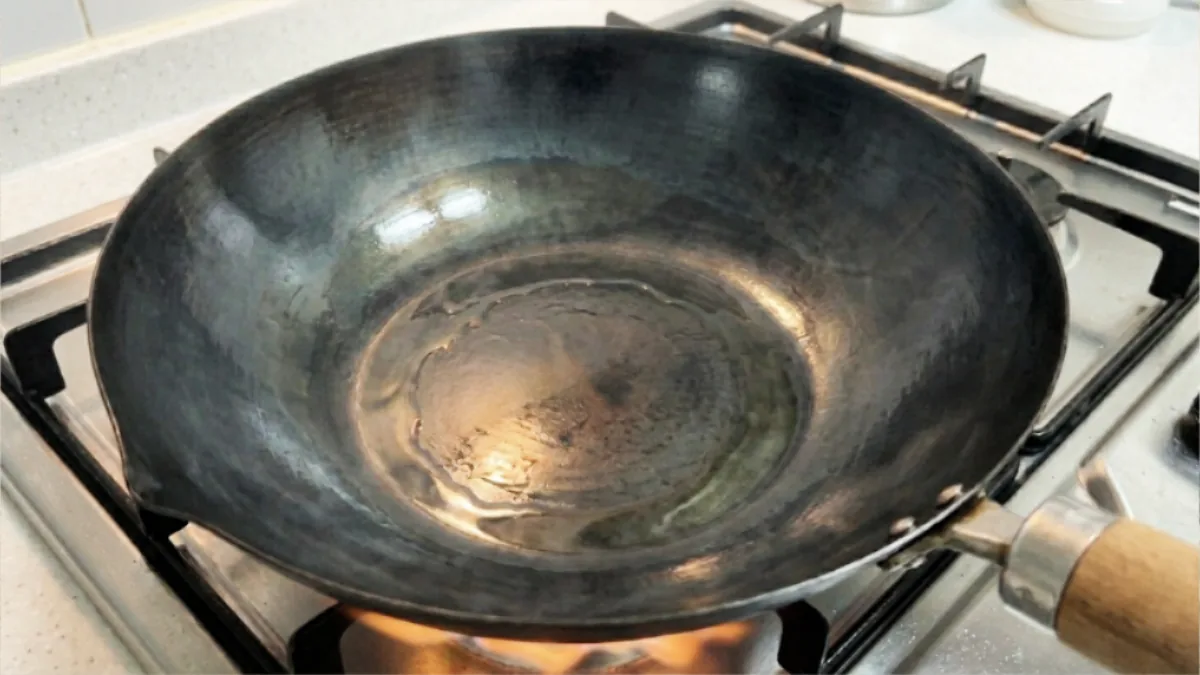
Traditional iron pans (those with a clear lacquer coating applied at the factory to prevent rust during shipping) require this initial process before first use. Modern Japanese pans from Riverlight, Fujita Kinzoku, and others have factory pre-treatment that makes this step unnecessary — check the product instructions.
For traditional iron pans: initial seasoning
- Burn off the protective lacquer: Place the empty pan on high heat. A clear protective coating was applied at the factory to prevent rust in transit. Heat until smoke stops appearing — the coating has burnt off. The pan surface may turn bluish-gray. This is normal.
- Wash and dry: Let the pan cool slightly, then wash with dish soap and a brush. This is one of the rare times soap is appropriate on an iron pan. Dry completely — heat on the stove briefly to drive off any remaining moisture.
- Oil the pan: Add a generous amount of oil (enough to coat the base to about 5 mm depth). Heat on medium-low for 3–5 minutes until the oil starts to smoke lightly. Swirl to coat the sides.
- Drain and wipe: Pour the oil into a heat-safe container. While still warm, wipe the inside of the pan with paper towels — press firmly so oil penetrates the pores. The pan will look darkened and slightly oily. That's the goal.
- Repeat: For best results, do the oil-heating-wiping cycle 2–3 times. After the third round, your pan has a foundational seasoning layer and is ready to use.
After the initial seasoning, avoid cooking highly acidic foods (tomatoes, citrus, vinegar) for the first few weeks — acids dissolve the thin new oil layer. Stick to proteins (eggs, meat) and vegetables while the seasoning builds up.
Modern Japanese Iron Pans That Need No Initial Seasoning
Several leading Japanese iron pan manufacturers have eliminated the need for initial seasoning through factory pre-treatment. These pans arrive ready to cook.
- Riverlight Kiwame JAPAN: Nitriding + oxidation treatment hardens the surface and eliminates rust-prevention lacquer. No burning-off step needed. Rinse with warm water, dry, apply a thin oil film, and cook.
- Fujita Kinzoku (hard tempering): Factory workers heat each pan to near 700°C and apply oil — completing the seasoning before shipment. The pan arrives pre-seasoned.
- OIGEN (Naked Finish): OIGEN's proprietary surface treatment eliminates synthetic coatings. Wipe clean with a damp cloth, apply oil, and begin cooking. The pan's surface is already prepared.
If you purchase any of these brands, follow the manufacturer's specific first-use instructions (often just "rinse and dry") rather than the traditional lacquer burn-off process. Applying the wrong initial treatment to a pre-treated pan can undo the factory preparation.
Daily Care: The Three-Step Routine
After the initial seasoning, daily care is simple. The entire routine takes about 3 minutes.
Step 1: Wash with hot water while warm
Wash the pan immediately after cooking, while it is still warm. Warm iron releases food residue easily; cold iron makes it stick harder. Use hot water and a stiff brush (a traditional Japanese tawashi palm brush is ideal) or a non-scratch scrub pad. Avoid dish soap — it strips the oil layer. For stuck-on bits, a small amount of coarse salt used as an abrasive is effective and safe for the seasoning.
Exception: Some modern nitrided iron pans (Riverlight Kiwame, for example) explicitly allow mild soap. Always follow the manufacturer's guidance for your specific pan.
Step 2: Heat-dry on the stove
After washing, place the pan back on medium heat for 1–2 minutes until all visible moisture has evaporated. This is the most important step. Rust forms from residual water, not from cooking. A pan that is left damp — even for a few hours — will develop surface rust. Don't skip this step, even if the pan looks dry after toweling.
Step 3: Apply a thin oil film
While the pan is still warm from drying, use a paper towel to wipe a very thin layer of neutral cooking oil (vegetable oil, rice bran oil, or flaxseed oil) across the entire interior surface. The layer should be so thin the pan looks barely oiled — not visibly slick. Store in a dry location. If hanging, that's ideal: good airflow prevents any remaining moisture from concentrating.
Rescuing a Rusted or Burnt Pan
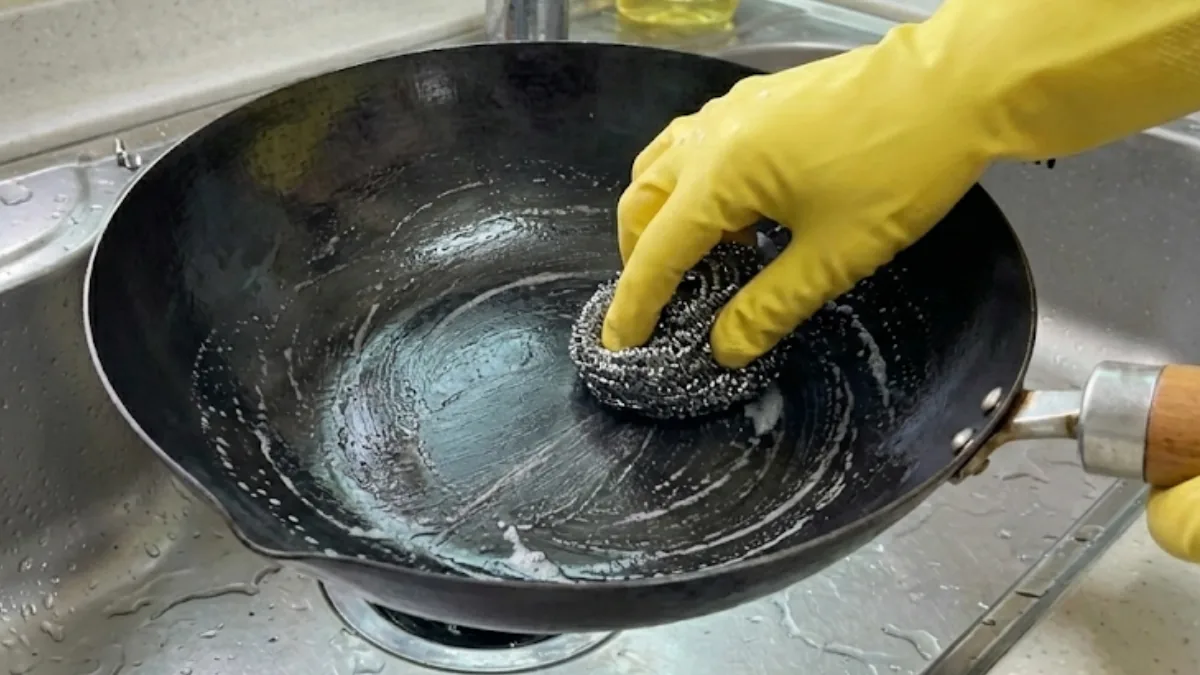
This is the most important advantage iron has over coated pans: it can be completely restored. A coated pan with a peeled surface is finished. A rusted or burnt iron pan is one scrubbing session away from being like new.
Removing rust
- Use steel wool or a metal scrubbing pad with an abrasive cleanser (Bar Keepers Friend or equivalent). Scrub the rusted areas firmly — the goal is to remove all rust down to bare metal.
- Wash with soap and hot water to remove all cleanser residue.
- Heat on the stove to dry completely.
- Perform the full initial seasoning process (3 oil rounds) to rebuild the protective layer.
Removing heavy burnt residue
- Fill the pan with enough water to cover the burnt area. Add 1 tablespoon of baking soda.
- Bring to a boil and simmer for 10 minutes. The burnt material softens and loosens.
- Let cool slightly, then scrub with a stiff brush or scrub pad. Most burnt residue will come off easily.
- For anything remaining, use steel wool and scrub firmly.
- Re-season with 2–3 oil rounds.
After restoration, the pan may look different from its pre-damage appearance — lighter, patchier. This normalizes after a few cooking sessions as the seasoning rebuilds. Cook fatty foods (bacon, sausage) for the first few uses to help the oil layer establish quickly.
Best Japanese Iron Pans for Low-Maintenance Cooking
Riverlight — Kiwame JAPAN Series
Riverlight's Kiwame JAPAN (極ジャパン) is the easiest Japanese iron pan to start with. The nitriding and oxidation surface treatment gives the pan dramatically better rust resistance than traditional iron — even if you occasionally skip the oil step, surface rust is far less likely. No initial burn-off or seasoning required: rinse, heat to dry, wipe with oil, and cook. The handle is replaceable if it wears out. IH compatible.
- Surface treatment
- Nitrided + oxidized (no lacquer)
- Initial seasoning required
- No — rinse and cook
- Made in
- Japan
- IH compatible
- Yes
Perfect for: First-time iron pan owners who want all the benefits without the traditional maintenance complexity.
Fujita Kinzoku — Hard-Tempered Iron Pans
Fujita Kinzoku (藤田金属), based in Yao City, Osaka, performs factory hard-tempering on each pan: workers heat every piece to approximately 700°C and apply oil by hand — completing the initial seasoning before shipment. The pan arrives pre-seasoned and ready to cook. Their "Frying Pan Story" (フライパン物語) and "Frying Pan Ju" (フライパンジュウ) series are also notable for being designed to go directly from stovetop to table as serving dishes.
- Surface treatment
- Factory hard-tempered (pre-seasoned)
- Initial seasoning required
- No — pan is pre-seasoned
- Made in
- Yao City, Osaka, Japan
- Design
- Stovetop to table (tableware-style)
Perfect for: Cooks who want a design-forward iron pan and appreciate the craftsmanship of factory hand-seasoning.
OIGEN — Nambu Cast Iron Frying Pan
For cooks who want maximum heat retention and are comfortable with the weight of cast iron, OIGEN's Nambu frying pans are exceptional. OIGEN has cast iron in Oshu City, Iwate Prefecture, since 1852. Their Naked Finish treatment avoids synthetic coatings, letting the natural iron surface develop seasoning through use. The significant weight (a 24 cm pan runs about 1.8 kg) is a trade-off for unmatched heat retention — surface temperatures stay stable when you add multiple pieces of cold meat, producing a consistent, powerful sear.
- Material
- Nambu cast iron
- Surface treatment
- Naked Finish (no synthetic coating)
- Made in
- Oshu City, Iwate, Japan
- Weight (24 cm)
- Approx. 1.8 kg
Perfect for: Serious cooks who prioritize performance above all else and are ready to embrace the weight of traditional cast iron.
FAQ
Can I use dish soap on a Japanese iron frying pan?
For traditional seasoned iron pans: avoid soap, or use only a very small amount. Dish soap is designed to dissolve oils, which means it strips the polymerized oil layer that makes iron pans non-stick. Hot water and a brush or scrub pad are sufficient for normal cleaning. However, modern nitrided iron pans (Riverlight Kiwame JAPAN) specifically allow mild soap — always check your pan's instructions first.
My iron pan is completely rusted. Do I need to throw it away?
No — a rusted iron pan can almost always be restored. Scrub the rust off completely with steel wool and an abrasive cleanser, wash with soap and water, heat-dry on the stove, then perform the full initial seasoning process (3 rounds of heating oil and wiping). The pan will be functional again. Iron pans are often passed down through generations precisely because they can be rescued from even severe neglect.
What is the difference between nitrided iron and regular iron pans?
Nitrided iron pans (like Riverlight Kiwame) have a hardened surface layer created by exposing the iron to nitrogen at high temperature. This process: eliminates the need for an anti-rust lacquer at the factory (which traditional pans require burning off before first use); significantly increases rust resistance; and hardens the surface so it resists scratches and abrasion better. Nitrided iron pans behave like traditional iron in cooking — same heat retention, same seasoning development — but with a much lower maintenance threshold.
Can I cook tomatoes or acidic food in an iron pan?
Occasionally, but not for extended cooking. Acids react with iron, dissolving the seasoning layer and potentially producing a metallic flavor in the food. Short contact with acidic ingredients (a quick deglaze with wine, tomatoes added near the end of cooking) is generally fine. Long simmering of tomato sauce, citrus dishes, or vinegar-heavy preparations in an iron pan will strip the seasoning and may impart off-flavors. Use stainless steel for acid-heavy cooking.
How do I know when my iron pan needs re-seasoning?
When food that used to release cleanly starts sticking consistently, or when you see patchy, dull areas on the surface. Partial sticking in one area often means the oil layer has worn away there. You can spot-re-season (heat that area, apply oil, wipe) rather than doing a full reset. A full re-seasoning is warranted after rust removal, after heavy scrubbing, or after an extended period without use.
Is an iron frying pan safe to use on an IH induction stove?
Yes — iron is naturally IH-compatible. Iron is a magnetic metal, which is what induction stoves require to generate heat. All iron frying pans (pressed iron and cast iron) work on induction without any modification. The Riverlight Kiwame JAPAN series explicitly confirms IH compatibility across their entire line.
Iron frying pans require more attention than coated pans, but the attention they require is minimal and becomes automatic after a few weeks. The payoff — a pan that gets better every year, never needs replacement, and produces a sear no coated pan can match — makes the learning curve worth it. Start with a modern nitrided iron pan if you want the easiest possible entry point. Once you cook steak in iron for the first time, you'll understand why professional kitchens have always used it.
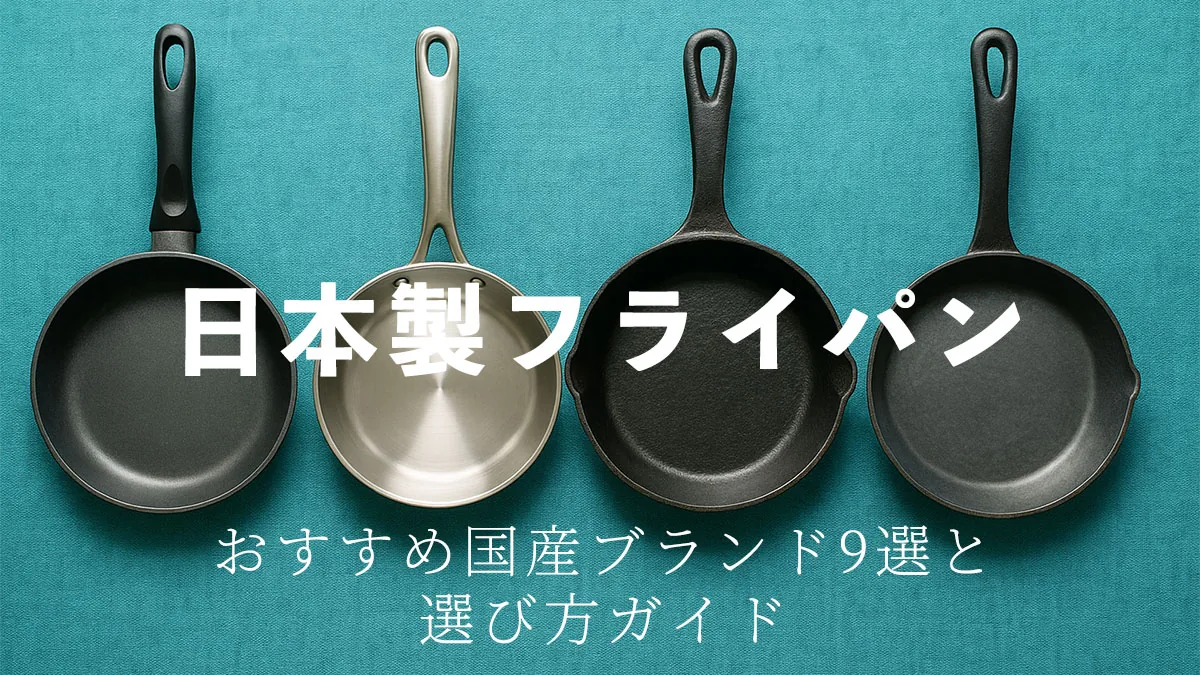
Best Japanese Frying Pans: Materials, Brands & Buying Guide
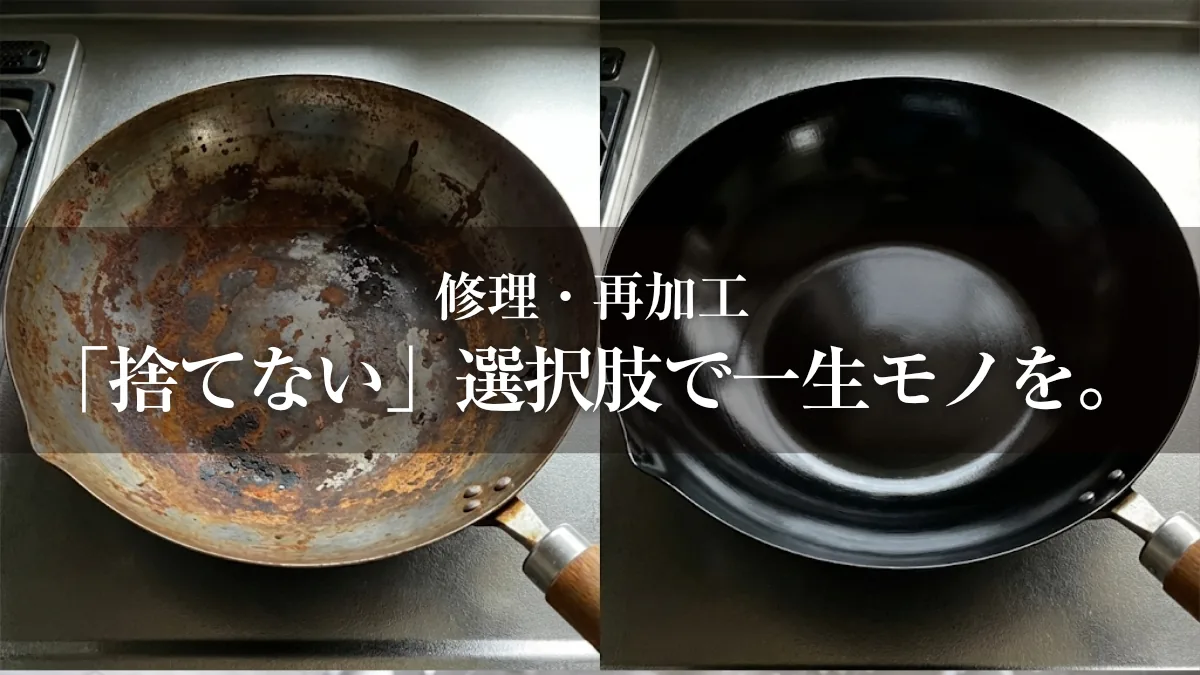
Japanese Frying Pans You Can Repair and Recoat — Built to Last