
"I just broke a bowl I really loved…"
That sinking feeling might actually be the start of something better.
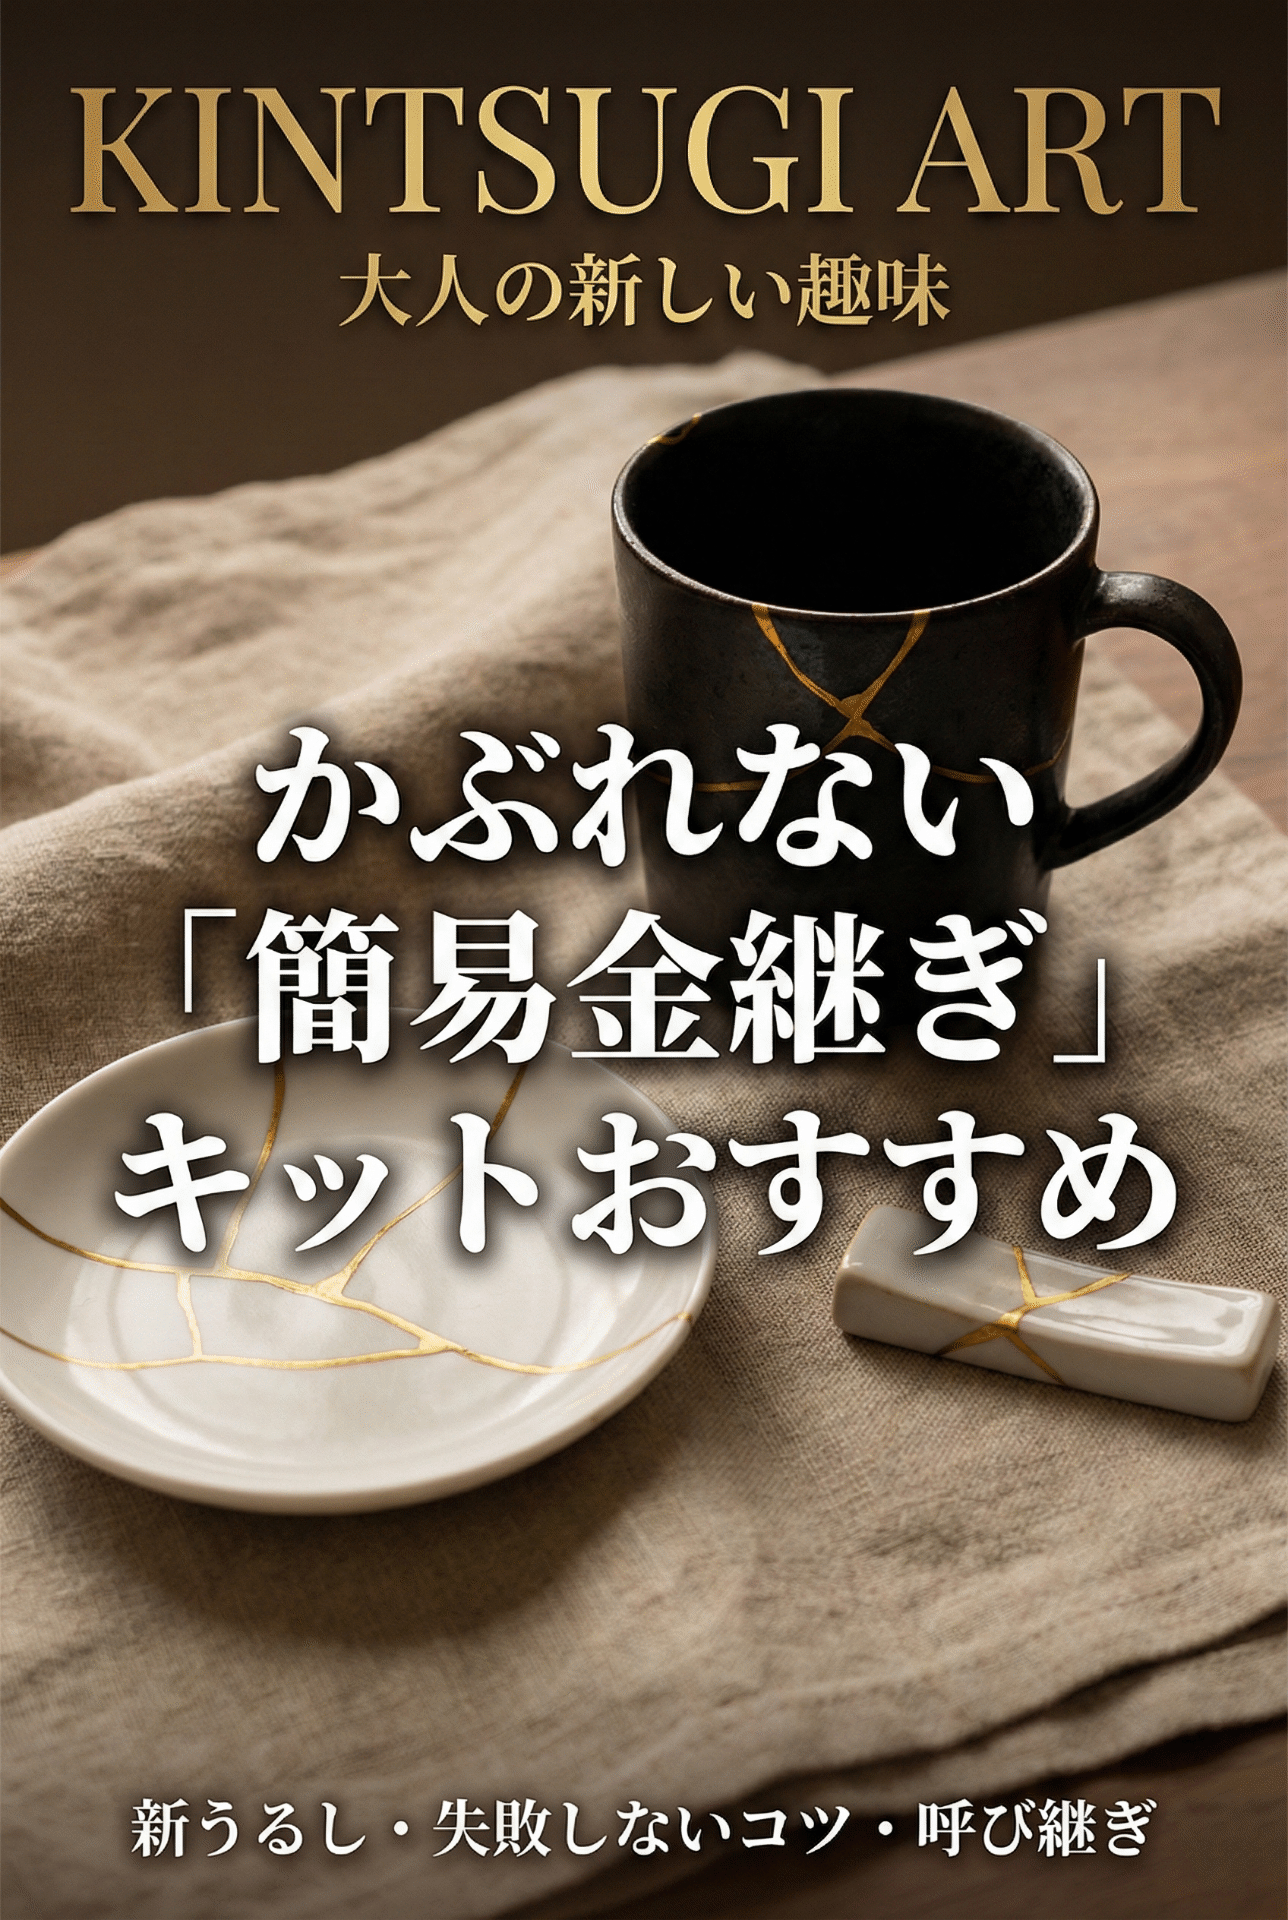
Japan has a centuries-old tradition of repairing broken ceramics with lacquer and gold powder — a practice called kintsugi (金継ぎ). Rather than hiding the damage, kintsugi celebrates it: the crack or chip becomes a golden seam, and the repaired piece is considered more beautiful than the original.
"But isn't lacquer toxic? And doesn't it take months?"
Not with modern kits. Today, simplified kintsugi kits use synthetic lacquer (shin-urushi) or food-safe resin — low irritation risk, and finishable in one to three days. This guide will show you where to start.
Quick Reference: Simplified vs. Traditional Kintsugi
| Feature | Simplified Kintsugi (beginners) | Traditional Kintsugi |
|---|---|---|
| Materials | Synthetic lacquer (shin-urushi), epoxy resin | Natural urushi lacquer, wheat paste |
| Skin irritation risk | Very low | High (urushi causes reactions in many people) |
| Time to finish | 1–3 days | 1–3 months |
| Best for | Decorative plates, chopstick rests, favourite pieces | Heirlooms, antiques, pieces used for eating & drinking |
1. Turning Damage into Beauty: The Japanese Aesthetic of Keshiki
Repair traditions exist all over the world. But deliberately highlighting the damage — and calling it beautiful — is a distinctly Japanese sensibility.
The Repaired Line as "Scenery"
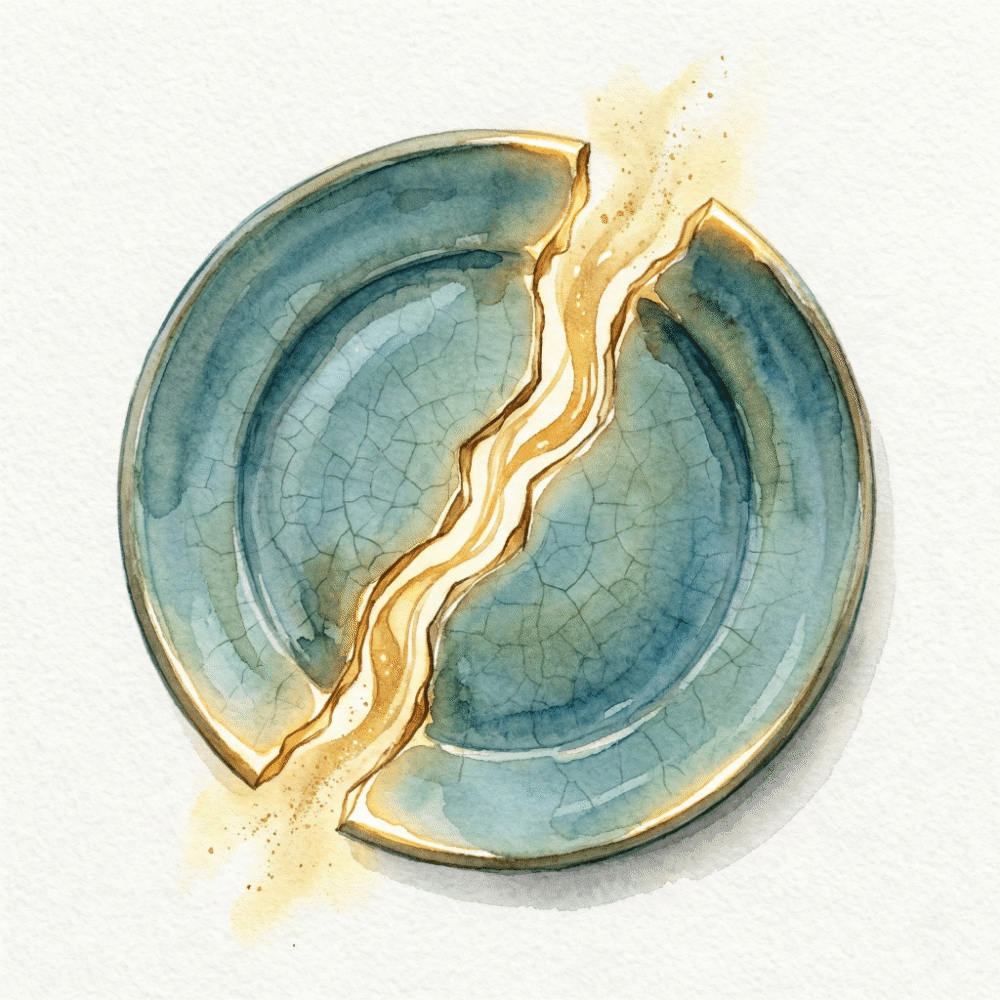
In kintsugi, a crack might be shaped to evoke a bolt of lightning; a chip might be filled to form a flower petal.
In the world of the tea ceremony, these repaired markings are called keshiki (景色) — "scenery."
A well-repaired piece can be considered more valuable than before it broke.
The philosophy of wabi-sabi — finding beauty in imperfection — runs through every kintsugi repair.
2. Simplified vs. Traditional Kintsugi: The Key Differences
There are two main approaches to kintsugi: the centuries-old traditional method, and a modern simplified version.
Choosing the right one depends on how you plan to use the repaired piece.
Pros and Cons at a Glance
| Feature | Simplified Kintsugi (recommended for beginners) | Traditional Kintsugi |
|---|---|---|
| Materials | Synthetic lacquer (shin-urushi), epoxy resin | Natural urushi lacquer, wheat paste |
| Skin irritation | Very low risk | High risk — urushi causes dermatitis in many people |
| Time | 1–3 days | 1–3 months (multiple curing cycles) |
| Best use | Decorative pieces, outer repairs | Fine tableware, antiques, pieces used with food & drink |
Note: Some simplified kintsugi kits are certified food-safe, but to be cautious, it's wise to start with pieces that won't touch food or drink directly.
3. 3 Japanese Kintsugi Kits for Beginners
If you're starting out, an all-in-one kit removes the guesswork.
These three were selected for low irritation risk, ease of use, and availability.
Gold Kintsugi Repair Kit — Beginner Starter with Practice Cup
Everything a first-timer needs — no previous experience required.
This kit includes epoxy adhesive, putty filler, gold powder, mixing tools, brushes, and a practice ceramic cup so you can test the technique before working on your actual piece. The synthetic approach means low irritation risk and a repair that finishes in 1–2 days. Clear instructions included. The elegant packaging makes this the most popular choice as a gift for someone who has always wanted to try kintsugi.
- Method
- Simplified (epoxy + gold powder)
- Skin irritation risk
- Very low
- Includes
- Practice ceramic cup, brushes, putty, gold powder
- Price range
- $20–$35
Kintsugi Repair Kit — Genuine Japanese Urushi Lacquer from Japan
Authentic natural urushi lacquer, shipped directly from Japan.
For those who want to use genuine natural lacquer — not synthetic — this kit provides 100% natural urushi from Japanese sources. Natural urushi has been used for 9,000 years and produces a deeply authentic, archival-quality repair. Be aware: urushi can cause dermatitis similar to poison ivy in sensitive individuals, so gloves are essential. If you plan to use the repaired piece with food or drink, natural urushi — once fully cured — is the appropriate material.
- Method
- Traditional (natural urushi lacquer from Japan)
- Skin irritation risk
- High — wear gloves, test allergic sensitivity first
- Best for
- Heirlooms; pieces used for eating and drinking
- Price range
- $40–$70
Chimahaga Traditional Kintsugi Kit — Food-Safe, Genuine Gold, Urushi DIY
Food-safe certified, genuine gold powder, and authentic Japanese urushi — the most complete kit available.
Chimahaga's kit was developed specifically for both beginners and experienced practitioners who want genuine materials without compromise. Food-safety certification means the repaired piece can be used with food and drink. Genuine gold powder (not brass) produces a deeper, more permanent gold line that will not tarnish. Step-by-step instructions included.
- Method
- Traditional Japanese urushi + genuine gold powder
- Food safety
- Certified food-safe (once fully cured)
- Best for
- Teacups, soup bowls; those who want permanence
- Price range
- $50–$90
4. How to Do Simplified Kintsugi: 5 Steps
Here is the full process for a simplified kintsugi repair.
Don't rush — each step is part of the pleasure.
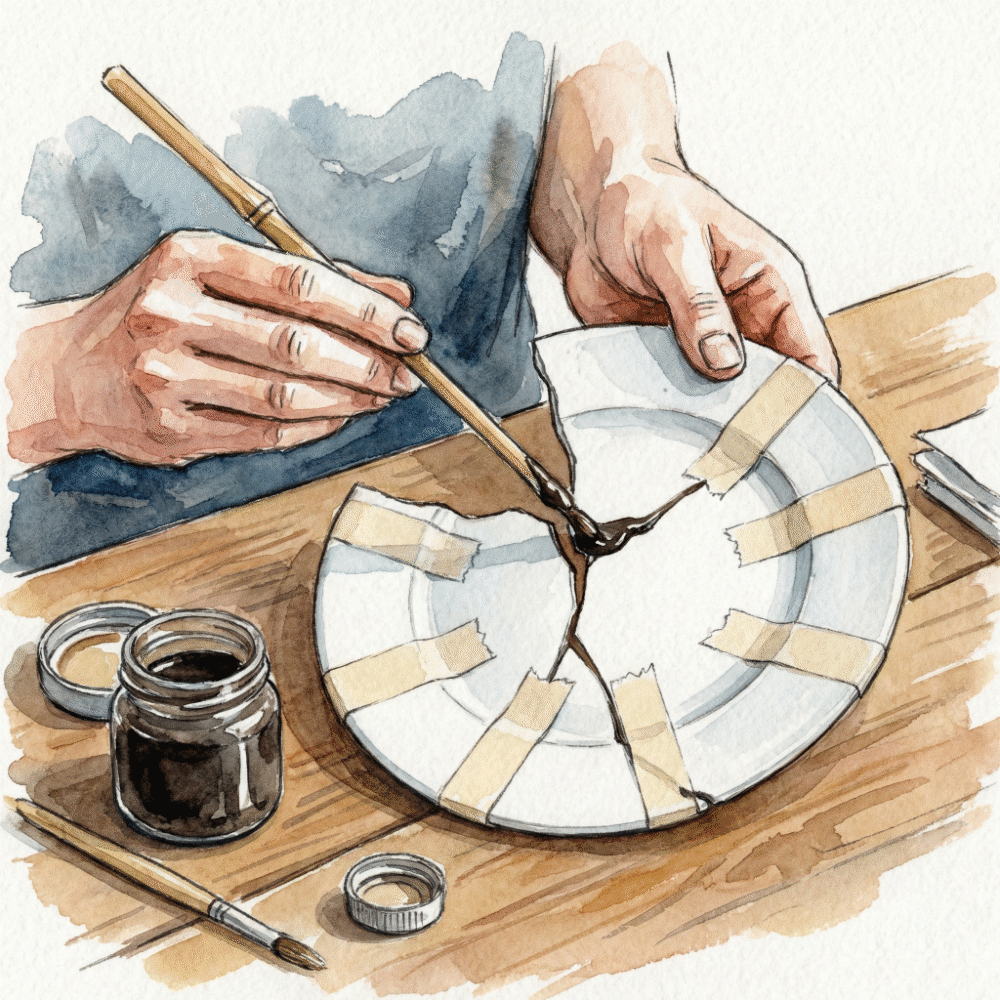
Step 1: Bond (gluing the pieces together)
Mix equal amounts of two-part epoxy adhesive, then apply a thin coat to the broken surfaces with a bamboo skewer.
Press the pieces together, secure with masking tape so nothing shifts, and wait for the adhesive to cure.
Tip: Remove any squeeze-out while it's still semi-dry — a craft knife makes this easy. Fully cured adhesive is much harder to trim neatly.
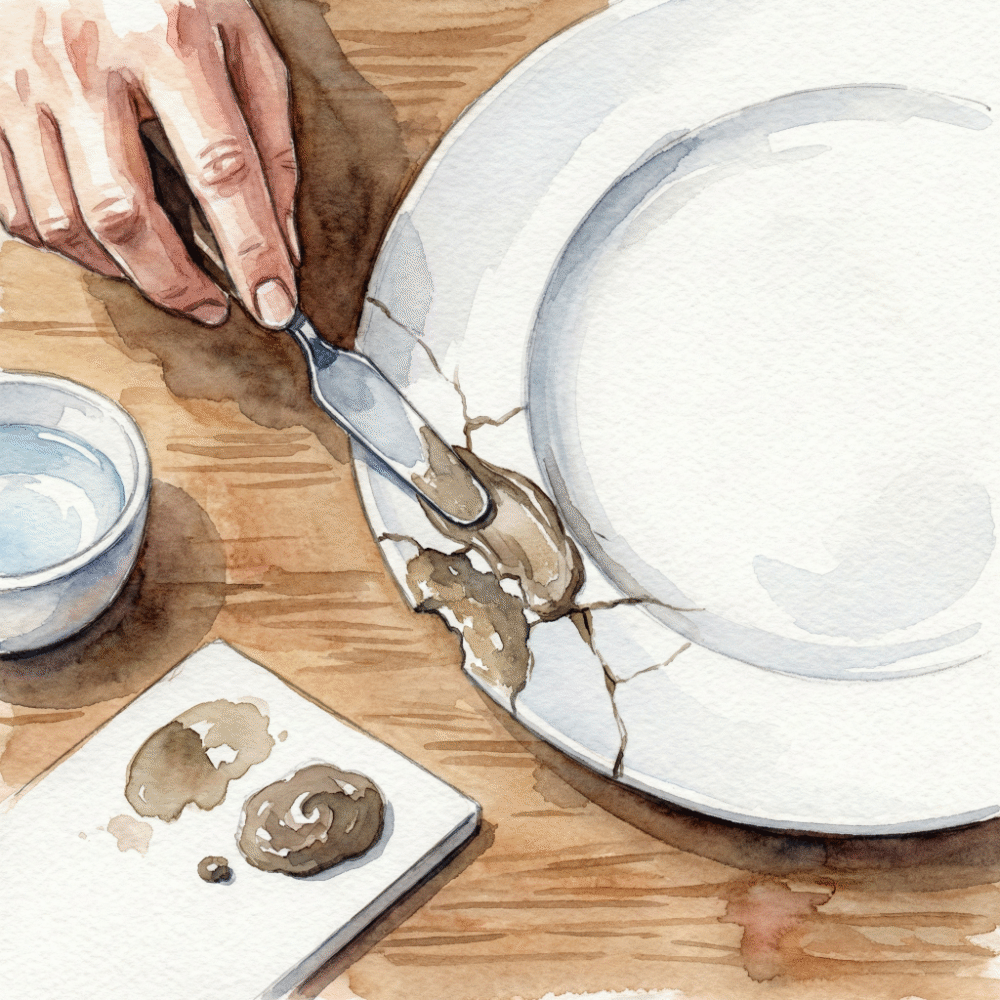
Step 2: Fill (patching missing sections)
If a fragment is lost, fill the gap with epoxy putty.
Knead the two putty components together until the colour is uniform, then press the mixed putty firmly into the missing area.
Tip: Epoxy putty shrinks slightly as it cures, so overfill just a little — you want the surface to be proud of the surrounding ceramic before sanding.
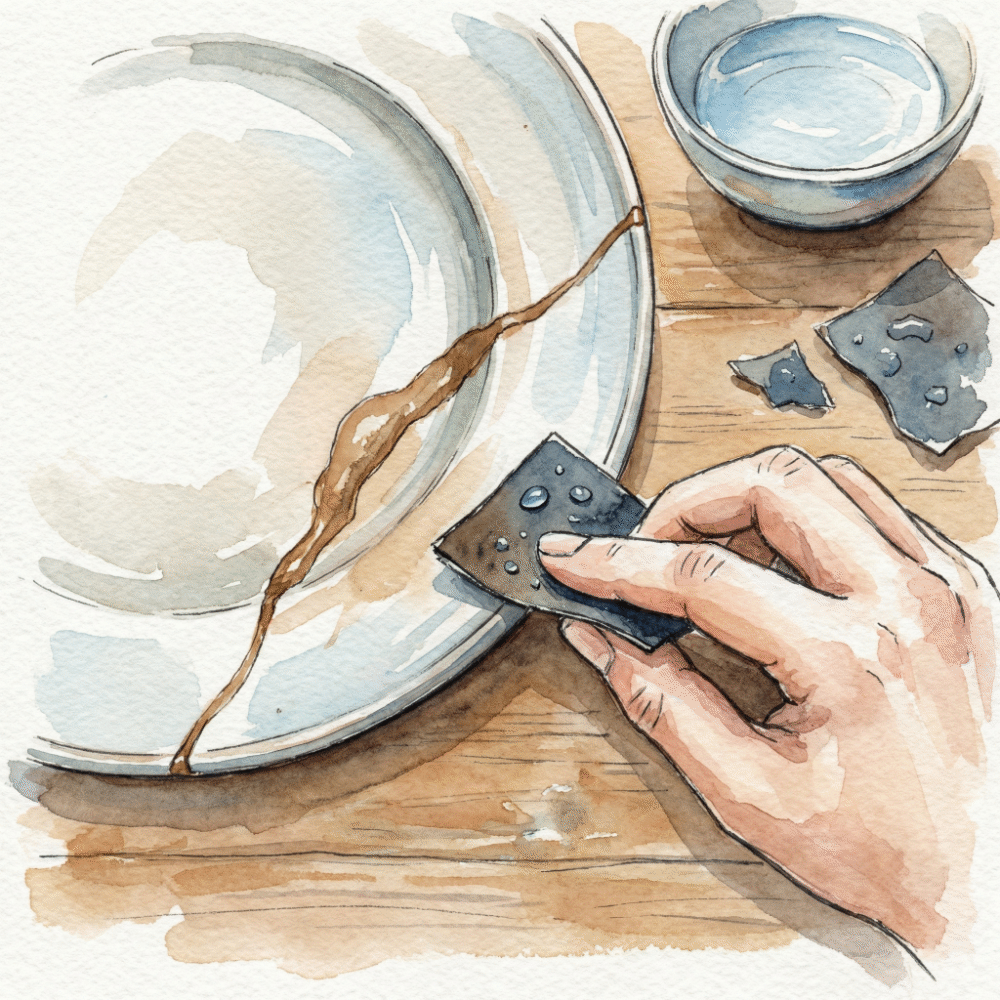
Step 3: Sand (levelling the surface)
Once the adhesive and putty have fully hardened, wet-sand the repair area with wet-and-dry sandpaper.
Keep sanding until there is no ridge between the original ceramic and the filler — smooth to the touch.
Tip: This is the most critical step. Any remaining bump will cause the gold line to look uneven. Take your time here.
Step 4: Lacquer (drawing the gold line)
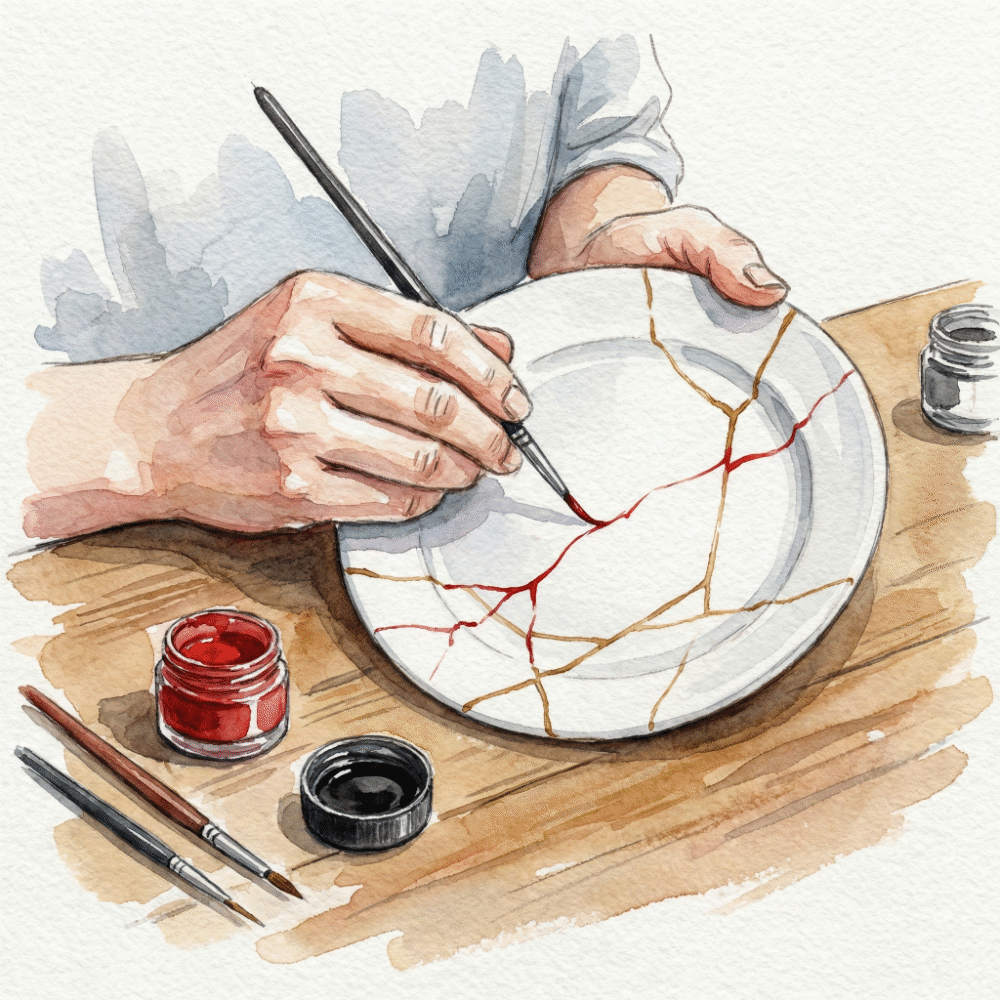
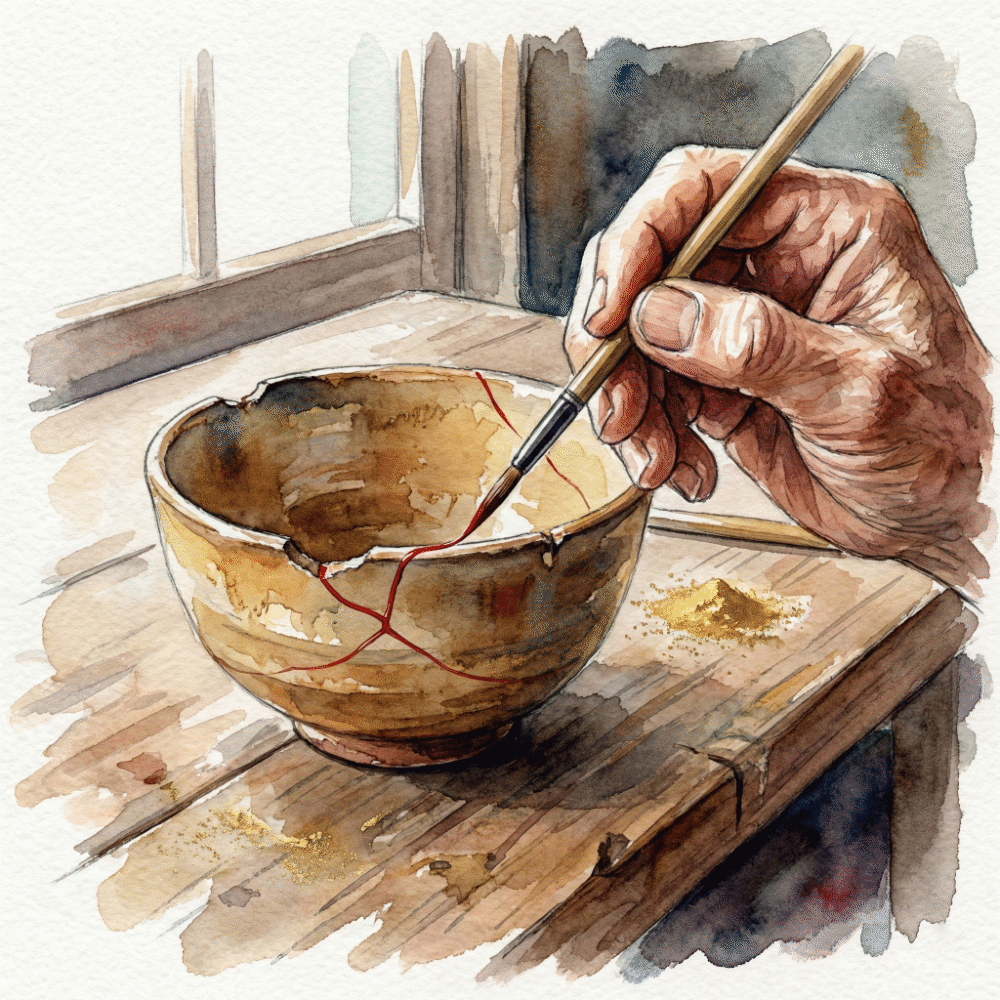
This is the most focused step. Mix shin-urushi with thinner, load a very fine detail brush, and draw along the repair line in one steady, even stroke.
Tip: Hold your breath and pull the brush in a single continuous motion. Apply thinly — a heavy coat dries slowly and unevenly. Two thin coats beat one thick one.
Step 5: Dust (applying the gold powder)
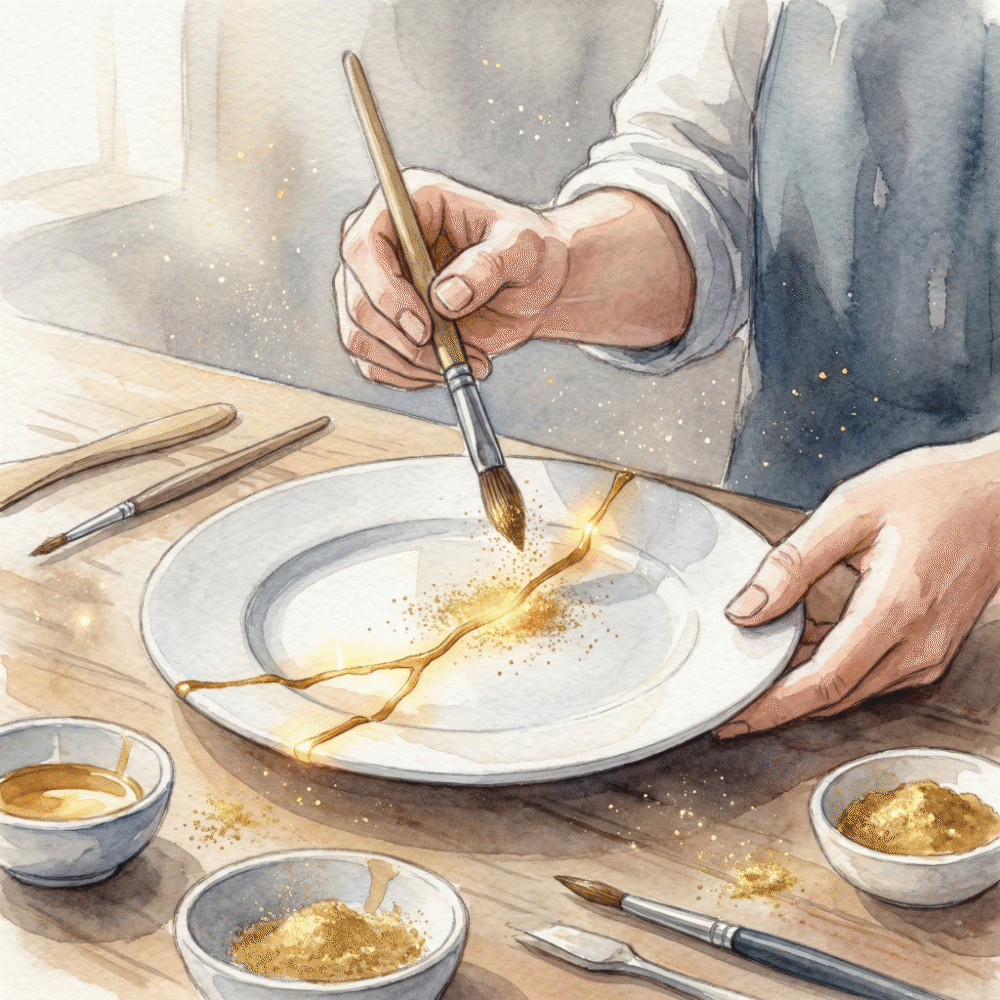
While the lacquer is still tacky, apply gold powder (usually brass powder in beginner kits) with a soft brush, dusting gently over the wet line.
The lacquer grips the powder as it dries, and the golden seam slowly emerges.
Finish: After a few days of curing, buff away the excess powder with a soft cotton cloth. Your kintsugi is complete.
5. Yobitsugi: The Art of Patching with a Stranger's Shard
Once you're comfortable with basic kintsugi, there's a more playful variation to explore.
A Collage in Ceramic
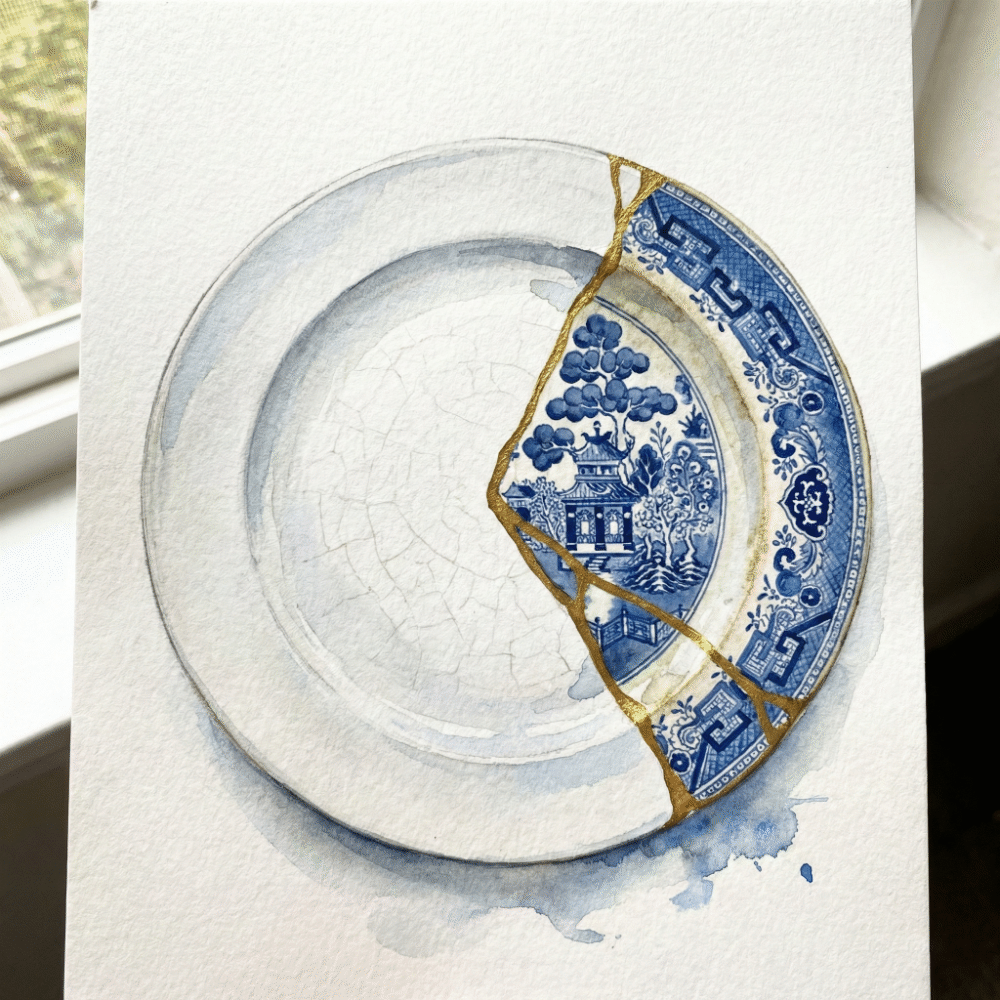
When a fragment is missing, traditional kintsugi leaves you with a filled patch. Yobitsugi (呼び継ぎ) takes a different approach: deliberately filling the gap with a shard from a completely different piece.
A white plate patched with blue-glazed stoneware. A bowl completed with a sliver of glass. The result is a patchwork of identities — an entirely new object with its own story.
This is where kintsugi stops being repair and becomes art.
6. Caring for a Kintsugi-Repaired Piece: What to Avoid
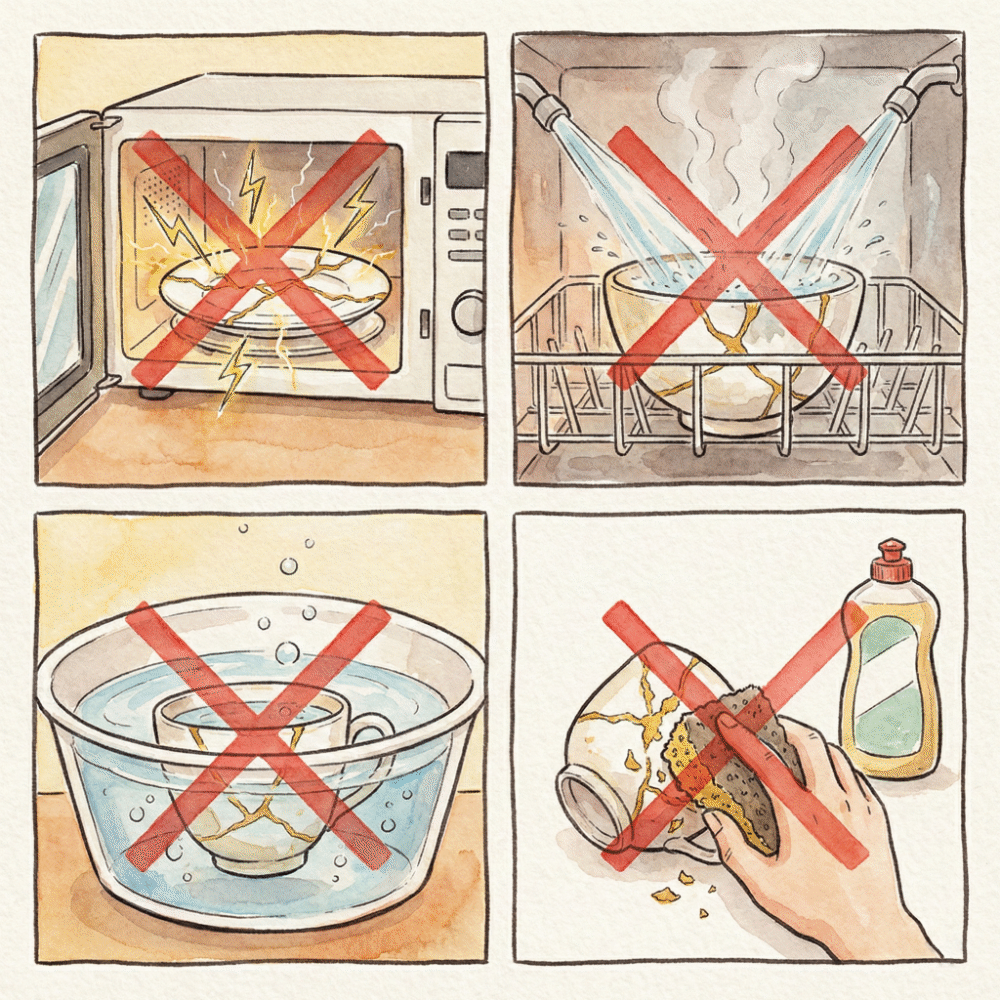
A kintsugi repair is durable, but the repaired piece does require a little more care than before. Here are the four things to avoid.
4 Things That Will Damage a Repaired Piece
- Microwave: Any metallic gold or bronze powder can spark. Keep kintsugi pieces out of the microwave. (Lacquer-only repairs without metal powder may be fine, but the safe rule is: don't.)
- Dishwasher: High heat and strong water jets weaken the repaired joints over time.
- Soaking: Extended exposure to water softens adhesive and accelerates joint failure.
- Abrasive cleaners: Scouring pads and cream cleansers scratch and dull the gold lines. Use a soft sponge only.
Hand-washing takes a little longer, but it deepens your relationship with the piece — which is rather the point.
7. Tips for Success — and When to Call a Professional
What if the repair doesn't go as planned? Or the piece is too precious to risk?
The Most Important Rule — and the Professional Option
The key to a good repair: never apply too thick.
Whether it's lacquer or putty, a thick coat won't cure properly through to the centre. Build up in thin layers — apply, cure, repeat. It feels slower, but the result is far better.
When to hand it over:
For complex breaks, very fine porcelain, or cherished heirlooms, there's no shame in consulting a professional kintsugi artisan. A professional repair takes months, but the result is archival-quality and the piece comes back dramatically stronger and more beautiful than before.
8. Frequently Asked Questions
Can kintsugi be used on glass?
Yes, but it's harder than ceramics.
Glass surfaces are very smooth, making adhesion more difficult — you'll need a glass-specific adhesive. The other challenge is that the joint is visible through the glass from the inside, so a clean finish requires more care.
For your first kintsugi, start with stoneware or porcelain.
Is it safe to eat and drink from a simplified kintsugi repair?
It depends on the kit and where the repair is.
Some simplified kits are certified food-safe under Japanese food sanitation law. Others are not. Check the kit's documentation before using a repaired piece with hot liquids or food contact.
For pieces that touch your lips — a teacup rim, a soup bowl — the safest choice is either a food-certified simplified kit or a traditional natural-urushi repair. When in doubt, use the repaired piece decoratively.
Is the gold powder real gold?
In most beginner kits, no — it's typically brass or mica.
Real 24k gold powder costs significantly more and is generally reserved for professional or high-end traditional repairs. Brass powder looks gold and is beautiful, though it may tarnish over time. Some kits recommend a finishing coat to seal and protect it.
The adhesive squeezed out beyond the repair line. What now?
Wipe it while wet, or trim it once dry.
Squeeze-out left in place will make the gold line look wider and messier than intended.
If the adhesive is still uncured, wipe with a cotton swab dipped in isopropyl alcohol. Once fully cured, carefully trim the excess with a craft knife, then proceed to the lacquer step.
How long does the whole process take?
About two hours of active work for a simplified repair, spread over one to two days.
Most of the time is waiting for adhesive and putty to cure — not hands-on. Traditional kintsugi involves multiple lacquer curing cycles, each taking several days to a week, so expect at least one month from start to finish.
Final Thoughts: A Different Way to Live with Things
Everything that has form will eventually break.
But breaking isn't the end.
Kintsugi is the act of accepting what happened, adding something new, and passing the object forward into a longer life. A piece you've repaired yourself carries a weight that a new purchase never can.
"It broke — now what?" becomes "It broke — what can I make of it?"
That shift in thinking might be the most valuable thing kintsugi teaches.

Japanese Pottery Guide: Arita, Mashiko & How to Choose Ceramics
Japanese Lacquerware (Urushi) Guide: Wajima, Echizen & How to Care for It