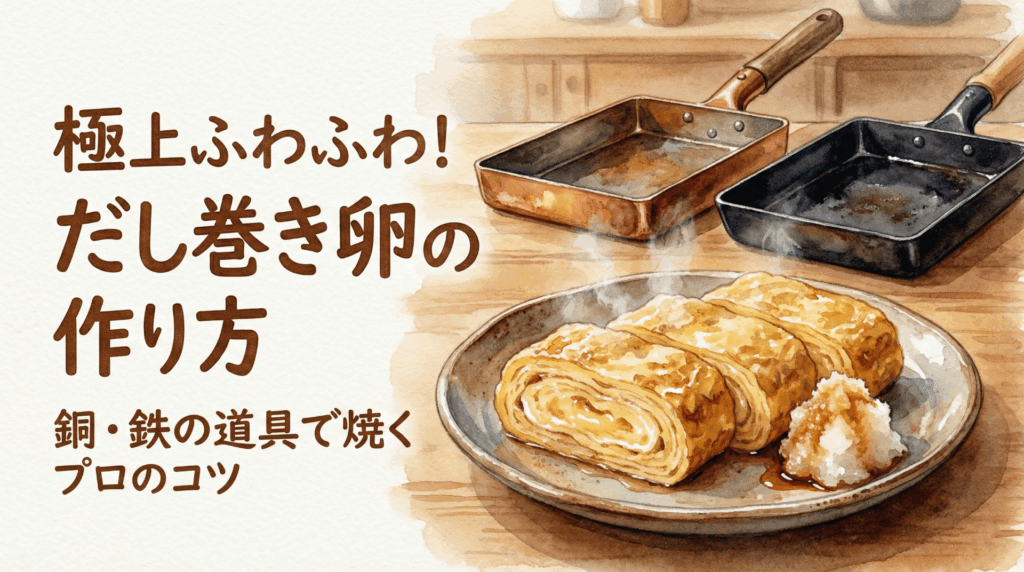
Tamagoyaki made at home usually comes out too firm. The texture is correct — layers of rolled egg — but the softness, the way restaurant tamagoyaki holds moisture and almost trembles when you slice it, is missing. That difference comes down to the pan and two specific techniques: the oil return before every cook, and sliding new egg liquid under the partially-cooked roll. The right pan (copper or iron) makes the temperature management much easier. The right technique does the rest.
This guide covers the complete method — dashi ratio, the two "secret" additions (mayonnaise or katakuriko starch), and step-by-step rolling technique — along with care instructions for copper and iron tamagoyaki pans.
Recipe Overview
Tamagoyaki Variations: Quick Reference
| Style | Key ingredient | Flavor profile | Difficulty |
|---|---|---|---|
| Dashimaki tamago | Kombu / katsuobushi dashi | Umami-forward, lightly sweet | ★★★☆☆ (Medium) |
| Cheese tamagoyaki | Melting cheese | Western-style, rich | ★★☆☆☆ (Easy) |
| Mentaiko tamagoyaki | Spiced cod roe, shiso leaf | Savory, umami-rich | ★★☆☆☆ (Easy) |
| Spinach tamagoyaki | Blanched spinach | Dashi-seasoned, light | ★★☆☆☆ (Easy) |
Why copper and iron pans make better tamagoyaki
Copper: the heat conductor
Copper conducts heat faster than any other common cookware material. When you pour egg mixture into a preheated copper pan, the heat distributes across the entire surface almost instantly — even at medium-low heat. This rapid, even heat allows you to catch the egg at the precise moment it's just set on the outside but still loose inside: the window for rolling fluffy dashimaki tamago. A thick aluminum or stainless pan heats unevenly and too slowly to hit that narrow window consistently.
Traditional copper tamagoyaki pans have a tin (錫/すず) lining on the cooking surface. Tin is non-reactive, slightly non-stick when well-oiled, and prevents the greenish-gray discoloration that can occur when egg sulfur contacts bare copper.
Iron: sear and seasoning
Iron tamagoyaki pans hold heat more consistently than copper and are better at building a light sear on the outer surface — which gives the roll a slightly golden color and a faint savory fragrance. They also improve with every use as the seasoning layer builds, eventually becoming nearly non-stick without any chemical coating. For bento-box tamagoyaki (eaten cold), the firmer texture that iron produces holds its shape better than the softer result from copper.
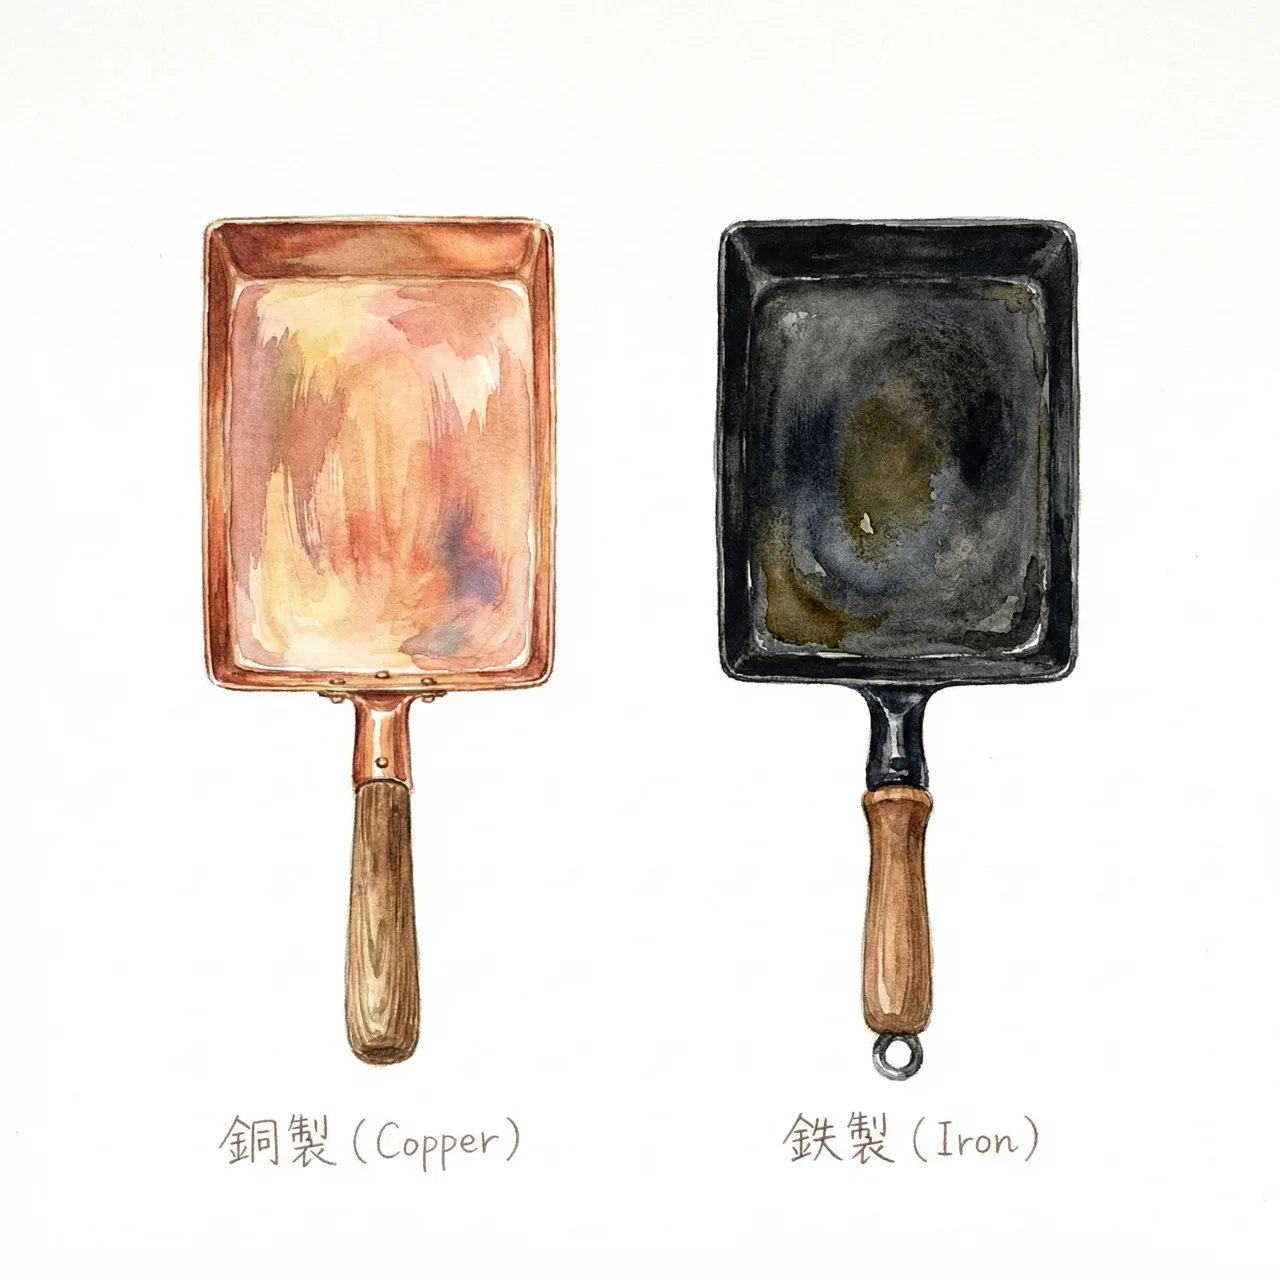
Did you know? Professional Japanese chefs working with dashimaki tamago (Kyoto-style dashi-heavy rolled omelette) almost exclusively use copper pans for this reason: the heat management advantage is decisive when you're working with a very liquid egg mixture that needs to set at exactly the right rate. Home cooks using copper pans for the first time often describe the experience as "forgiving" — the pan is doing part of the work for you.
Ingredients: dashi ratio and two optional additions
Base recipe (serves 2, 3 large eggs)
- Eggs (L size): 3
- Cooled dashi stock: 3–4 tablespoons
(45–60ml)
More dashi = fluffier result, but harder to roll. Start with 3 tbsp if this is your first time. - Sugar: 1 tablespoon (or 2 for a sweeter Kanto-style result)
- Light soy sauce (usukuchi): 1 teaspoon (regular soy sauce also works)
Two optional additions — choose by occasion
Amount: 1 tablespoon
The emulsified oil in mayonnaise coats the egg proteins and prevents them from tightening as the roll cools. Result: tamagoyaki that stays soft even at room temperature — ideal for lunch boxes. The mayonnaise flavor itself disappears during cooking.
Amount: ½ teaspoon, dissolved in the dashi
Starch gelatinizes during cooking and physically traps liquid inside the egg matrix. When you bite into the roll, the liquid releases — a burst of dashi flavor at the moment of eating. This technique is prized in dashimaki tamago and works best when served immediately.
Use one or the other — not both. Mayonnaise for packed lunches; katakuriko starch for table service. Both are optional; the base recipe without either addition produces excellent tamagoyaki.
Preparation: mixing the eggs and oil return
How to mix the eggs
Beat the eggs with chopsticks held flat against the bottom of the bowl, moving them in straight back-and-forth cuts rather than circular whisking. The goal is to break up the stringy egg white cords (濃厚卵白) without incorporating air. Foam in the egg mixture creates bubbles when cooking — the surface becomes uneven and rolling becomes harder.
Once the whites are fully incorporated, the mixture should be a uniform yellow with no visible white streaks. Add the dashi, sugar, and soy sauce, and fold them in gently.
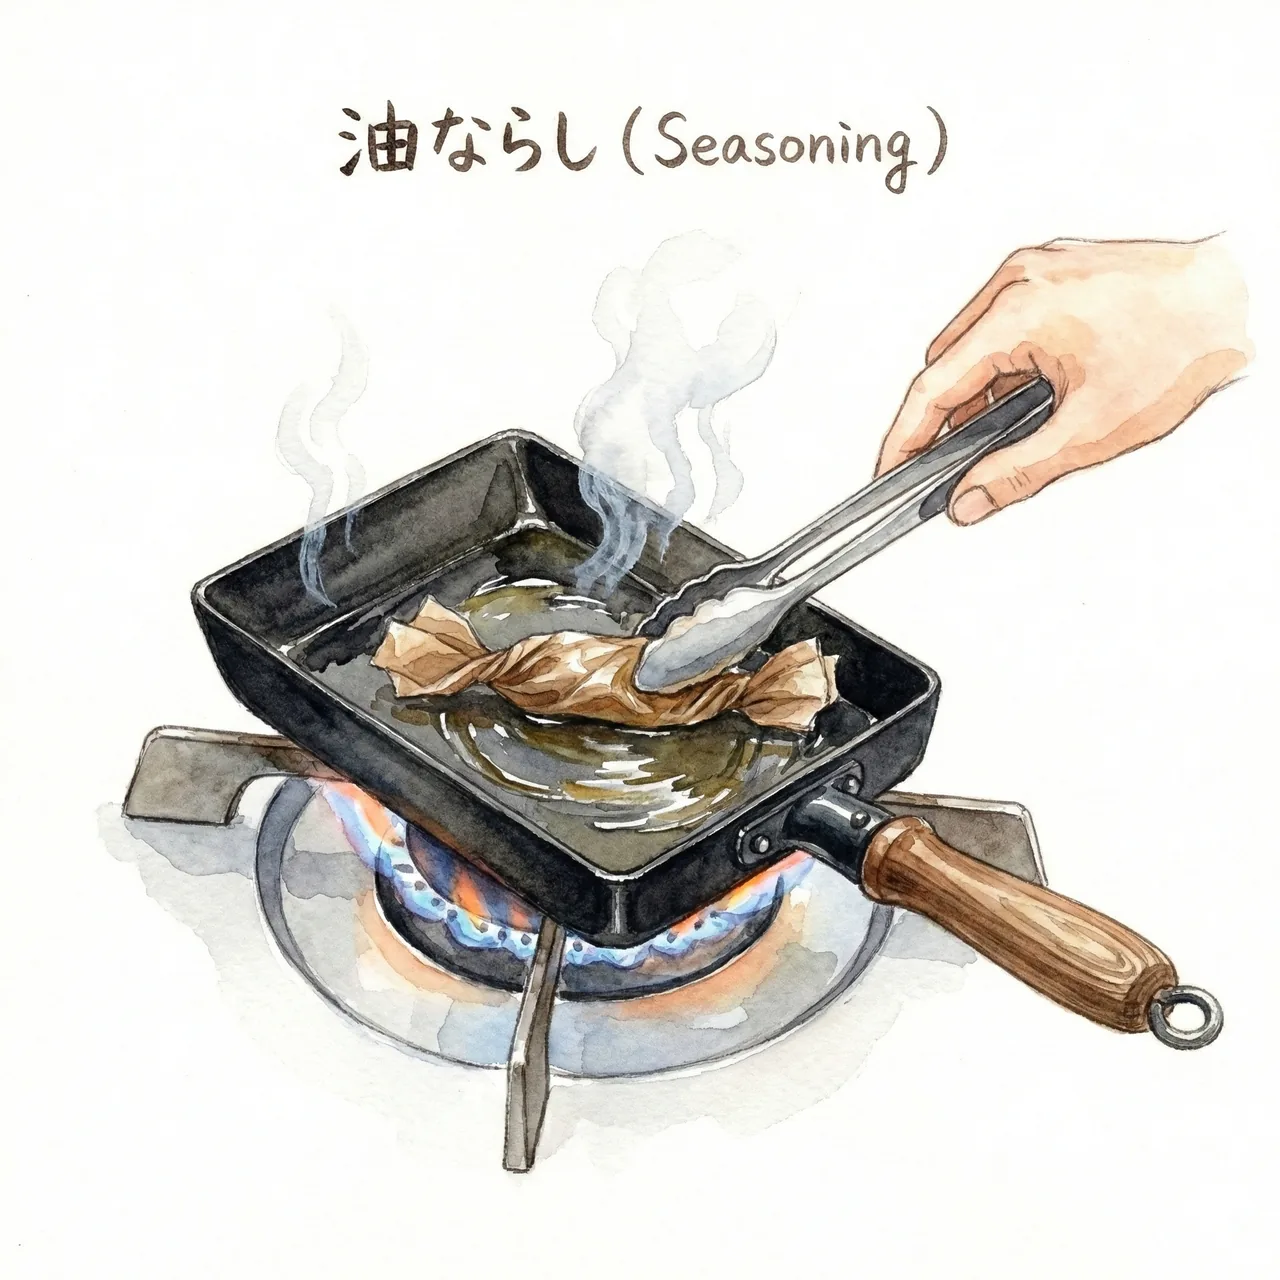
The oil return (aburanarashi): copper and iron pans
- Heat the empty pan on medium heat until you can feel heat clearly when you hold your hand 10cm above the surface — about 1–2 minutes for copper, slightly longer for iron.
- Add a generous amount of oil (more than you'd add for regular cooking) and swirl to coat the entire interior surface.
- Heat until the oil just begins to smoke, then pour the excess back into a small bowl or oil pot. Wipe the surface with a paper towel folded to a pad — you should see a thin, even oil film remaining.
- Return the pan to medium-high heat for 20–30 seconds, then you're ready to add the egg mixture.
This technique pre-seasons the surface for each cook and is the single most important factor in preventing sticking. Most failures with copper and iron tamagoyaki pans trace back to skipping or rushing this step.
Rolling technique: step by step
First half: pouring and the first roll
Pour about one-third of the egg mixture into the pan and let it spread. As soon as the edges begin to set but the center is still loose, use chopsticks or a spatula to fold the egg from the far end toward you, creating the first roll. The first roll doesn't need to be perfect — it will be hidden inside the finished tamagoyaki.
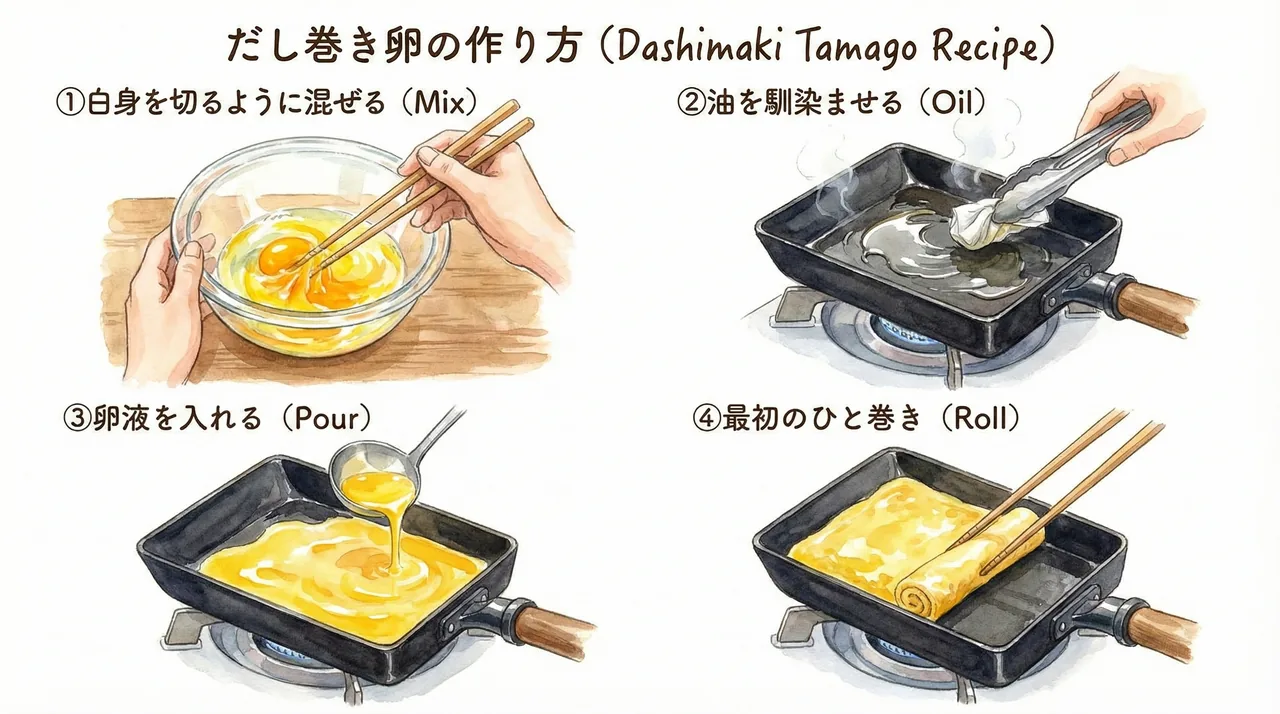
Second half: building layers (the critical part)
After the first roll is at the near edge of the pan, lift it slightly and pour the next portion of egg mixture underneath it. Let the new liquid run under the roll — this is what creates the fluffy, unified texture. As the new layer begins to set, roll the existing roll over it and press lightly. Repeat with the final portion of egg mixture.
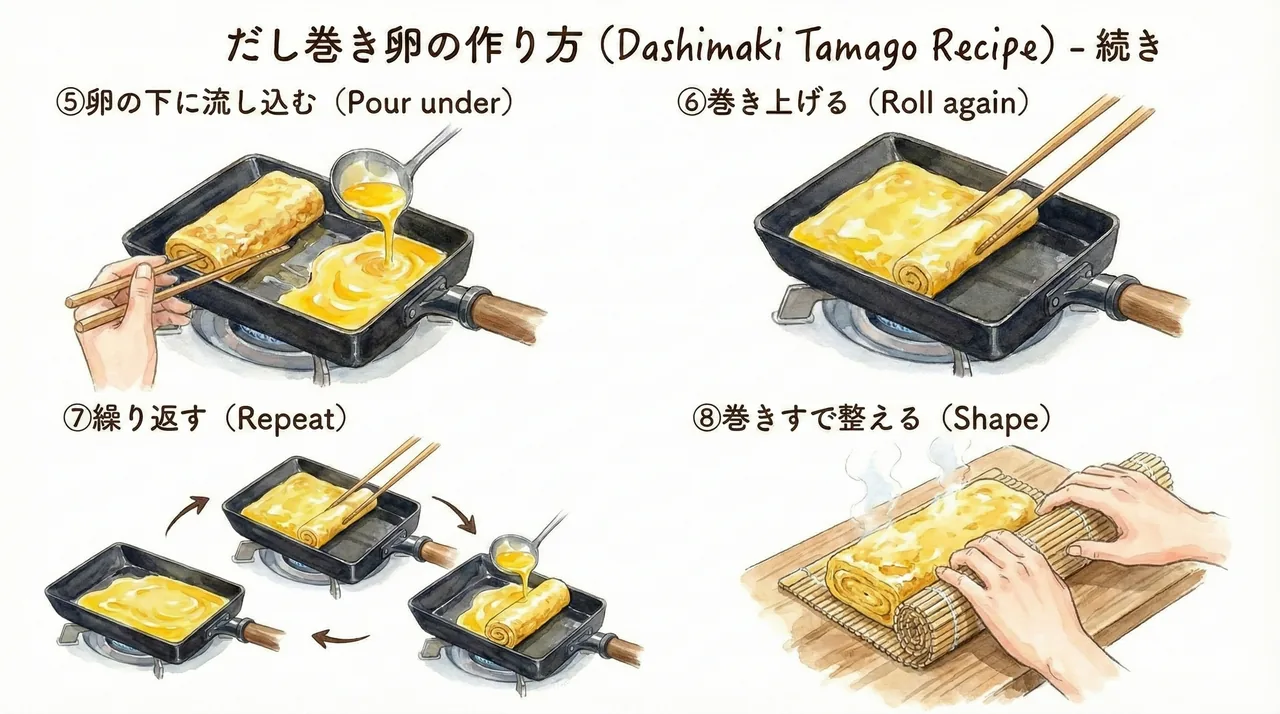
Immediately after the final roll, slide the tamagoyaki onto a bamboo sushi mat (makisu) or wrap it tightly in plastic wrap while it's still hot. Press it gently into a rectangular block and hold for 2–3 minutes. As it cools, it retains the shape. This step is the difference between a compact, restaurant-style presentation and a loose home-style roll.
Pan care after cooking
Do not use dish soap on copper or iron tamagoyaki pans
Soap removes the oil film that prevents sticking. After cooking, the pan will be harder to work with next time if the seasoning layer is stripped.
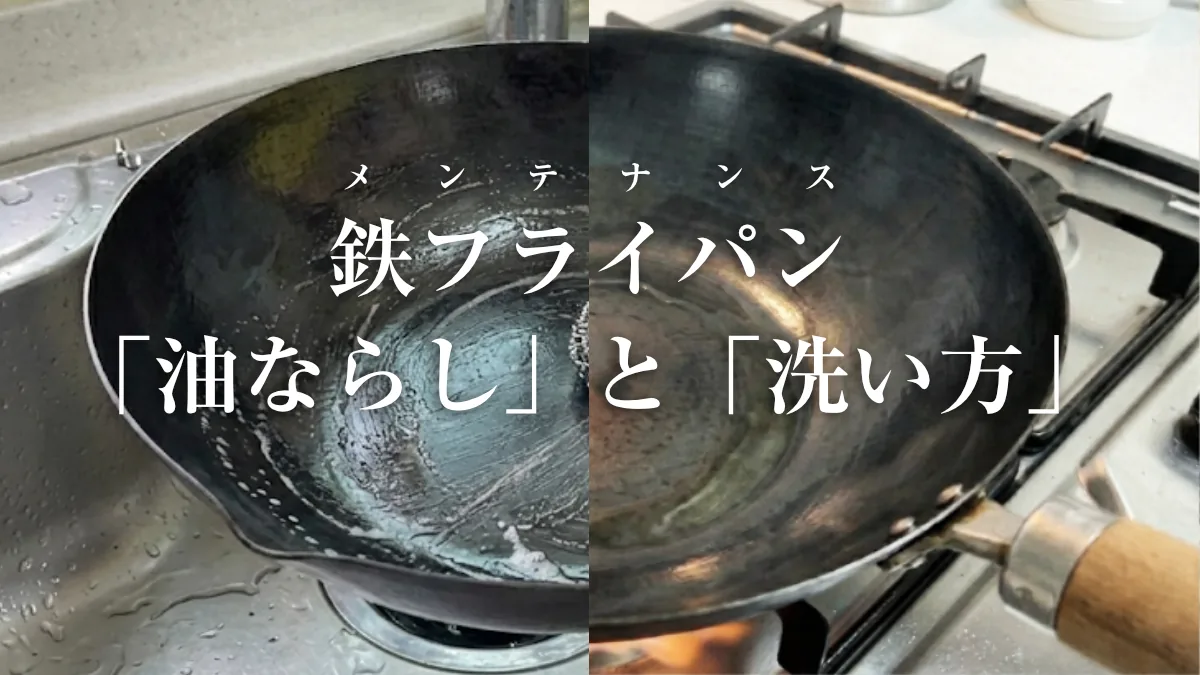
- Rinse with hot water while still warm. Most egg residue will release immediately with hot water and a natural fiber brush (tawashi). If residue is stuck, let hot water sit in the pan for 60 seconds to loosen it.
- Heat-dry on the stove for 1–2 minutes. This is critical for iron pans. Any residual moisture causes rust. For copper, thorough drying prevents verdigris (green oxidation) on the exterior.
- Apply a thin oil coat with a paper towel while still warm. Wipe off any excess — you want a sheen, not a visible pool.
Copper pan exterior care
The outside of a copper tamagoyaki pan will darken with heat over time. This is normal and doesn't affect performance. If you prefer to maintain the bright copper appearance, commercial copper polish or a paste of salt and vinegar will restore the color. Polish occasionally — not after every use.
The tin lining on the interior can eventually wear through with very heavy use (typically after many years). Re-tinning is available as a specialist service in Japan — a good copper pan body can be re-lined indefinitely.
Recommended copper and iron tamagoyaki pans
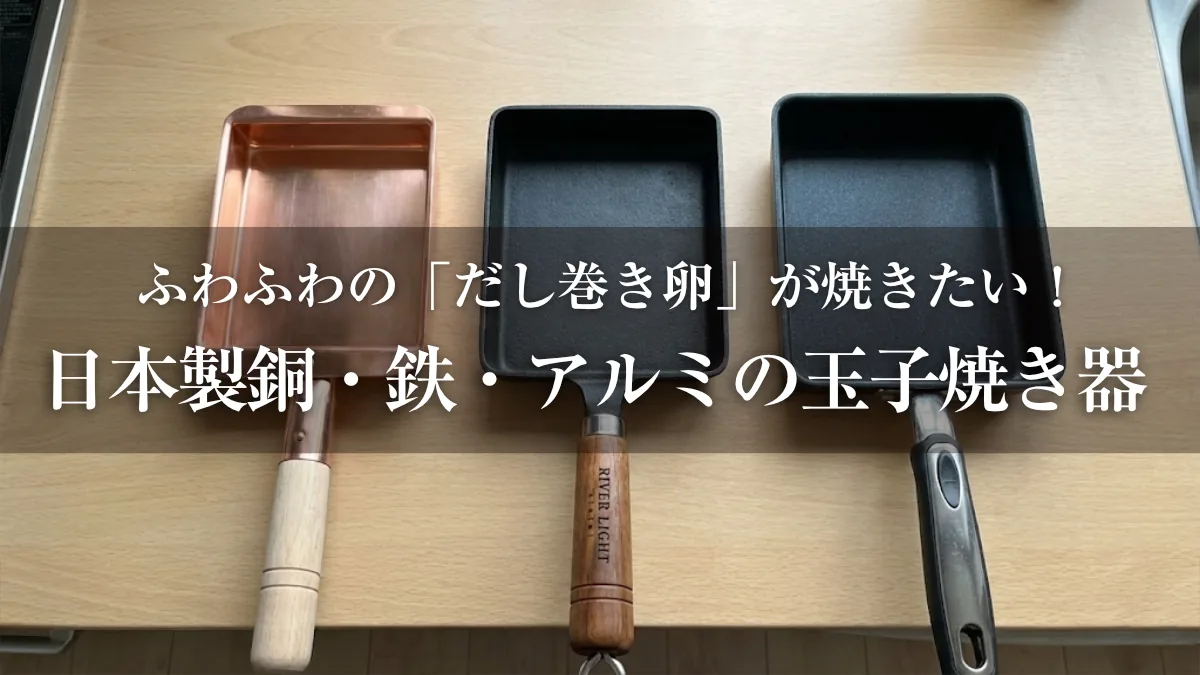
TIKUSAN — Copper Tamagoyaki Pan with Wooden Lid, Made in Japan
TIKUSAN's copper tamagoyaki pan is made in Japan and finished with a tin interior lining on the cooking surface. The tin provides a slightly non-stick base and prevents egg discoloration that can occur with bare copper contact. The wooden lid is included — useful for gentle steam retention when making dashi-heavy dashimaki tamago.
Copper reaches uniform temperature across the entire surface almost simultaneously, giving you finer control over the pour-and-roll timing than aluminum allows. If dashimaki tamago — Kyoto-style, soft enough to tremble on the plate — is your goal, a copper pan is the correct tool.
- Material
- Copper with tin interior lining
- Lid
- Wooden lid included
- Made in
- Japan
- IH compatible
- No (gas only)
- Best for
- Dashimaki tamago, soft dashi-heavy results, serious home cooks
Riverlight Kiwame JAPAN — Iron (Nitrided), Chiba
Riverlight's Kiwame JAPAN tamagoyaki pan brings the same nitriding technology as their full-size frying pans to the rectangular format. Nitriding creates a rust-resistant surface layer in the iron itself (not an applied coating), which means the pan is significantly easier to maintain than traditional iron while still developing a seasoning layer with use.
For tamagoyaki specifically, the iron pan's heat retention produces a slightly more golden exterior and a firmer set than copper — which holds up better when the roll is sliced cold for a bento. The pan also transfers trace amounts of dietary iron into food, a minor but genuine nutritional benefit.
- Material
- Nitrided iron (窒化加工鉄)
- Made in
- Shiroi City, Chiba Prefecture
- IH compatible
- Yes
- Best for
- Bento tamagoyaki, daily use, those new to iron pans
FAQ
Can I use a copper tamagoyaki pan on an induction cooktop?
Traditional copper is not magnetic and does not work on induction. Most copper tamagoyaki pans are gas-only. Iron pans, including the Riverlight Kiwame, are IH-compatible because iron is magnetic. If you cook on induction, iron is the practical choice — or look for copper pans with a stainless base layer added specifically for IH compatibility (rare, and less thermally efficient than pure copper).
The egg turned slightly gray or green on the surface. Is it safe to eat?
Yes, completely safe. The discoloration is a chemical reaction between sulfur compounds in egg and either the iron in the pan or the copper (which forms copper sulfide, greenish-gray). The reaction is harmless. To minimize it, move the finished tamagoyaki to a plate immediately rather than letting it sit in the pan. A well-tinned copper pan is less prone to this reaction; a well-seasoned iron pan also reduces it over time.
Why shouldn't I use low heat for tamagoyaki?
Low heat causes the egg to stick rather than release cleanly, and the slow set produces a rubbery texture. The correct approach is medium to medium-high heat with a properly oiled surface — the egg cooks fast enough to release from the pan before it bonds to the metal, and the rapid set traps moisture inside rather than letting it steam off. If your pan feels scary at medium-high, the issue is usually insufficient oil or preheat, not excess heat.
I failed the roll and it fell apart. Can I fix it?
Yes — fully. Keep rolling even if the shape breaks; the roll will become the inside of the next layer. Once all the egg is used, slide the result onto a bamboo rolling mat (makisu) or wrap it tightly in plastic wrap while still hot. Press it firmly into a rectangular shape and hold for 2–3 minutes. The heat will re-fuse the layers as it cools and the shape will hold. A messy roll becomes a perfectly rectangular one with this final step.
Can I substitute water or milk for dashi?
You can, but the result is different. Water produces a mild, lightly flavored tamagoyaki — closer to a plain rolled egg than dashimaki. Milk produces a richer, more Western omelette flavor. For dashimaki tamago specifically, the umami depth from kombu and katsuobushi dashi is the defining characteristic — it can't be replicated with water or milk. If you don't have time to make dashi, high-quality dashi powder dissolved in warm water is a reasonable substitute.
What pan size should I use?
For a 3-egg recipe, a small tamagoyaki pan (approximately 13×18cm / 5×7 inches) is ideal. If the pan is too large, the egg layer spreads too thin, making rolling extremely difficult and the result too delicate. A pan in the right size gives you enough egg thickness to fold layers with structure. Most Japanese households use a small or medium pan (小玉子焼き器 or 中玉子焼き器) — the large size is primarily for restaurant quantity.
Summary
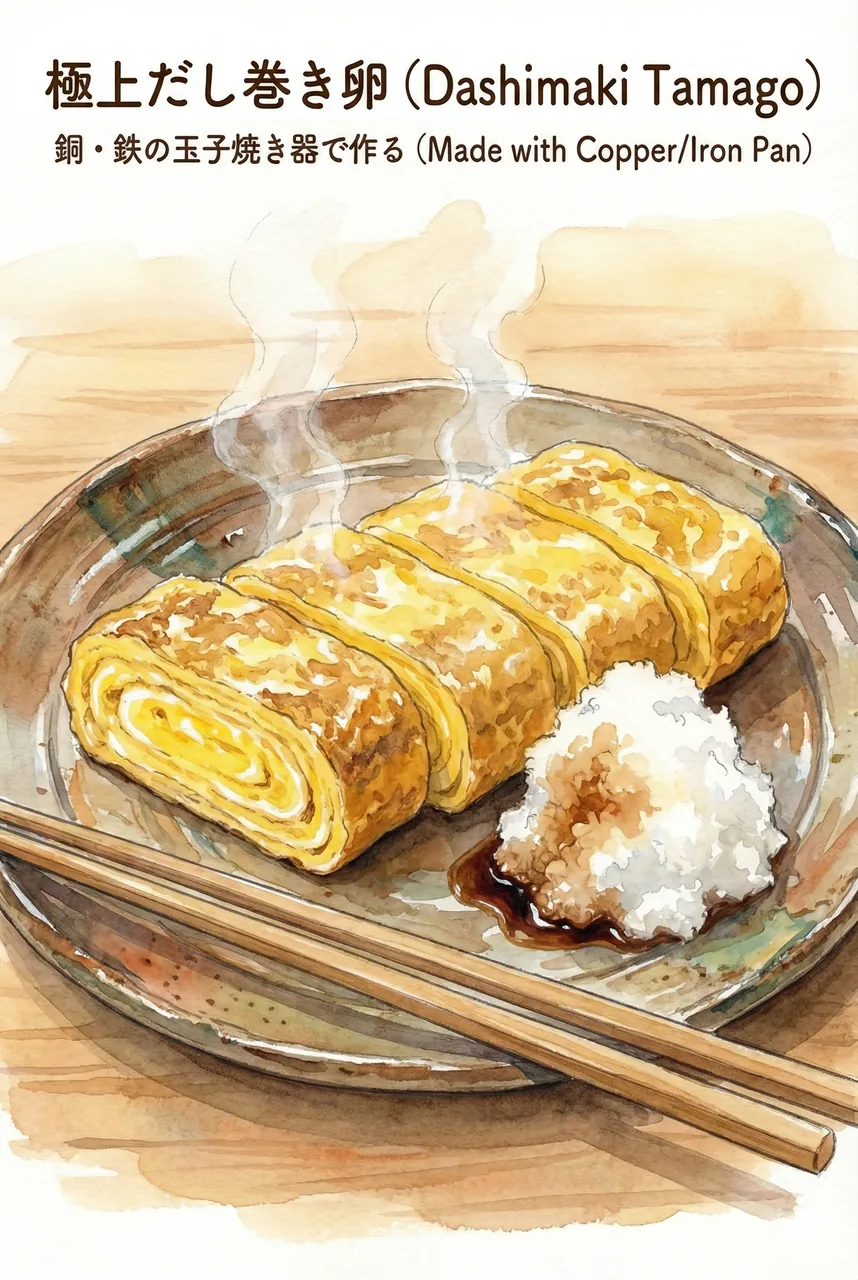
Restaurant-quality tamagoyaki at home doesn't require skill that takes years to develop — it requires understanding the two technical points that make the difference: the oil return before every cook, and sliding new egg liquid under the existing roll to create unified, fluffy layers. The right pan (copper for softness and heat control, iron for daily use and durability) makes both of these easier.
Start with the base recipe and 3 tablespoons of dashi. If it falls apart, shape it with the bamboo mat. Eat it immediately the first few times, then try the katakuriko version for serving. Once the technique becomes natural, add the mayonnaise version to your bento routine. The pan will season itself with every cook — within a month of regular use, the rolling will feel entirely different than it did on the first attempt.