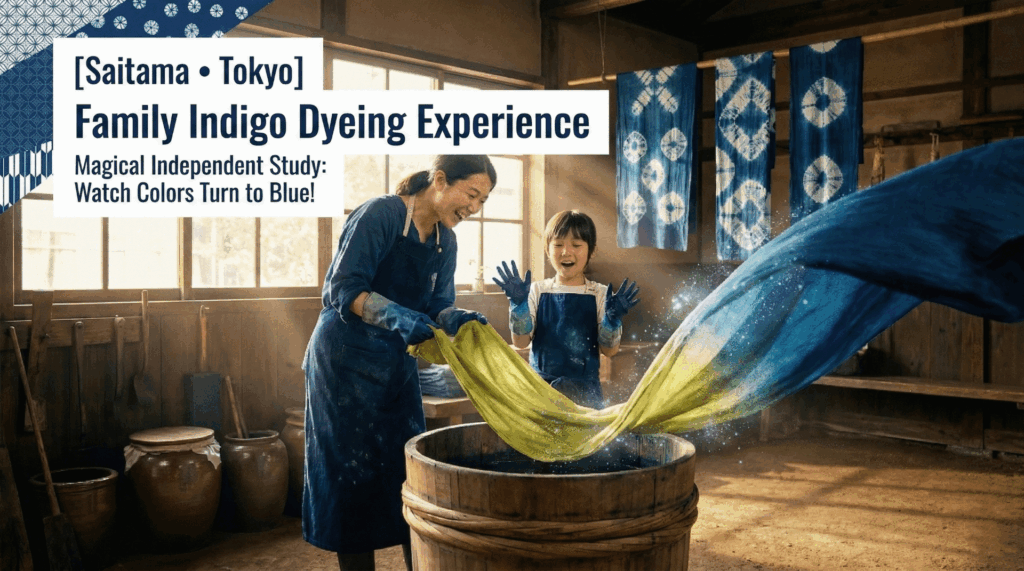
"What?! It was green at first — but it turned blue when it hit the air!"
The look of amazement on a child's face the moment the fabric is pulled out of the dye vat is the highlight of an aizome (indigo dyeing) experience.
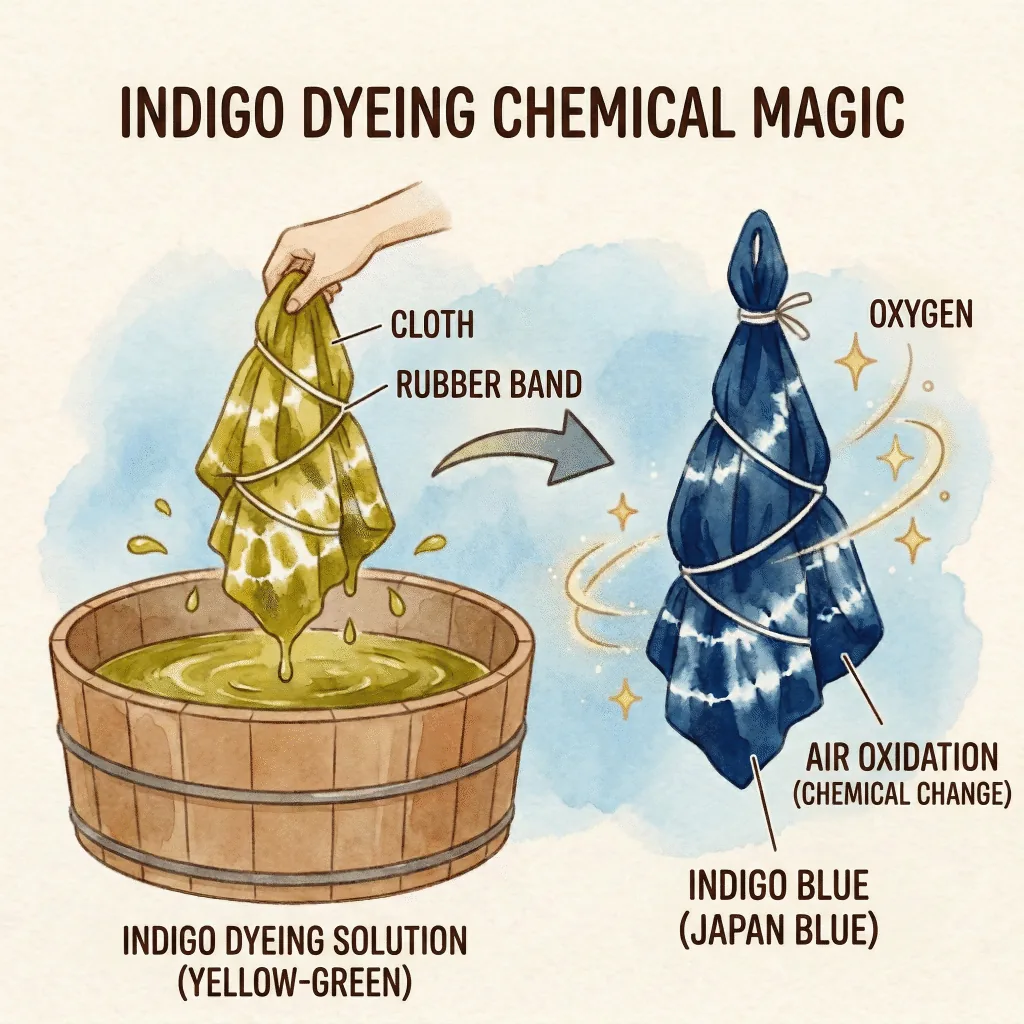
The deep, beautiful indigo color, celebrated internationally as "Japan Blue." This is actually the magic of a "chemical reaction" created by the power of plants, fermentation, and air.
Creating patterns with rubber bands and marbles feels just like a craft project. The one-of-a-kind T-shirt or handkerchief you create is not only practical — it also makes the perfect topic for a summer school research project.
In this article, we clearly explain recommended studios in central Tokyo and Saitama where you can easily experience authentic indigo dyeing, along with all the pre-visit preparation needed to "absolutely not stain your clothes."
Tips for Enjoying Indigo Dyeing as a Family (30 seconds)
- Clothing rule: "All dark colors from head to toe": Even a tiny splash will never come out!
- Wear sleeves you can roll up: Your arms may go into the vat up to the elbows, so be careful with long sleeves
- Toddlers get "handkerchiefs," elementary schoolers get "T-shirts": Match the item to your child's grip strength to avoid disappointment
- Bring a plastic bag for carrying home: Some studios will have you carry the item home while still wet
- Watch out for blue under your fingernails: Even with gloves, the dye can seep in around the wrists and fingernails
* Duration and items available for dyeing vary by studio. Be sure to confirm the details when making your reservation.
1. [Before You Go] The Dye Won't Wash Out! Clothing to Avoid Stains
The biggest concern in an indigo dyeing experience is "dye getting on your clothing." Aprons are provided, but the liquid can splash in unexpected places.
The Three Absolute Rules!
- ① Never wear favorite clothes or white clothes
The indigo liquid is literally a "dye." Once it splashes on fabric, bleaching it won't remove it completely. "Dark-colored clothes that are okay to get dirty" is the most important rule for your own sanity. - ② Dark-colored sneakers or rubber boots for footwear
You may step in spilled dye on the floor, or water may splash on you during rinsing. Avoid white sneakers and sandals. - ③ Wear sleeves you can roll up securely
You'll push the fabric all the way down to the bottom of the dye vat (kame), putting your arms in up to the elbows. Choose a top where the rolled-up sleeves won't fall back down.
What to Bring
- ✅ Plastic bags / zip-lock bags (for carrying home wet finished items)
- ✅ A hand towel you don't mind getting dirty (for after hand-washing — it will turn blue)
- ✅ A hair tie (for those with long hair — you'll be leaning over)
- ✅ A change of clothes (as insurance in case children make a big mess)
Things to Note on the Day
- About the gloves they provide: The liquid can seep between the rubber gloves and your skin, leaving your fingernails faintly blue for a few days (it washes out in a few days). Those with nail polish may want to take extra care.
2. [Background Knowledge] Why Does It Turn Blue? Learning "Oxidation" with Your Child
The biggest appeal of indigo dyeing is the "color change" that happens right before your eyes. Talk your child through the process before the experience and their excitement will be unstoppable.
The inside of the vat is "green"?!
When you think "indigo dyeing," you might imagine the dye liquid is deep blue — but in reality, it's a yellowish green (or brownish) color.
When the fabric is submerged and then quickly spread out in the air, the liquid on the fabric comes into contact with air.
It then undergoes a chemical reaction called "oxidation" — bonding with the oxygen in the air — and over the next several seconds to tens of seconds, it magically transforms into a vivid "blue (indigo)."
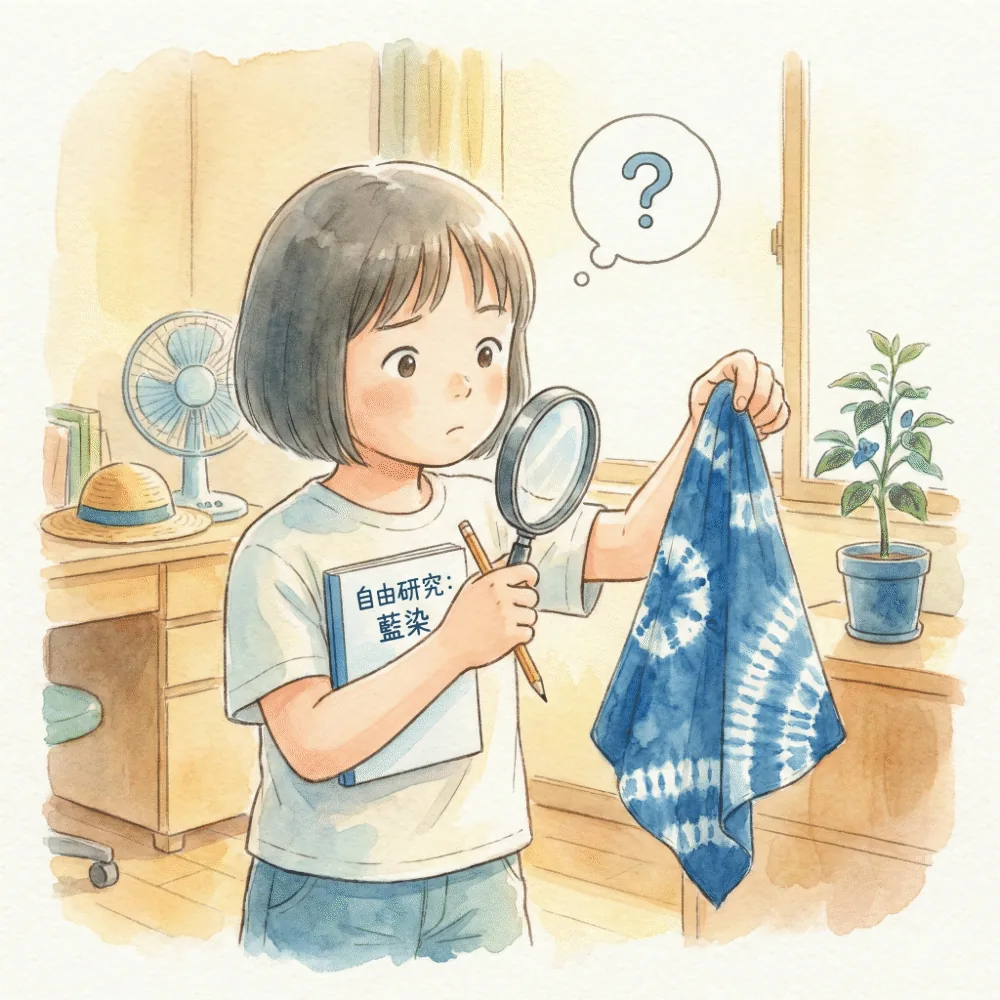
School Project Ideas 📝
- Why does the color change to blue? (Research oxidation)
- Why do the areas tied with rubber bands stay white? (The mechanism of resist-dyeing)
- What are the ingredients in the traditional "tennen-aku-hakko-date" (natural ash-water fermentation) method of indigo dyeing?
Take photos on your smartphone during the experience, and you'll have a complete research report on the spot!
3. "Handkerchief" vs "T-shirt" — Comparing Recommended Items by Age
At the studio, you will often have a choice of item to dye.
If you're not sure which to pick, use your child's age and "squeezing strength" as your guide.
| Item | Handkerchief / Tenugui Towel | T-shirt / Eco Bag |
|---|---|---|
| Recommended age (approximate) | Toddlers (3 years and up) | Elementary school age and up |
| Difficulty | ★☆☆ Easy | ★★☆ Requires strength |
| Strength required | The fabric is thin, so even children can wring out the liquid easily | The fabric is thick and absorbs a lot of liquid, so adult support is needed when pulling it out and wringing |
| Duration (approximate) | 45 to 60 minutes | 60 to 90 minutes |
| Ease of pattern-making | Rubber bands and chopsticks create crisp, clean patterns (shibori) easily | Bold patterns and gradients look dramatic on a larger scale |
* When dyeing thick fabric, wringing out the liquid and squeezing hard takes a lot of arm strength. For small children, a "handkerchief" is overwhelmingly recommended!
4. [Saitama / Tokyo] Top 3 Family-Friendly Indigo Dyeing Studios (with Map)
We've carefully selected indigo dyeing studios that are easy to reach from central Tokyo and welcome families.
* Studios differ in whether they use "natural indigo (fermented)" or "synthetic dye (more accessible)."
* The pins on the map indicate spots introduced in this article. Prices and duration may vary by plan.
① Somemono Kobo Irodori Sagiyama (Saitama, Saitama City)
A nature-rich dyeing studio in Midori Ward, Saitama City, produced by a local farmer (Farm-Inn Sagiyama).
In the peaceful surroundings of pesticide-free fields, you can take your time with an indigo dyeing experience. Their attentive approach to working with children and the "summer memories" plan for parents and children to make matching T-shirts is hugely popular with families.
👨👩👧👦 Family Checklist
- Environment: Surrounded by fields and greenery — a refreshing escape from the city
- Peace of mind: Small group sessions with careful guidance mean the family can enjoy at their own pace
- While you're there: There's a large park (Osaki Park) very close by — perfect for a full-day itinerary
Basic Information (approximate)
- Items: T-shirts, tenugui towels, eco bags, etc.
- Duration: About 120 minutes
- Price range: Trial (1 session) ¥5,000 / Parent-child pair (2 T-shirts included) ¥8,000, etc.
- Reservation: Advance reservation required via official website
② Kosoen Indigo Dyeing Studio (Tokyo, Ome City) | Natural indigo amid abundant nature
A studio in Ome City, Tokyo — a city surrounded by beautiful greenery and water despite being within Tokyo.
Committed to the "tennen-aku-hakko-date" method using no synthetic chemicals, you can experience the highest quality indigo dyeing that is gentle on the skin and less prone to fading.
👨👩👧👦 Family Checklist
- Environment: Rich in nature — the perfect destination for a drive
- Bring your own: Some plans allow you to "bring your own" items to dye!
- Peace of mind: No synthetic chemicals used — popular for dyeing even baby clothing
Basic Information (approximate)
- Items: Handkerchiefs, stoles, bring-your-own (cotton, linen, silk, etc.)
- Duration: About 90 to 120 minutes
- Price range: Handkerchief from ¥2,200 / Bring-your-own priced by weight
- Reservation: Advance reservation required
③ Wanariya (Tokyo, Asakusa) | Quick and easy right in the city center
For families who "don't have a car" or "find long trips a bit much," this studio right in the heart of Asakusa is perfect.
You can pop in between sightseeing visits, and with attentive staff support, it's easy to enjoy as a casual urban leisure activity.
👨👩👧👦 Family Checklist
- Access: Walking distance from Asakusa Station. Great even on a rainy day
- Ease: Quick to finish — you can head straight to Asakusa sightseeing right after
- More: Weaving (hataori) experiences also available on site
Basic Information (approximate)
- Items: Tenugui towels, tote bags, T-shirts, etc.
- Duration: About 45 to 60 minutes
- Price range: Tenugui from ¥2,500 / T-shirt from ¥8,000 (children from ¥5,500)
- Reservation: Advance reservation recommended (same-day may be possible if there's availability)
🛍️ Try Indigo Dyeing at Home! DIY Kits & Lifelong Indigo-Dyed Items
For those who can't make it to a studio, or who want to do their summer school project at home, a "home indigo dyeing kit" is the answer! And beautiful Japan Blue scarves and accessories dyed by professional artisans make wonderful gifts for someone special.
5. [Model Course] Indigo Dyeing & Park Time! A Day-Trip Schedule
The classic model course for driving to Saitama City (Urawa Misono area).
- 09:30 | Depart from central Tokyo (about 1 hour via the Metropolitan Expressway)
- 10:30 | Arrive in Saitama City (Urawa Misono area)
- 11:00 | An early lunch at Aeon Mall Urawa Misono, etc.
(If you want to change into your "okay-to-get-dirty clothes," now's the time!) - 13:00 | Time for the indigo dyeing experience! (Allow about 120 minutes on-site)
- 15:30 | Head to "Osaki Park" — 10 minutes by car
(Let the kids burn off energy at the free zoo and giant adventure course) - 17:00 | Head home
6. What to Do After the Experience! Nearby Spots
Osaki Park (Children's Zoo)
A large, lush park about 10 minutes by car from the studio.
The biggest draw is a "children's zoo" that is — amazingly — free to enter. You can encounter genuine animals including red pandas, capybaras, and flamingos. With a massive adventure course and a wide lawn, it's the ultimate spot for children to burn off energy after the focused concentration of indigo dyeing.
7. For Families Coming from Further Away! Recommended Nearby Accommodations
For families who "want to stay one night and leisurely enjoy some sightseeing while we're at it!" — we've picked out family-friendly recommended inns within reach of each studio.
Weekends and holidays fill up fast, so check early alongside your indigo dyeing reservation!
♨️ Ome Area (recommended after visiting Kosoen)
Kamenoi Hotel Ome (formerly: Kampo no Yado Ome)
About 15 minutes from Kosoen by car. A natural hot spring inn with stunning views overlooking the clear waters of the Tama River.
With spacious Japanese-style rooms and yukata and slippers available for children, the family-friendly reviews are consistently very high. After immersing yourself in nature through indigo dyeing, you can refresh in the panoramic bath.
🗼 Asakusa Area (recommended after visiting Wanariya)
Asakusa View Hotel
About a 10-minute walk from Wanariya, with the ideal location directly connected to Tsukuba Express Asakusa Station.
Rooms with views of Tokyo Skytree(R) and Senso-ji Temple are sure to delight the children! With the best possible location for exploring Asakusa, and a varied buffet-style breakfast well-loved by families.
🌳 Saitama Area (recommended after visiting Irodori Sagiyama)
Royal Pines Hotel Urawa
About 20 minutes by car from the experience studio (Osaki Park area). Our top pick for families coming from out of town to stay while visiting Saitama — a beautiful high-rise hotel.
Spacious family rooms are available, and the hotel's buffet and breakfast are well-regarded for their quality. It also has excellent access for using it as a base for Saitama sightseeing, such as visiting the "Railway Museum" the next day!
8. [After You Get Home] Prevent Color Fading! First Wash and Care
Your one-of-a-kind indigo-dyed item. The "first care" when you get home is very important for enjoying the beautiful color for a long time.
The First 3 Steps
- First wash: "alone" in water (The first few washes will definitely bleed color! Absolutely do not wash with other laundry)
- Gentle hand wash with neutral detergent (Avoid detergents with bleach or optical brighteners — they will strip the color)
- Turn inside out and "shade dry" (Direct sunlight / UV rays will cause fading)
💡 The more you use it, the more it becomes "your own color"
Indigo dyeing, like denim, has a culture of enjoying the "process of color fading (aging)." Enjoy watching it gradually soften and develop a gentle character of its own.
🫧 Nurture Your Indigo Blue Beautifully! Recommended Gentle Detergents
Your precious indigo-dyed items. To keep that Japan Blue looking great for a long time, the golden rule is to avoid strong alkaline detergents and hand wash with a gentle "delicate fabric neutral detergent." Enjoy watching it age gracefully — and keep nurturing it for years to come!
Conclusion: Wear the "Blue" You Dyed Yourself
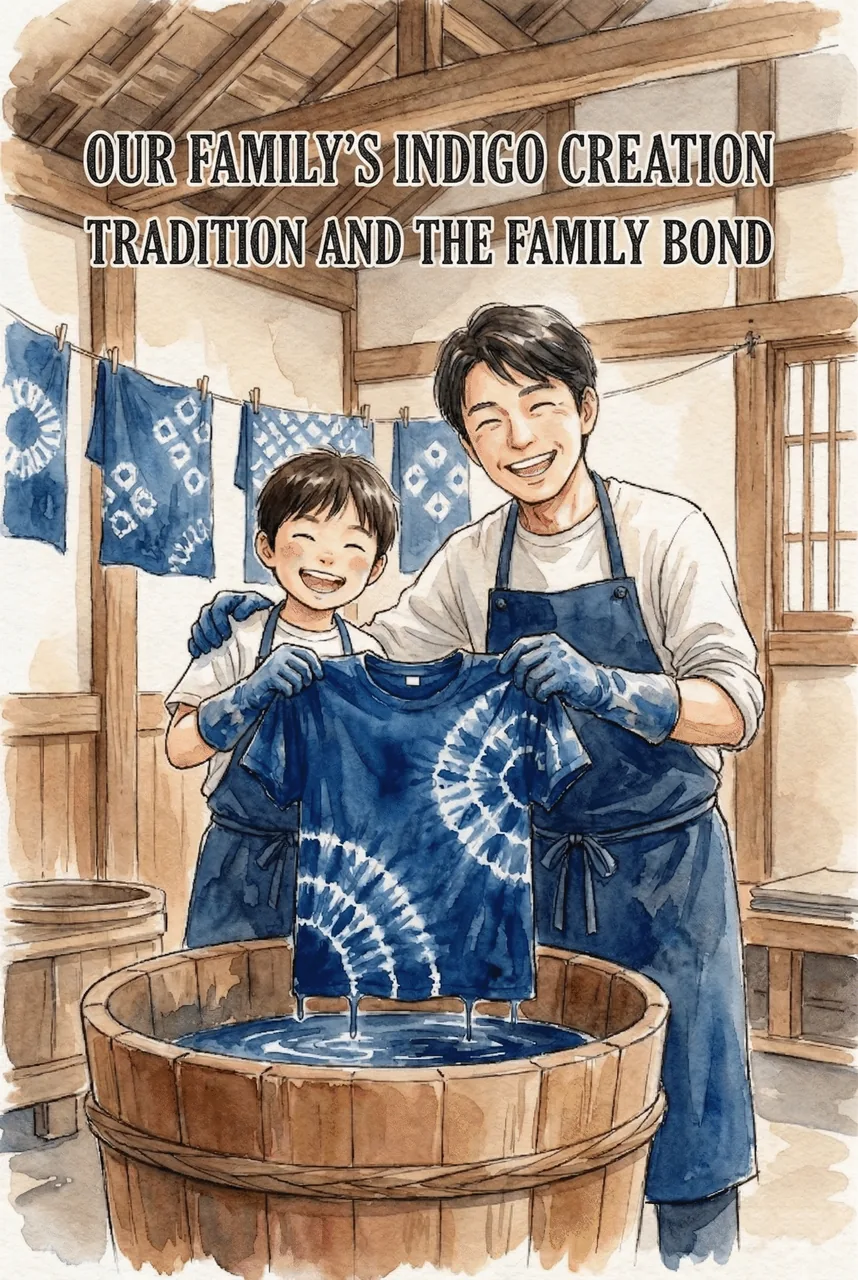
Imagining "what kind of pattern will it make?" as you tie up the fabric, pushing it into the cold liquid, then holding it up to the air to change color.
An indigo dyeing experience is the ultimate workshop for all five senses.
The handkerchief or T-shirt with its self-made imperfect patterns will surely bring more joy than any store-bought item. When your child wears it to school or on an outing, you'll see that proud look on their face as they say, "I dyed this myself!"
This holiday, why not change into your darkest clothes and go out to be enchanted by the magic of Japan Blue?