You spent an hour scrubbing your white sneakers. They looked perfect when they went in to dry.
Then you came back and found a spreading yellow stain across the toe — worse than before.
That yellowing isn't leftover dirt. It's a chemical reaction: alkaline detergent residue interacting with UV light. Washing again just makes it worse.
The fix uses two things already in your kitchen: vinegar (citric acid) and toilet paper.
This guide covers the complete process — from material check to final rinse — using only household items. Including the leather and suede sneakers you should never put in water in the first place.
1. What You Need | Baking Soda, Neutral Detergent — Already in Your Kitchen
No need to buy a specialized sneaker cleaner.
The most effective cleaners for ground-in mud and body oil are already in your kitchen or bathroom cabinet.
Three essentials
- Neutral detergent (or liquid laundry detergent):
Dish soap works well — Utamaro or similar. If using powder detergent, dissolve it completely first; undissolved powder leaves residue that causes yellowing. - Baking soda:
Mild abrasive and deodorizer. Neutralizes acidic odor-causing compounds from foot sweat. - Vinegar (or citric acid):
The hero of this method. Used in the final rinse to neutralize the alkaline detergent residue that causes yellowing. Plain rice vinegar works. Avoid seasoned sushi vinegar — the added sugar leaves stickiness.
2. Check the Material First | Leather Sneakers Cannot Be Wet-Washed
Not all sneakers survive submersion.
Some materials are permanently damaged by water — check before you fill the bucket.
| Material | Water Washing | Notes |
|---|---|---|
| Canvas Converse, etc. |
◎ Fine | Soaking method in this guide is most effective for canvas. |
| Synthetic leather (faux leather) Stan Smith, etc. |
△ With care | Water washing is possible but long soaks accelerate material breakdown. Keep it brief — 15 minutes maximum. |
| Genuine leather / suede Leather dress sneakers |
× Do not | Water causes hardening and discoloration. Use a dedicated eraser-type cleaner or dry leather cloth instead. |
3. Step 1: Remove the Laces and Insoles (This Matters More Than You Think)
Are you washing with the laces still threaded? That's where most of the hidden dirt is.
The heaviest buildup collects in the channels under the eyelets and behind the tongue — areas that are completely inaccessible when the laces are in.
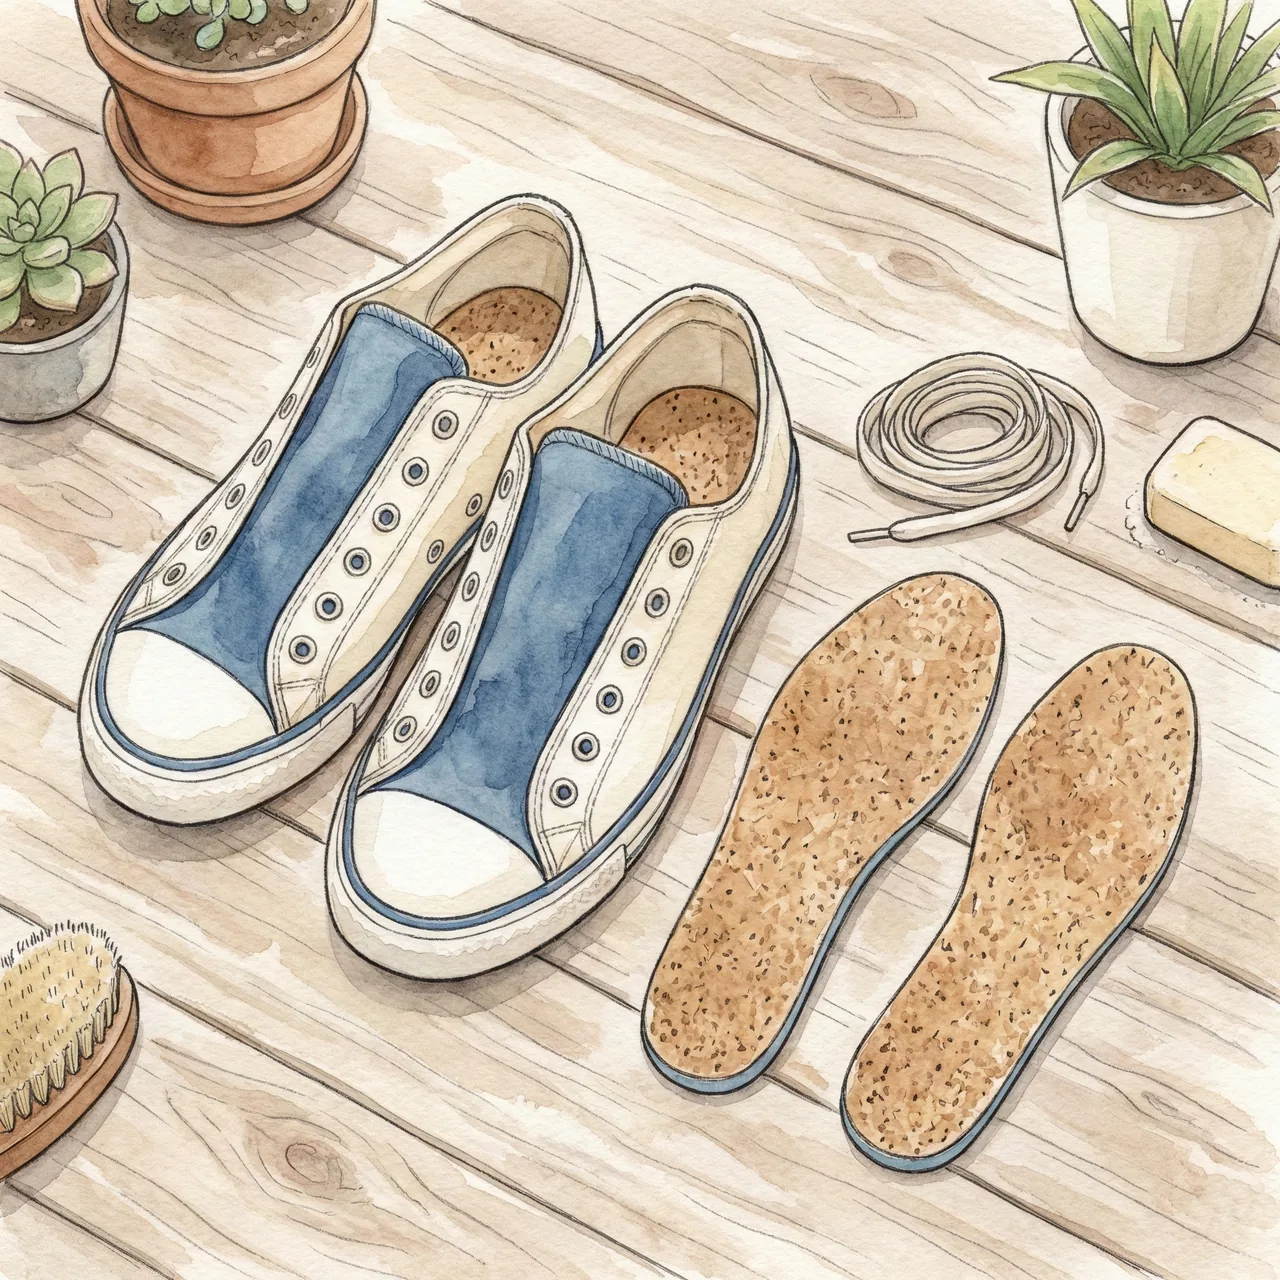
Disassemble completely, then wash parts separately
1. Remove all laces and the insole.
2. Put laces and insole in a mesh laundry bag and run them through a regular washing machine cycle — or soak in diluted bleach if they're canvas.
Simply separating the shoe into its components makes a dramatic difference in how clean the result is.
4. Step 2: Soak with Baking Soda Solution to Lift the Dirt
Before you scrub anything, let hot water and baking soda do the work.
This pre-soak step alone removes a surprising amount of dirt, making the scrubbing almost effortless.
Step A: Make the cleaning solution
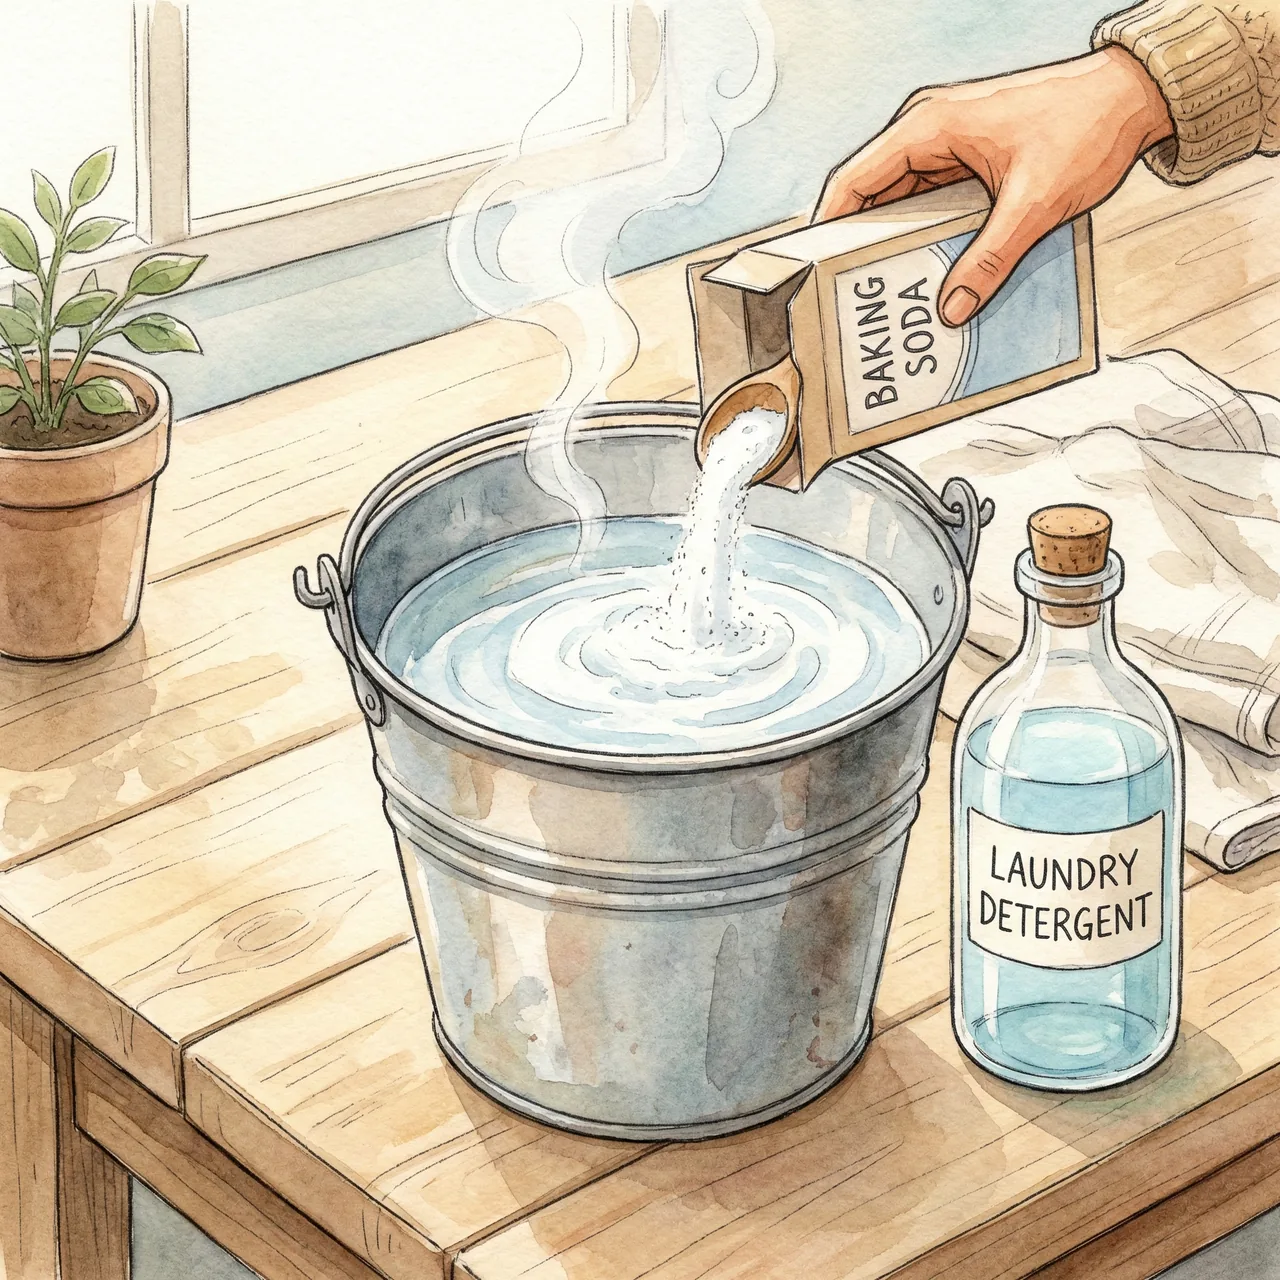
Fill a bucket with hot water at 40–50°C (104–122°F). Add one tablespoon each of liquid detergent and baking soda, and stir until fully dissolved.
The warm water activates the detergent's enzymes, which dissolve body oils locked deep in the fabric fibers.
Step B: Soak for 30–60 minutes
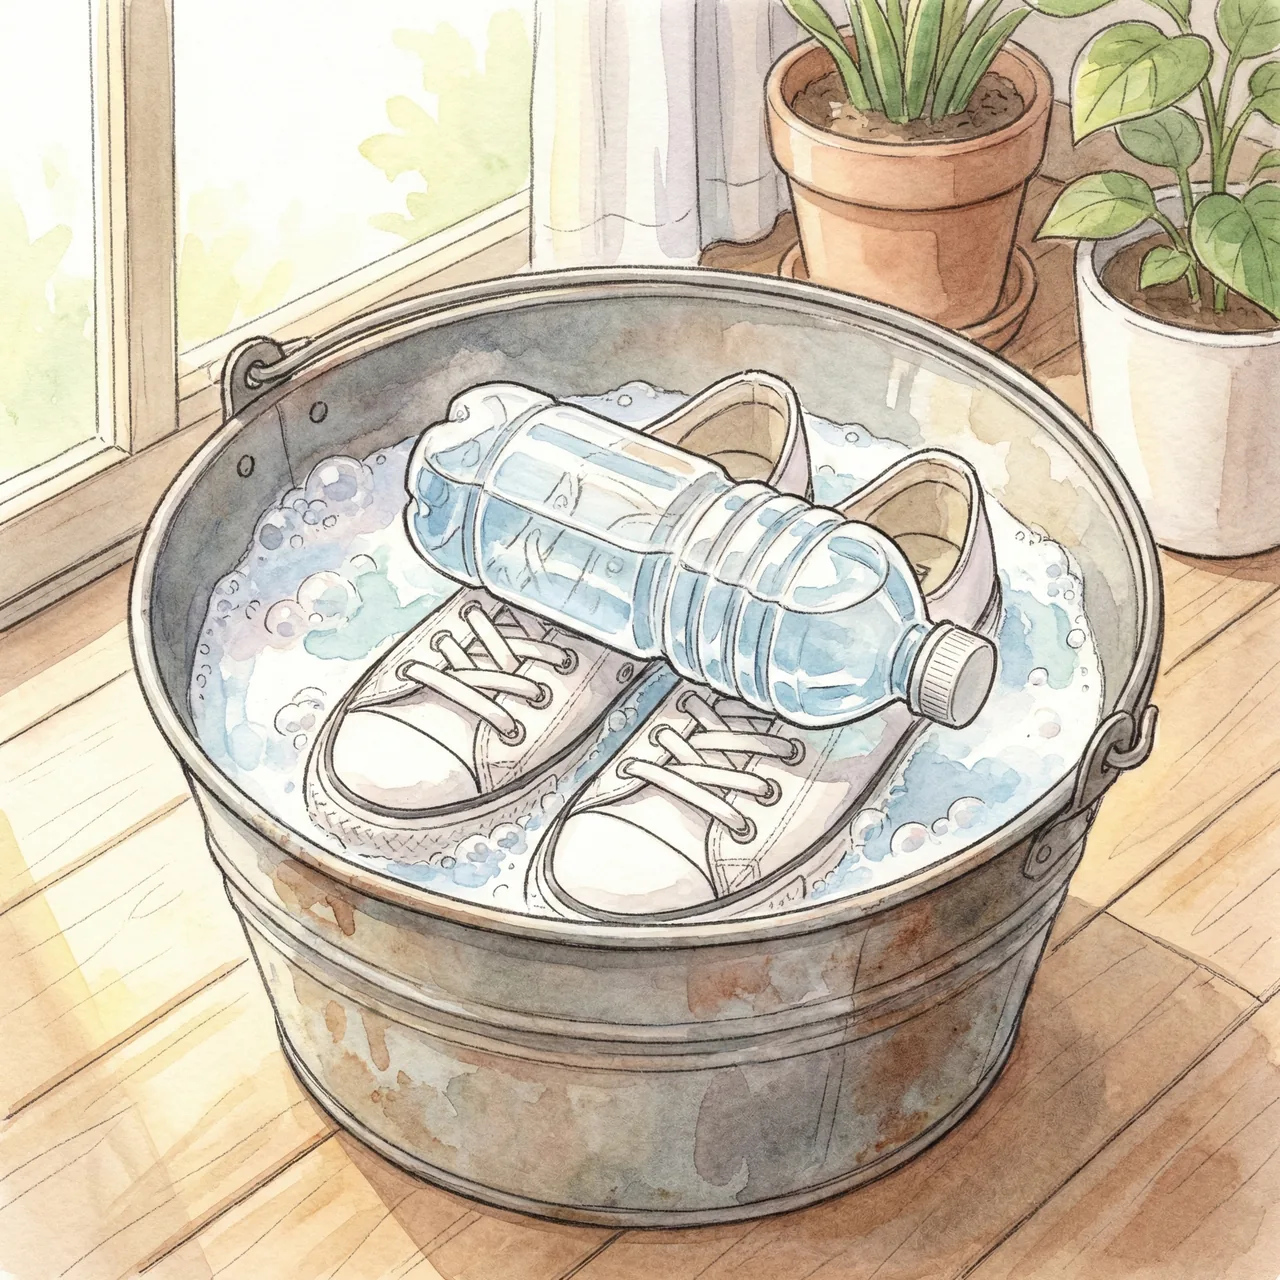
Submerge the sneakers completely. Canvas sneakers float — weight them down with a water-filled bottle to keep them fully submerged.
For synthetic leather, limit soaking to 15 minutes to prevent material degradation.
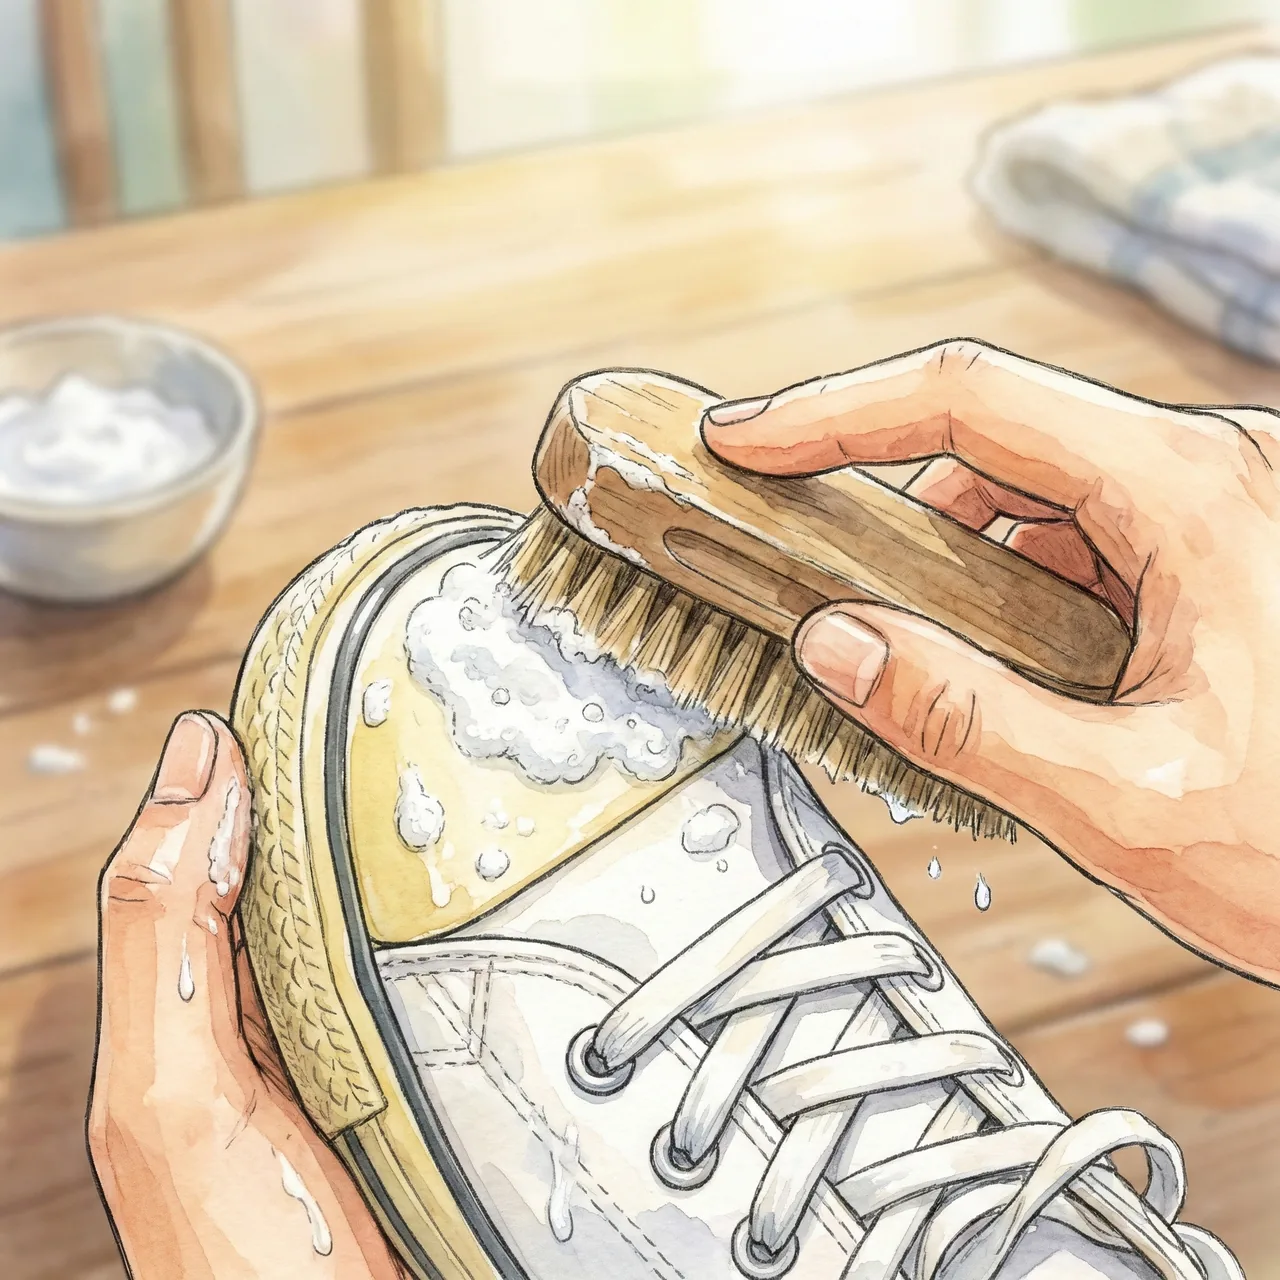
Step C: Scrub with a brush
Remove the sneakers and scrub with a brush. For stubborn stains on the rubber toe cap, mix baking soda and water in a 1:1 ratio on a small plate and apply the paste directly before scrubbing.
The mild abrasive action removes dark scuff marks like an eraser.
5. The Anti-Yellow Trick — Vinegar Rinse and Paper Wrap
Here's where amateur washing ends and the professional result begins. This step prevents yellowing completely.
Why vinegar? Because yellow is alkaline, and vinegar is acid
Yellowing happens when residual alkaline detergent in the fabric reacts with UV light during drying. The result is that characteristic dingy yellow cast — even on shoes you just washed.
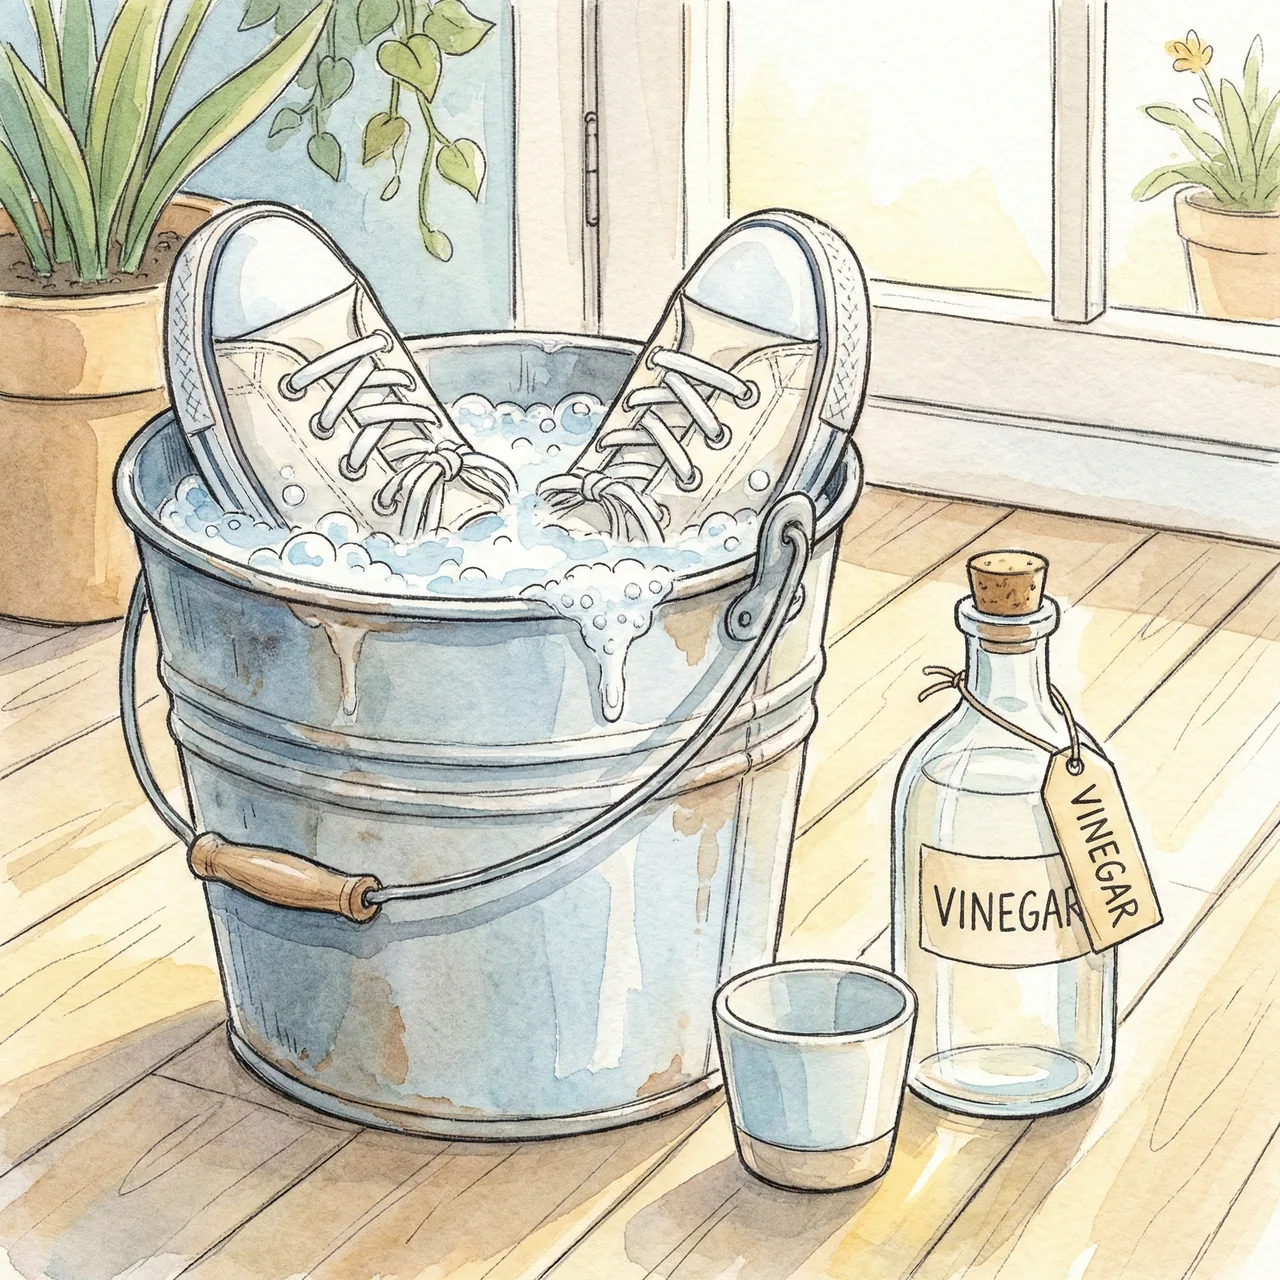
The fix: add one cup of vinegar to the final rinse water.
The acid neutralizes the alkaline residue (the same principle as a hair conditioner rinse), leaving the fabric clean of detergent. When the shoes dry, there is nothing to react with the UV light — no yellowing.
The vinegar smell disappears completely as the shoes dry.
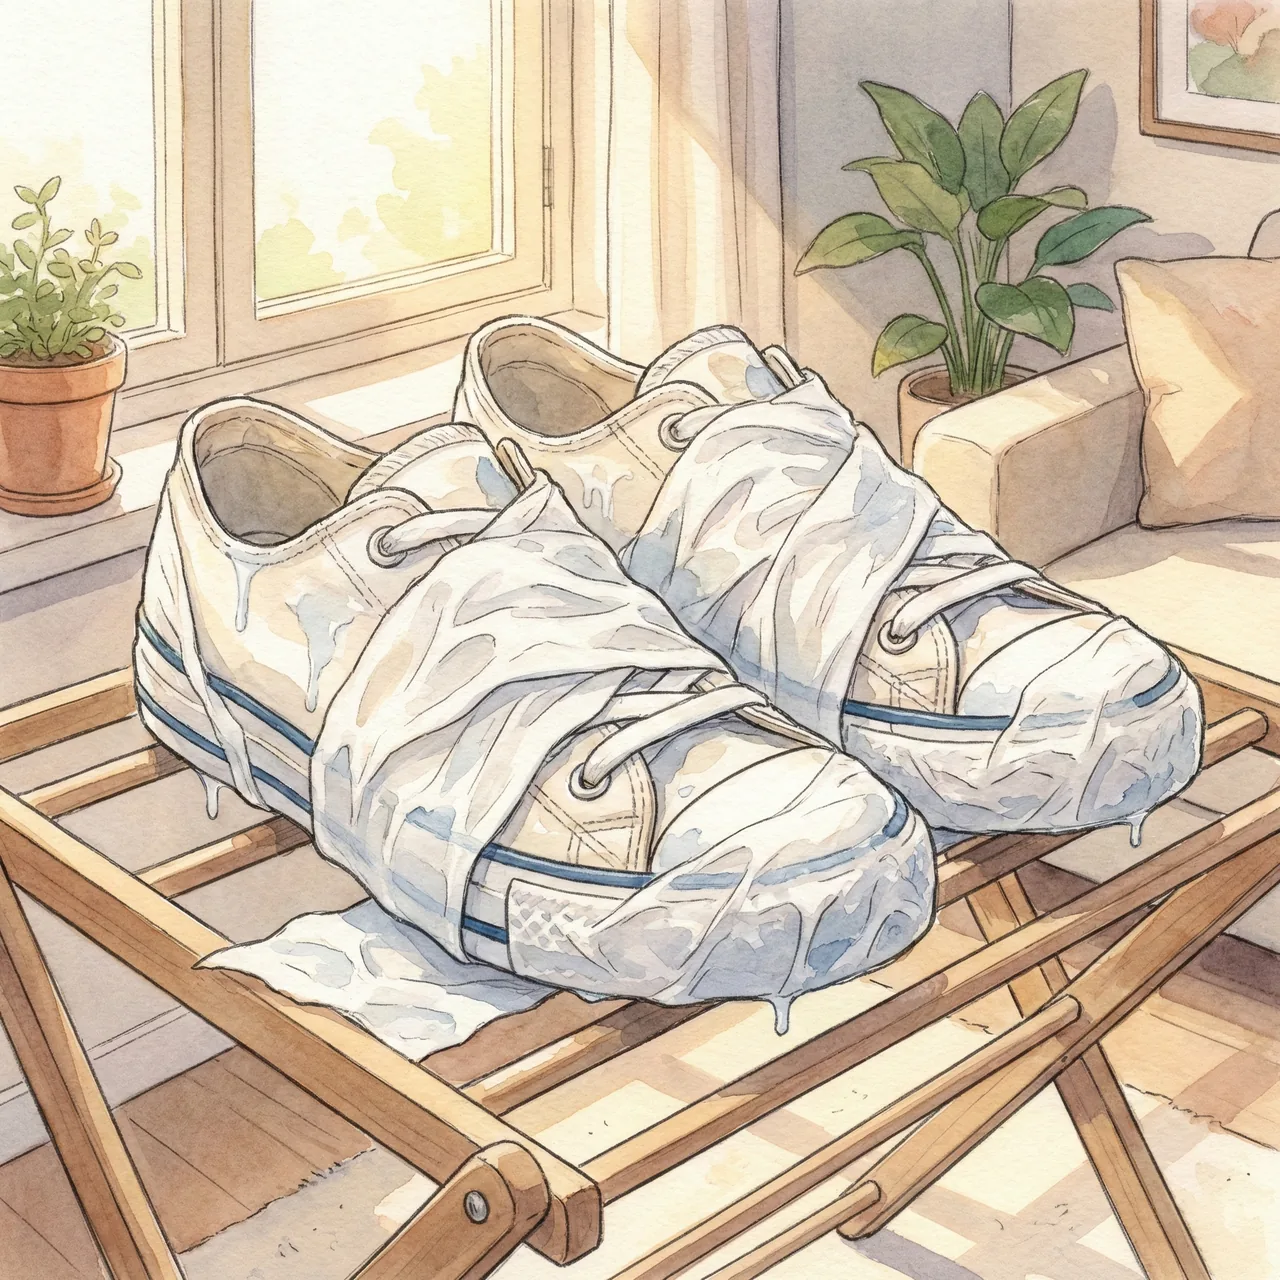
Wrap them in toilet paper while still wet — like a mummy
After a brief spin in the washing machine or gentle hand-squeeze, wrap the wet sneakers completely in toilet paper and leave them to dry as-is.
The science:
As water evaporates, it carries any remaining dissolved impurities toward the surface. The toilet paper intercepts that water — and those impurities — before evaporation can deposit them onto the fabric.
When you peel the paper off after drying, the paper is yellow. The shoes are white. This moment never gets old.
6. Bonus: Melamine Sponge for the Rubber Sole
The dark scuff marks on the rubber toe cap and midsole edges — brushing doesn't touch them.
For these, wet a melamine foam eraser sponge (sold as "Magic Eraser" or similar at any drugstore or 100-yen shop) and rub lightly. The micro-abrasive foam lifts the black marks like an eraser on pencil, leaving the rubber visibly white again.
Avoid any areas with printed designs or patterns — the melamine will remove those too.
7. Frequently Asked Questions
Can I use the washing machine?
Yes, but a dedicated shoe laundry bag is essential.
Dropping sneakers directly into the drum lets the impact during the spin cycle damage both the drum and the shoe's rubber sole.
Use a padded shoe-specific laundry bag and select the hand-wash or delicate cycle. For anything valuable or mixed-material, hand washing is still the safer choice.
Won't direct sunlight dry them faster and kill bacteria?
Avoid direct sun — it damages the materials.
UV exposure accelerates rubber degradation (cracking and brittleness) and promotes the very yellowing you just worked to prevent.
Dry in a well-ventilated shade. To speed drying, stuff the inside loosely with newspaper or a dry towel.
I have stubborn dried mud that won't shift.
Solid bar soap is more effective than liquid detergent for mud.
Mud is a particulate stain — the physical action of a hard soap bar (like Utamaro) worked into the fibers with a brush is more effective than soaking in liquid detergent.
Also: let mud dry completely before washing. Dried mud brushes off the surface first, so you're not spreading wet dirt deeper into the fabric.
Final Thoughts: Protect the Clean with Waterproofing Spray
Yellowing was a detergent residue problem, not a dirt problem. Vinegar rinse plus paper wrap: that's all it takes to get those sneakers back to clean white.
Once they're clean, seal the result: apply a waterproofing spray to both shoes from about 20cm away, let dry, and repeat. The spray repels not just water but surface dirt — which makes the next wash dramatically easier.
Clean shoes are worth protecting.