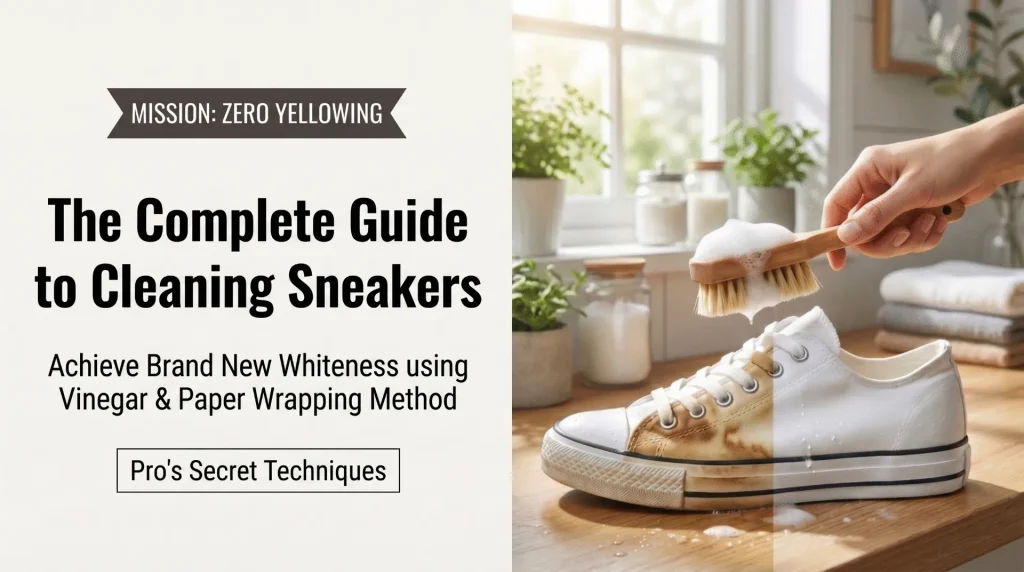
"I washed my white sneakers and they came out with yellow stains after drying…"
"Can I even put water on leather sneakers?"
Most sneaker-washing guides cover the basics — but leave out the two details that matter most: preventing
yellowing and avoiding shape distortion.
Canvas and leather require completely different approaches. Get that wrong and you damage the shoes even while
trying to clean them.
This guide covers a method for restoring white sneakers using tools you already own, plus the pro trick for
eliminating yellowing — broken down by material.
Quick Reference: Sneaker Cleaning by Material
| Material | Water Washing | Cleaning Method | Key Notes |
|---|---|---|---|
| Canvas (cloth / cotton) | ○ OK | Mild detergent + brush, gentle scrubbing | Vinegar rinse prevents yellowing. Avoid direct sunlight. |
| Rubber / Sole | ○ OK | Melamine sponge (e.g. Mr. Clean Magic Eraser) | Excessive pressure may scratch the surface. |
| Genuine Leather | △ Avoid (damp wipe only) | Wipe with a barely damp cloth to lift dirt | Water washing can harden or deform the leather. |
| Suede | × Not recommended | Brush dry with a suede brush | Water flattens the nap and causes permanent staining. |
1. Prep: Remove Laces and Insoles First
Before washing, always remove the shoelaces and insoles — even if it feels like an extra step.
What happens if you skip this?
Dirt trapped behind the eyelets (the metal rings the laces pass through) doesn't rinse away cleanly. As the shoe
dries, that residue seeps outward and leaves ring-shaped stains on the upper.
The laces and insoles can be cleaned separately — a soak in a basin with laundry detergent and a gentle scrub is
enough. This one step alone makes a visible difference.
2. Canvas Sneakers: How to Wash (Cotton / Canvas)
Canvas sneakers — like those made by Moonstar — are the most forgiving to wash, but they come with one serious hazard: yellowing (alkaline burn). Here's the method that prevents it.
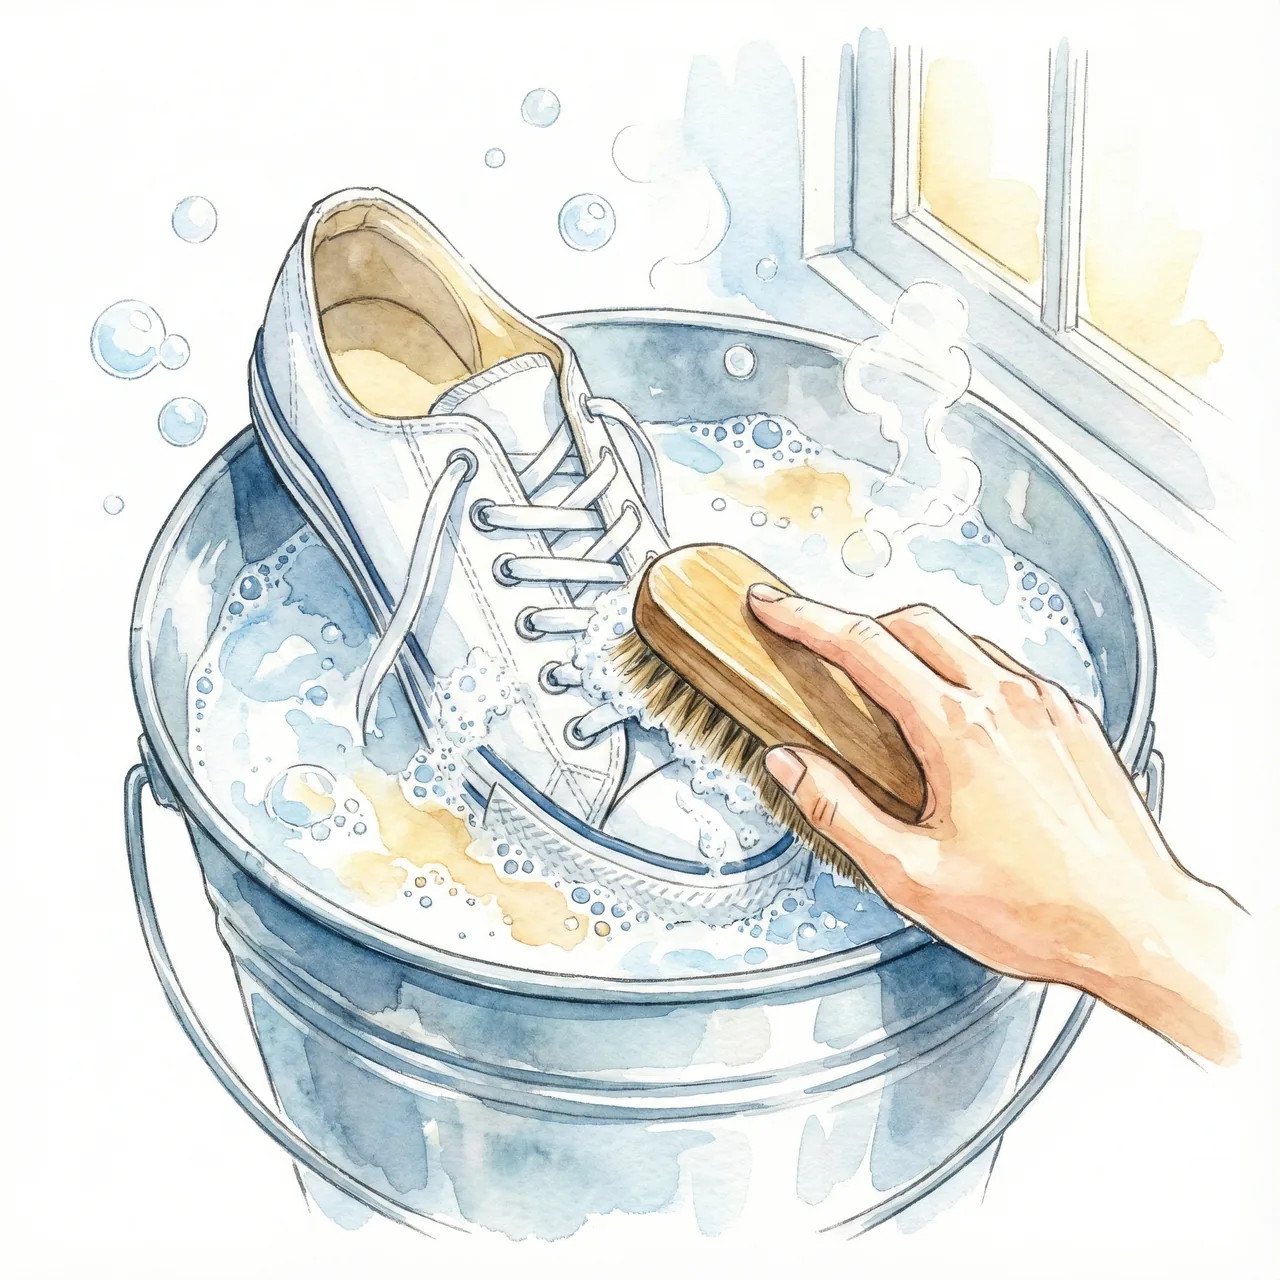
Step 1: Soak and Scrub with Mild Detergent
Fill a bucket with lukewarm water and dissolve a small amount of mild laundry detergent (neutral pH
recommended).
Soak the sneakers for about 15 minutes, then scrub gently with a shoe brush or an old toothbrush.
Note: aggressive scrubbing will roughen the fabric — keep the pressure light and the motion circular.
Step 2: The Vinegar Rinse — the Most Important Step
This is the step most guides miss.
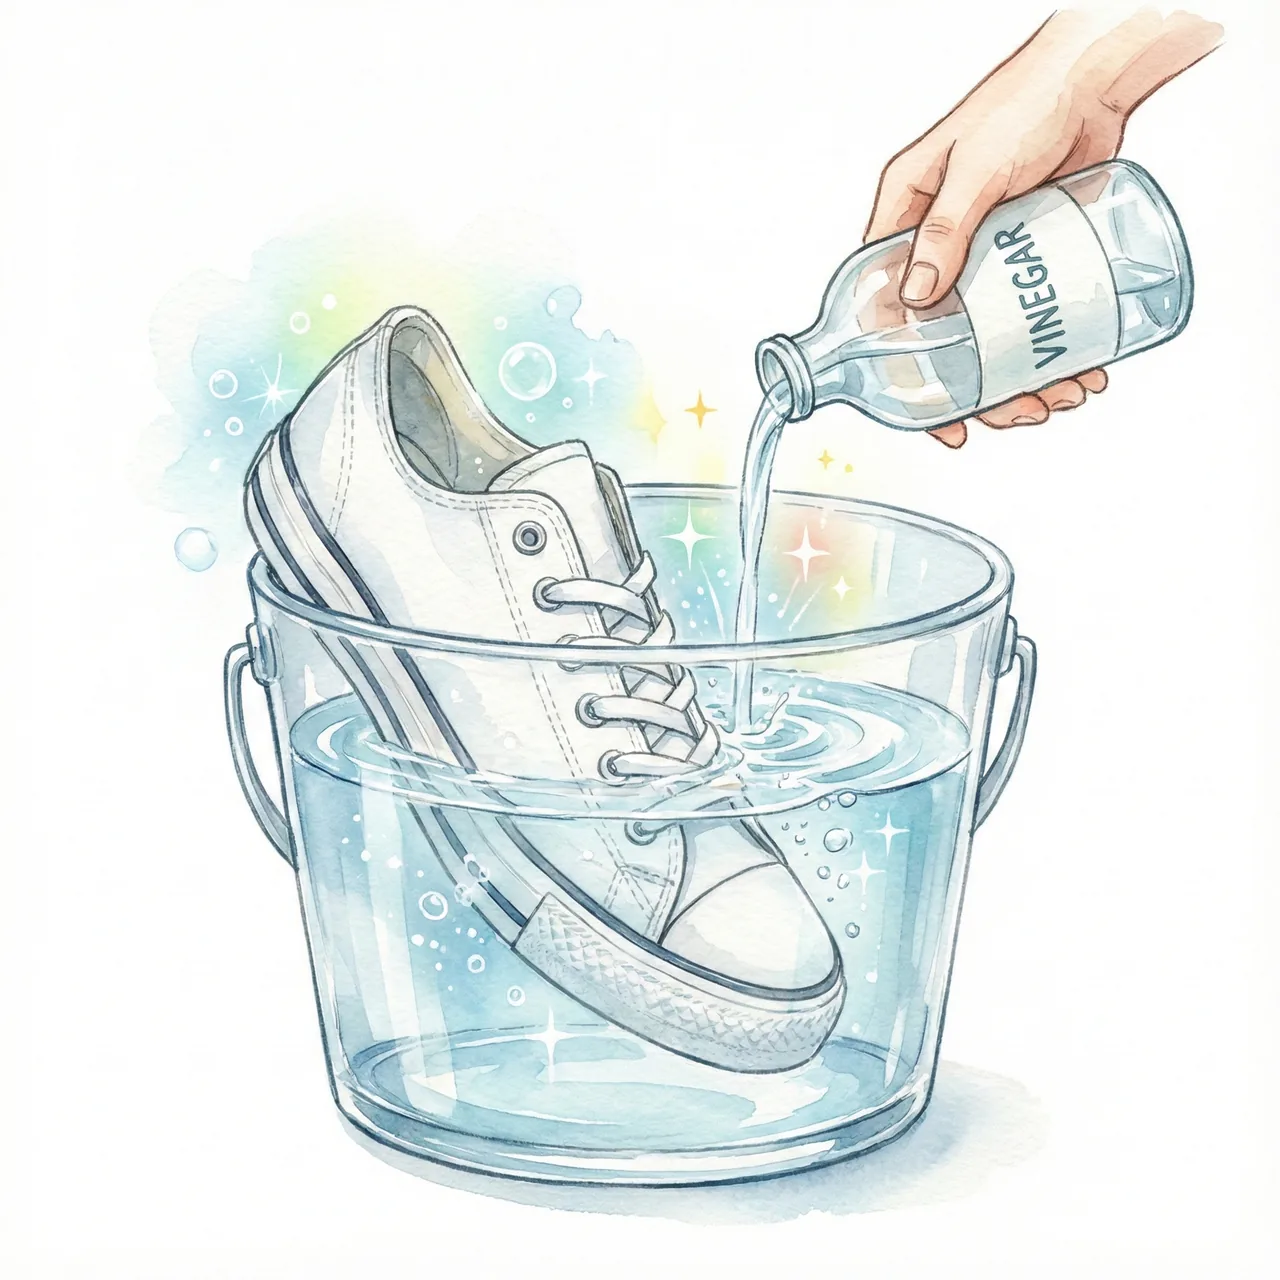
After rinsing out the detergent thoroughly, fill the bucket with fresh water and add about half a cup of
plain white vinegar. Soak the sneakers for 1–2 hours.
Why vinegar?
Alkaline residue from laundry detergent stays in the fabric fibers. When exposed to UV light during drying, it
reacts and turns yellow. The mild acidity of vinegar neutralizes that residue completely — eliminating yellowing
before it starts.
3. Rubber Soles: Removing Scuffs with a Melamine Sponge
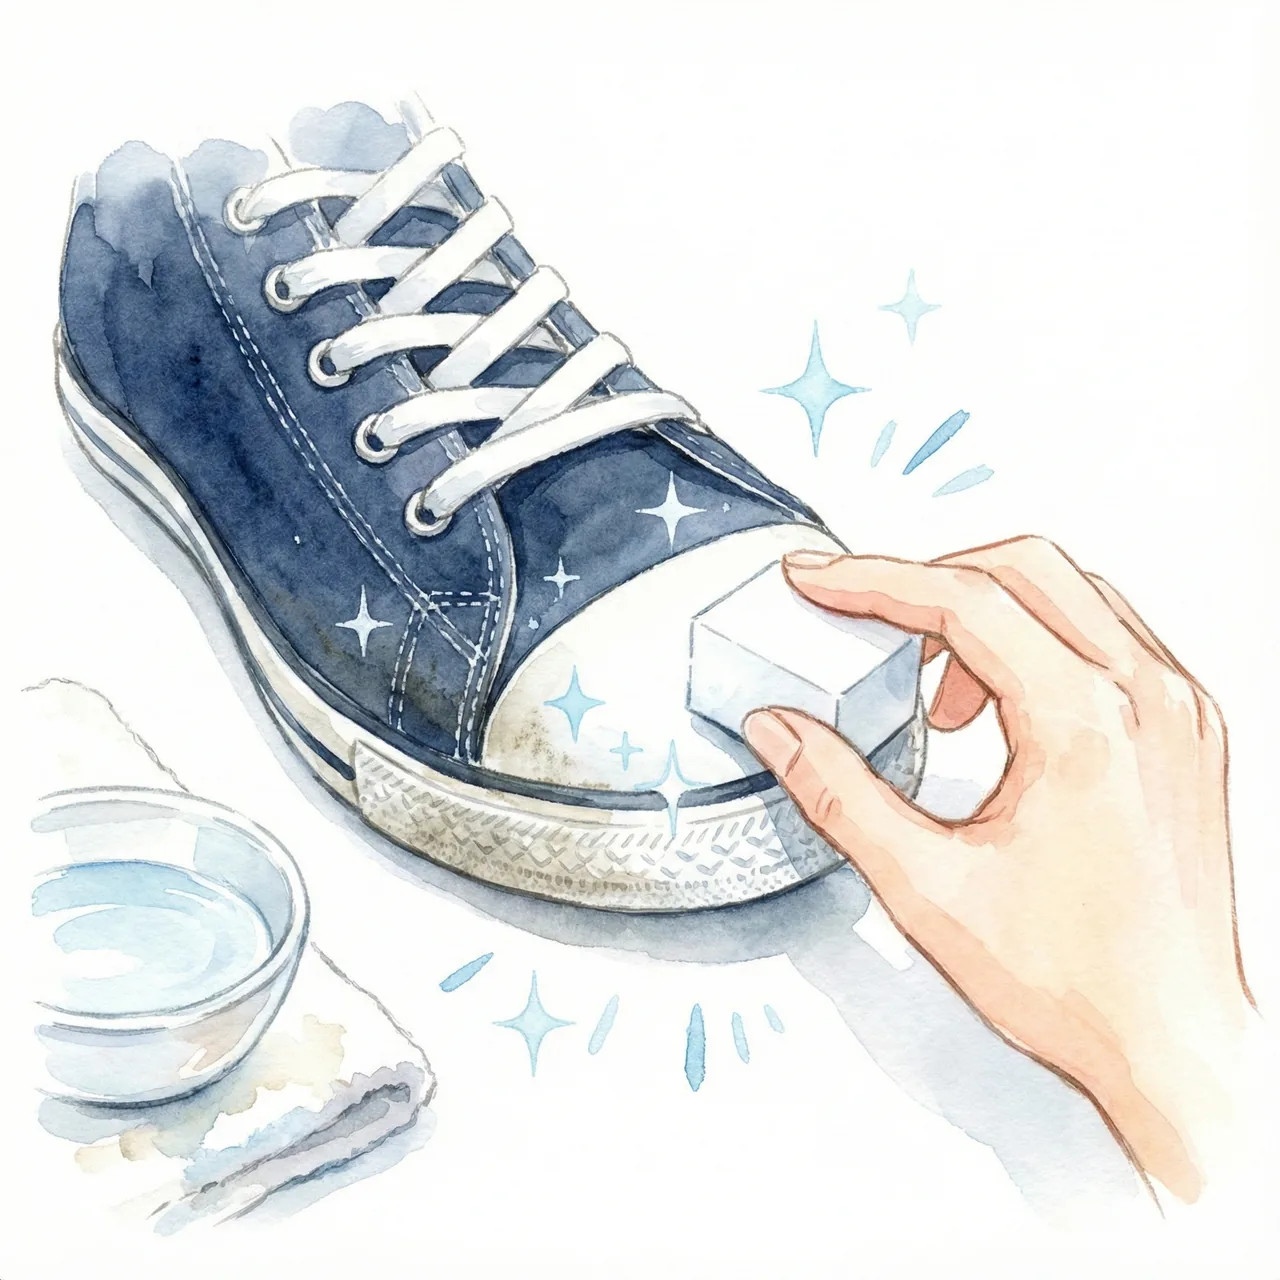
Erase Toe-Cap Scuffs with a Melamine Sponge
The white rubber foxing and toe caps on vulcanized sneakers are a signature detail — and one of the first things
to look dirty.
For dark scuffs that don't respond to detergent and a brush, dampen a melamine sponge (Mr. Clean Magic
Eraser or similar) and rub lightly.
The sponge works like a fine abrasive eraser — you'll see crumbles form as it lifts the grime, and the rubber
turns bright white again with almost no effort.
4. Leather Sneakers: How to Clean (Genuine Leather & Suede)
Leather sneakers — such as those from Spingle Move or Onitsuka Tiger — should not be submerged in
water.
Water causes the leather to stiffen, shrink, and lose its shape permanently.
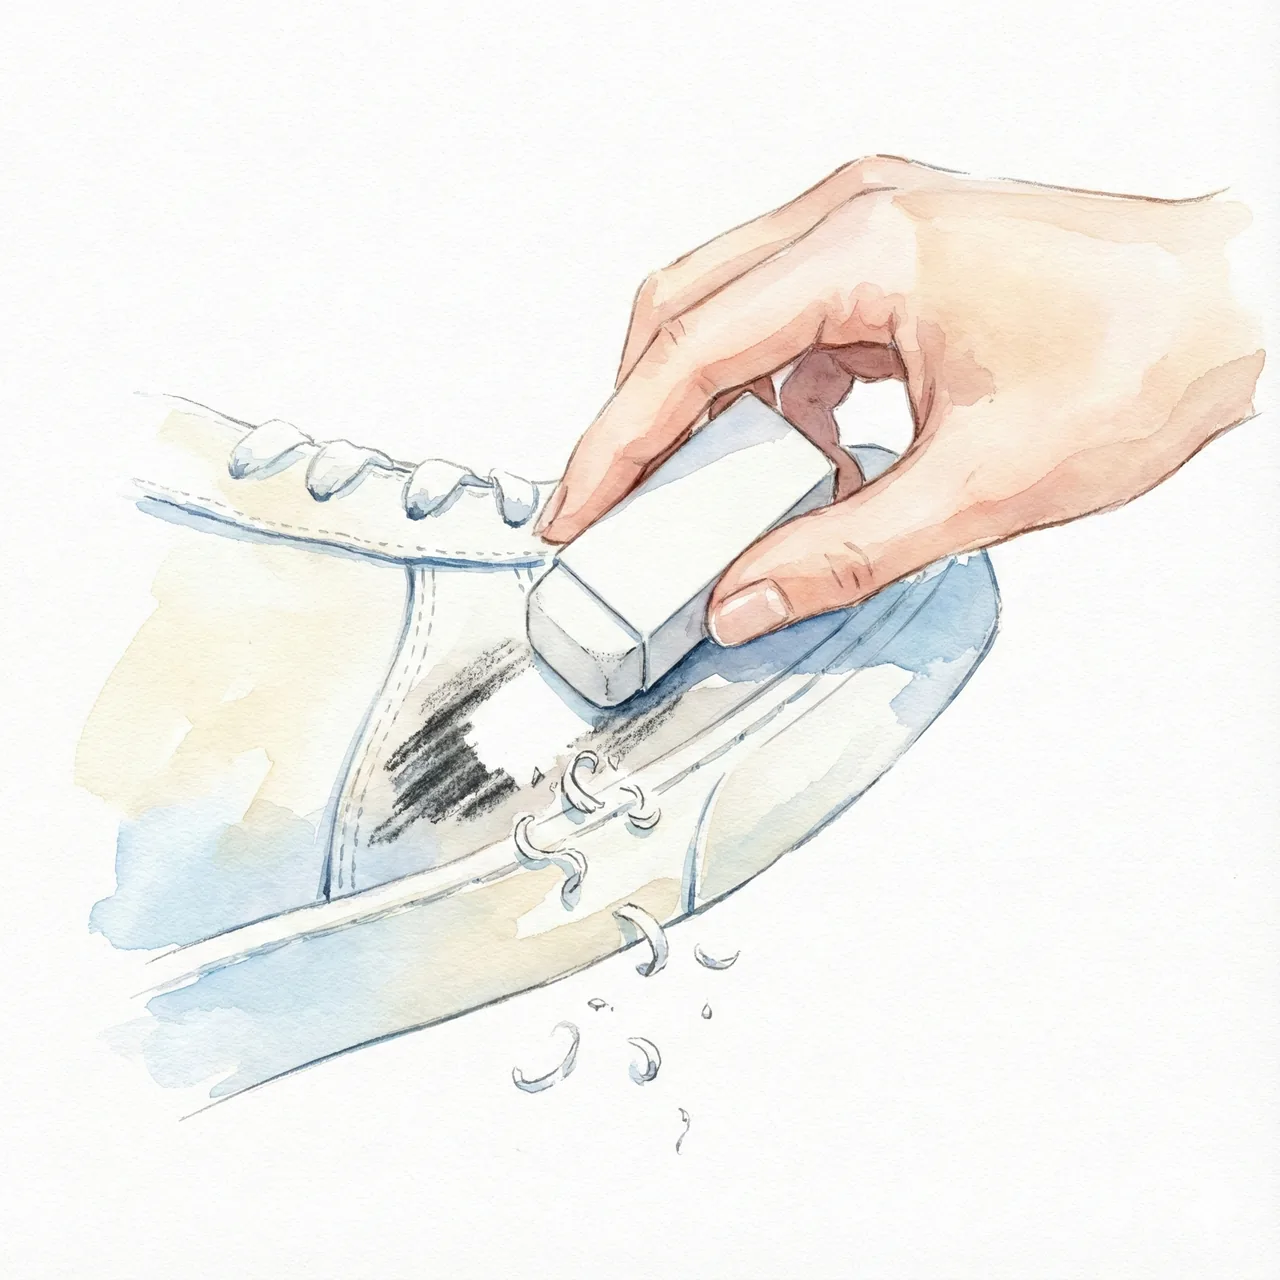
Light Marks: Eraser Cleaner
For surface scuffs and light marks, use a standard stationery eraser or a sneaker-specific eraser cleaner — rub
gently over the affected area.
This removes most surface-level darkening without any moisture, making it the safest first step for leather.
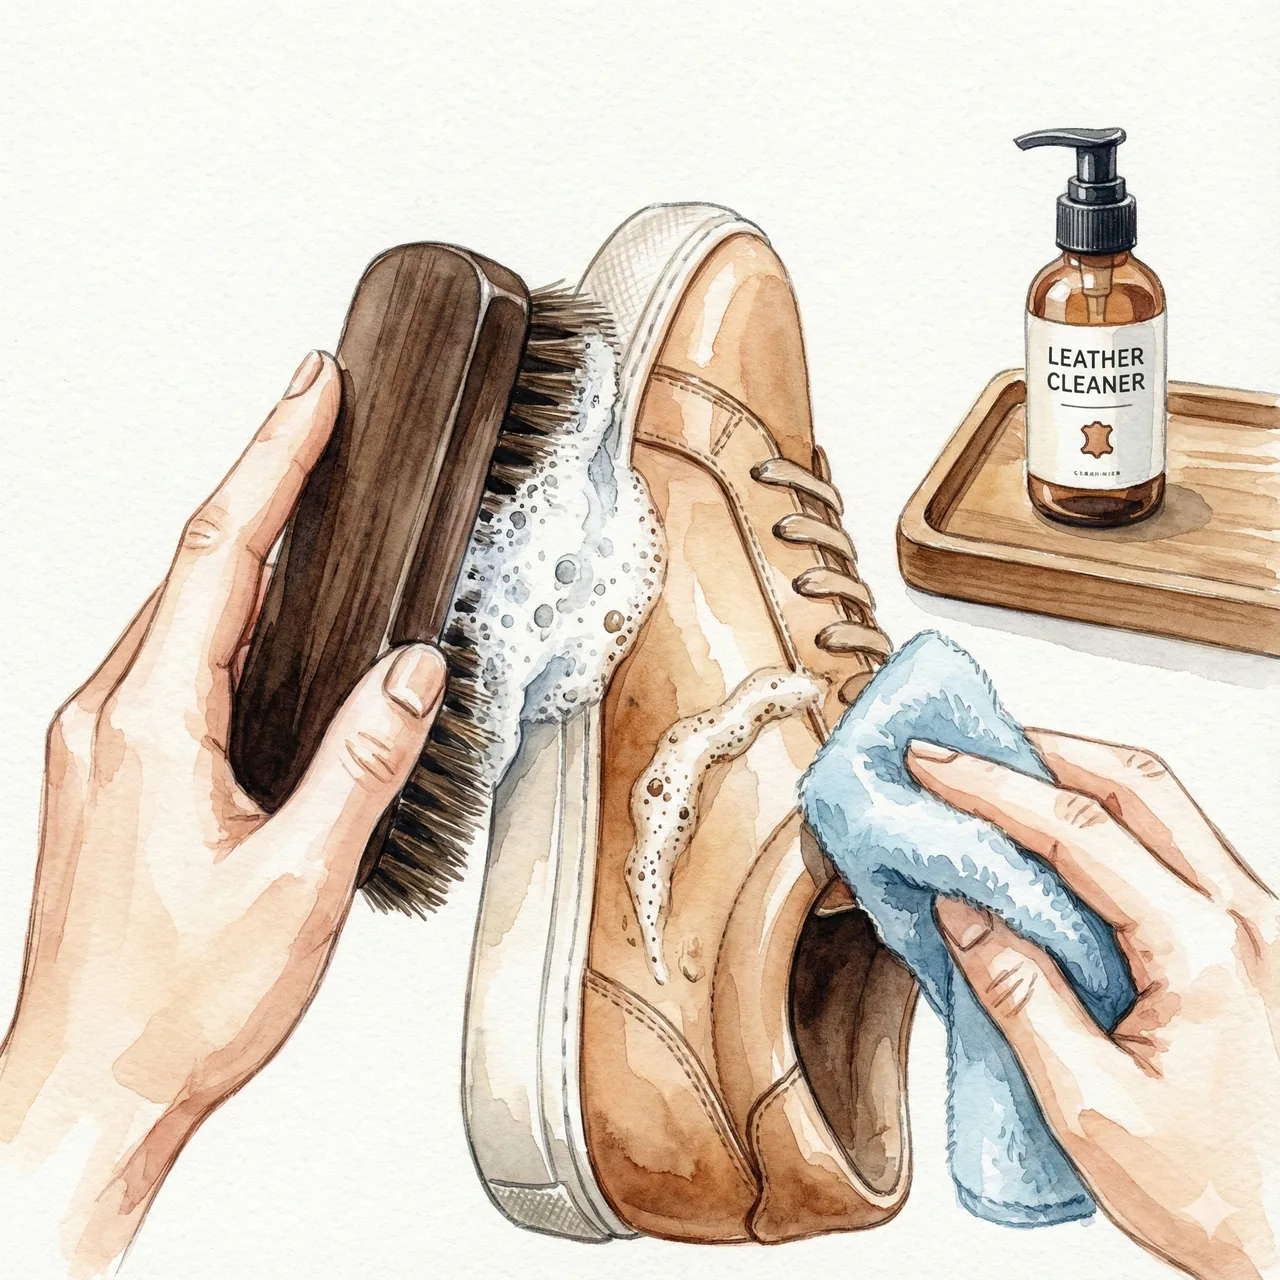
All-Over Cleaning: Foam Cleaner (No Rinsing Required)
For a thorough clean, use a sneaker-specific foam cleaner such as Jason Markk.
Apply a few drops to a damp brush, work into a lather, scrub the surface gently, then wipe the foam away with a
dry cloth.
No rinsing required — which is precisely why it's safe for leather. The shoe stays barely damp
throughout, preventing the stiffening that full water contact causes.
5. Drying: The Trick That Prevents Yellowing
After washing, remove excess water by wrapping the sneaker in a towel and spinning it in a washing machine for 1–2
minutes on gentle, or by pressing firmly with a dry towel.
Then, before hanging them up, do this one extra step.
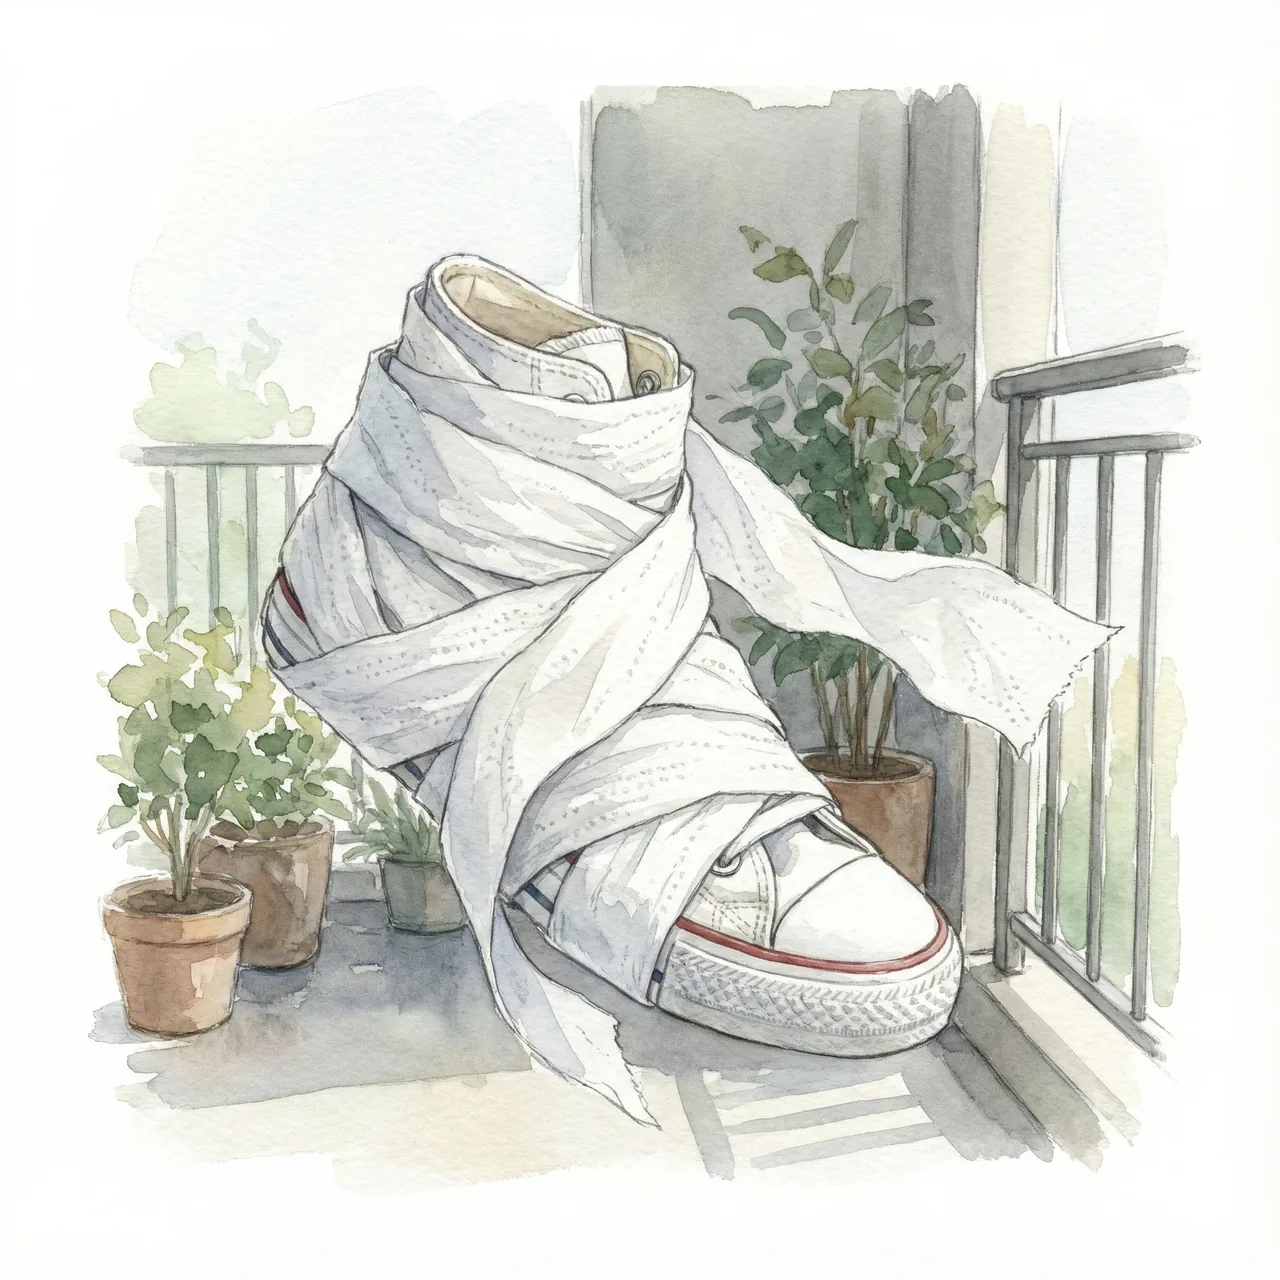
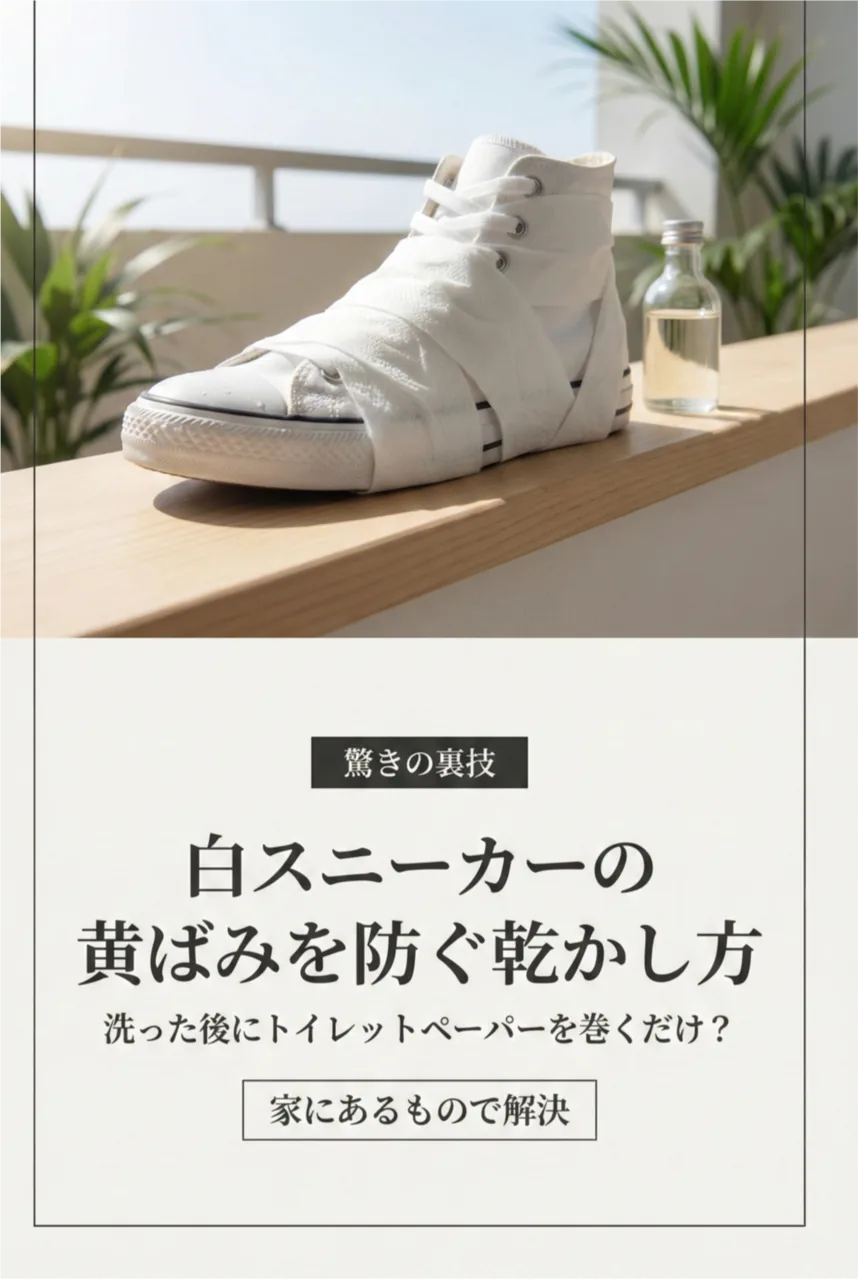
Drying Trick 1: Wrap Them in Toilet Paper
Wrap the wet sneakers completely in toilet paper or paper towels — mummy-style, covering every surface — and
press it gently to make it stick.
Why it works:
As the shoe dries, residual dirt and pigment migrate toward the surface. The paper absorbs them before they can
set into the fabric.
Once the paper is dry and you peel it off, the yellowing has transferred to the paper — and the shoe stays
white.
Drying Trick 2: Heel-Down in the Shade
Direct sunlight degrades rubber and causes discoloration over time.
Dry in a shaded, well-ventilated spot with the heel pointing downward — this lets moisture drain out of the toe
box more efficiently. A shoe-specific drying rack makes this easier.
6. Frequently Asked Questions (OxiClean, Baking Soda)
Is OxiClean soaking safe for sneakers?
Safe for white canvas — but yellowing is a real risk if you skip the neutralizing step.
OxiClean is strongly alkaline, so it removes stains aggressively. The problem is that if any residue remains after
rinsing, it will yellow intensely under UV light.
Always follow an OxiClean soak with the vinegar rinse described above — the acid neutralizes the alkaline residue
before it can cause damage.
Do not use OxiClean on leather, suede, or any colored or patterned fabric.
Does baking soda work for cleaning sneakers?
It works, but watch the abrasive action.
A paste made from baking soda and detergent is effective at lifting stubborn dirt. However, baking soda also acts
as a mild abrasive — scrubbing too hard can roughen or thin the fabric over time. Use light pressure and rinse
thoroughly.
Can I use a coin-laundry sneaker washing machine?
Fine for kids' shoes or inexpensive sneakers — but not for anything you care about.
These machines use stiff rotating brushes that can roughen the fabric, distort the shape, and stress the sole
adhesive. For quality Japanese sneakers, hand-washing is always the safer choice.
How often should I wash my sneakers?
Aim for once or twice a month — clean before visible dirt builds up, not after.
The longer dirt sits in the fabric, the harder it is to remove and the more damage it does. White canvas in
particular shows grime quickly; a light brush-off every few wears delays the need for a full wash and extends the
shoe's life.
Can I use a front-loading (drum) washing machine?
Possible with a mesh laundry bag on a delicate cycle — but hand-washing is always the safer
option.
Drum machines use a tumbling action that puts significant stress on sneakers: shape distortion and sole separation
are real risks. Leather and suede should never go into any washing machine. If the care label shows a hand-wash
symbol, treat that as a hard no for the machine.
My sneakers smell even after washing — what do I do?
Remove the insoles, dust the interior with baking soda, leave overnight, then shake it out.
Odor comes from bacteria, so check that the wash removed all dirt thoroughly. More importantly, ensure the shoes
are completely dry before wearing again — a shoe that hasn't dried fully will harbor bacteria and smell worse than
before. Dry in a shaded, ventilated spot for at least half a day, ideally a full day.
7. Final Thoughts: Clean Shoes Go Places
"Style starts from the feet" is an old line, but it holds.
A dirty expensive sneaker reads as careless. A clean budget sneaker reads as someone who takes care of their
things.
· Vinegar rinse
· Melamine sponge on the rubber
· Toilet paper wrap while drying
These three steps are all it takes to eliminate yellowing and keep white sneakers looking white.
Take 30 minutes this weekend. Give your sneakers the reset they deserve.
Best Japanese Sneakers: Top 7 Picks from Moonstar to Spingle Move
Leather Shoe Care Guide: Polish, Nourish, and Restore