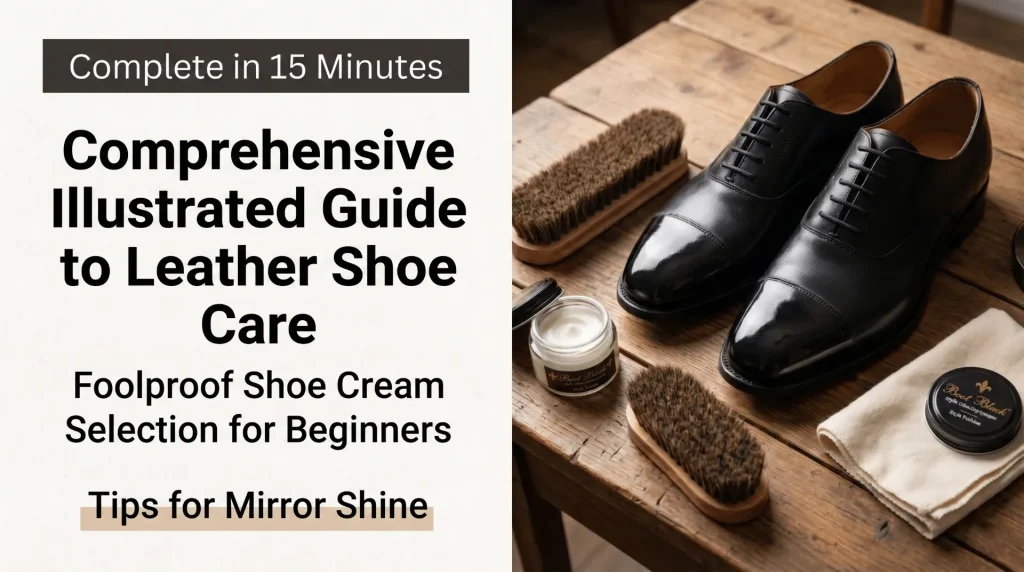
Caring for leather shoes isn't a chore.
It's a ritual for settling your mind.
"It looks like you need a lot of equipment…" "Mirror shine sounds impossibly difficult…"
These are the reasons most people put it off — and neither one is true.
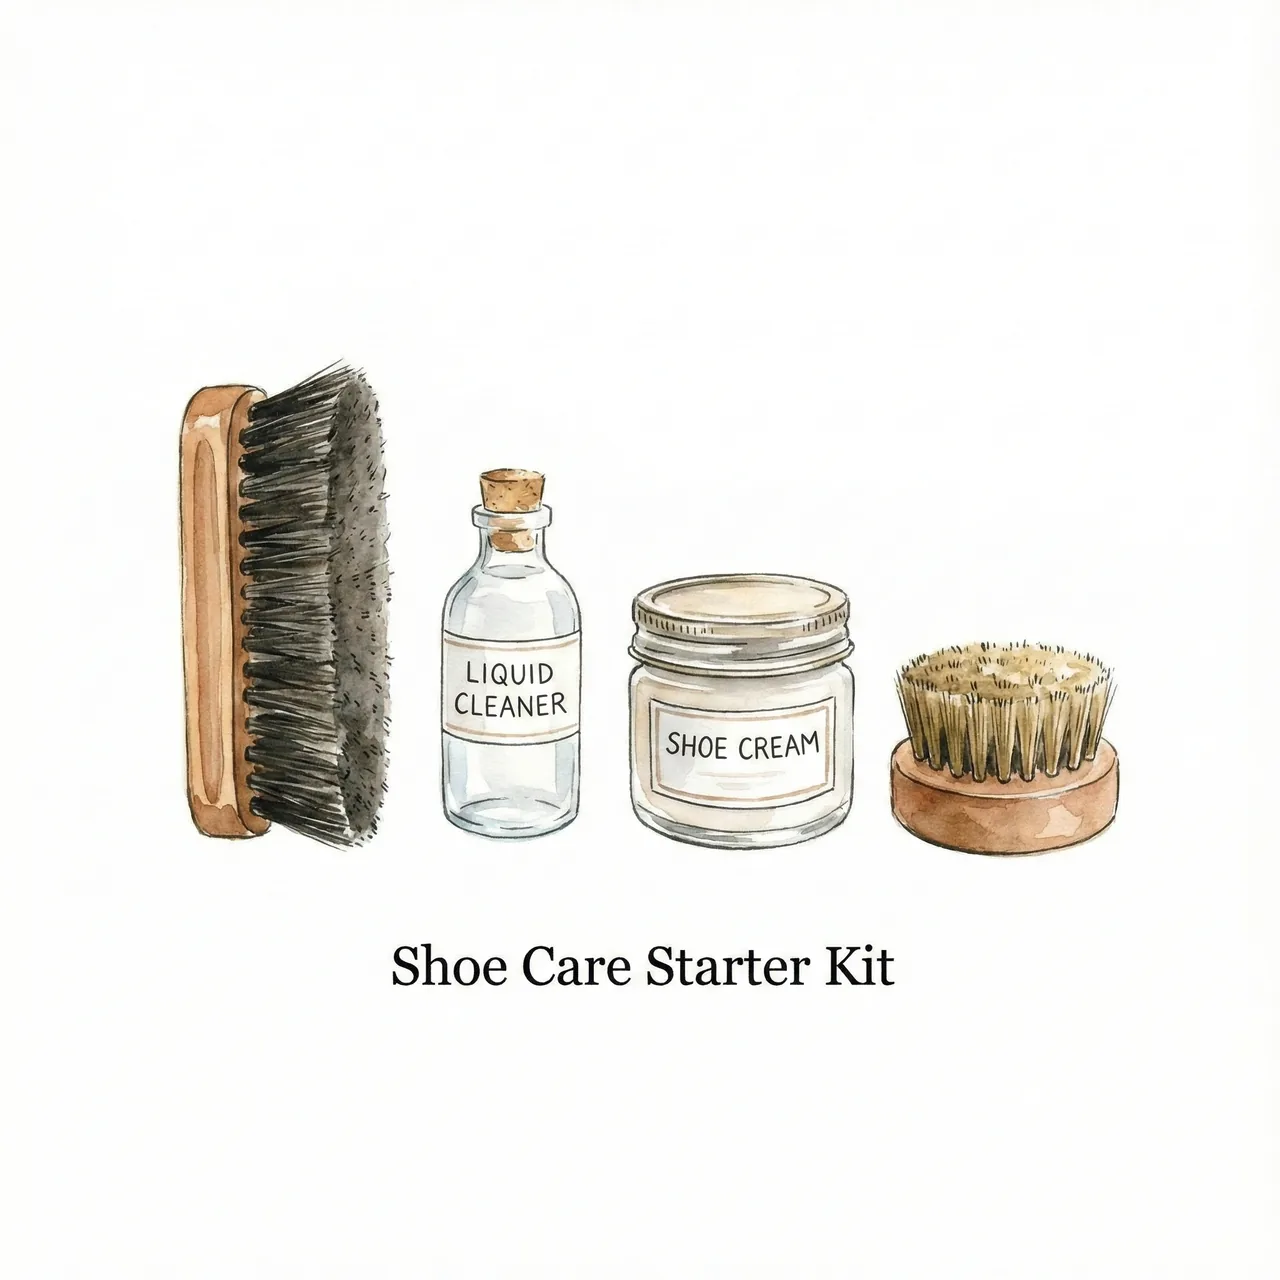
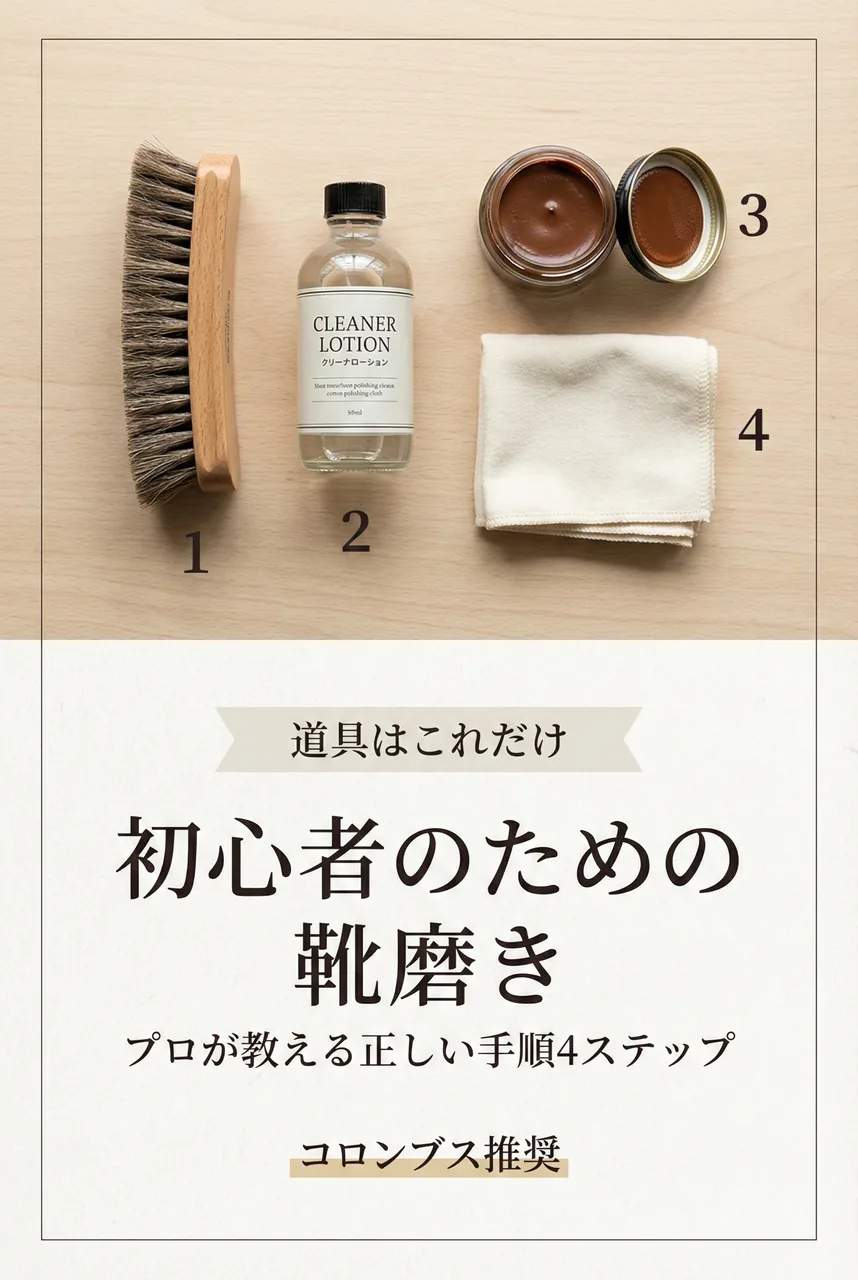
For everyday maintenance, you need exactly four tools.
Once you know the sequence, one pair of shoes takes 15 minutes — and comes out looking like new. Do this
consistently and a quality leather shoe lasts 10, 20, even 30 years.
This guide covers how to choose the right Japanese-made cream for Japan's humid climate, plus a
complete illustrated breakdown of the care routine for beginners.
1. The 4 Tools Every Beginner Needs
Starting with the right equipment matters — but you don't need everything at once.
These four items are all you need to get started properly.
① Horsehair Brush (for dust removal)
Soft enough not to scratch the leather, with bristles that reach into the stitching and welts.
Using this every time you come home — even without cream — extends a shoe's life noticeably.
② Cleaner (for stripping old cream)
A liquid solution that dissolves old wax, cream, and surface grime — the equivalent of makeup remover for
leather.
Apply before every full polish to start fresh.
③ Emulsified Cream (for nourishment)
The main event. Emulsified (water-and-oil) cream penetrates the leather and restores suppleness while adding a
natural, moderate shine.
This is what keeps leather alive over decades.
④ Boar Bristle Brush (for buffing)
Stiffer than horsehair, this brush is used after cream application to drive the product deep into the leather pores and distribute it evenly — the step that separates a surface coat from genuine conditioning.
2. Why Choose Japanese Cream: The Case for Columbus
European high-end creams are excellent — but a Japanese maker that understands Japan's hot, humid summers and cold winters is the natural starting point for shoes worn in Japan.
Recommended: Columbus / Boot Black
Founded in 1919. Over 100 years supporting Japan's leather footwear culture.
The premium Boot Black line is used by professional shoe polishers at Tokyo Station and major department stores —
not because it's Japanese, but because it performs.
Why it works for beginners:
· Fine particle size for deep leather penetration
· Spreads evenly without streaking — even for first-timers
· The Silver Line starts under ¥1,000
· One tin covers multiple pairs and lasts months
Match the color to your shoe, but if you're unsure, "Neutral" (colorless) works on any leather.
Columbus Boot Black Shoe Cream
Japan's professional-grade leather cream — used at top shoe-shine bars and department store counters. Fine pigment particles penetrate deep, restore color, and deliver an even finish even for beginners. Available in 44 color options including Neutral.
View on Amazon3. The Basic Polish: 4 Steps in 15 Minutes
This is the complete routine for everyday maintenance.
Do this once or twice a month and your leather shoes will stay in excellent condition indefinitely.
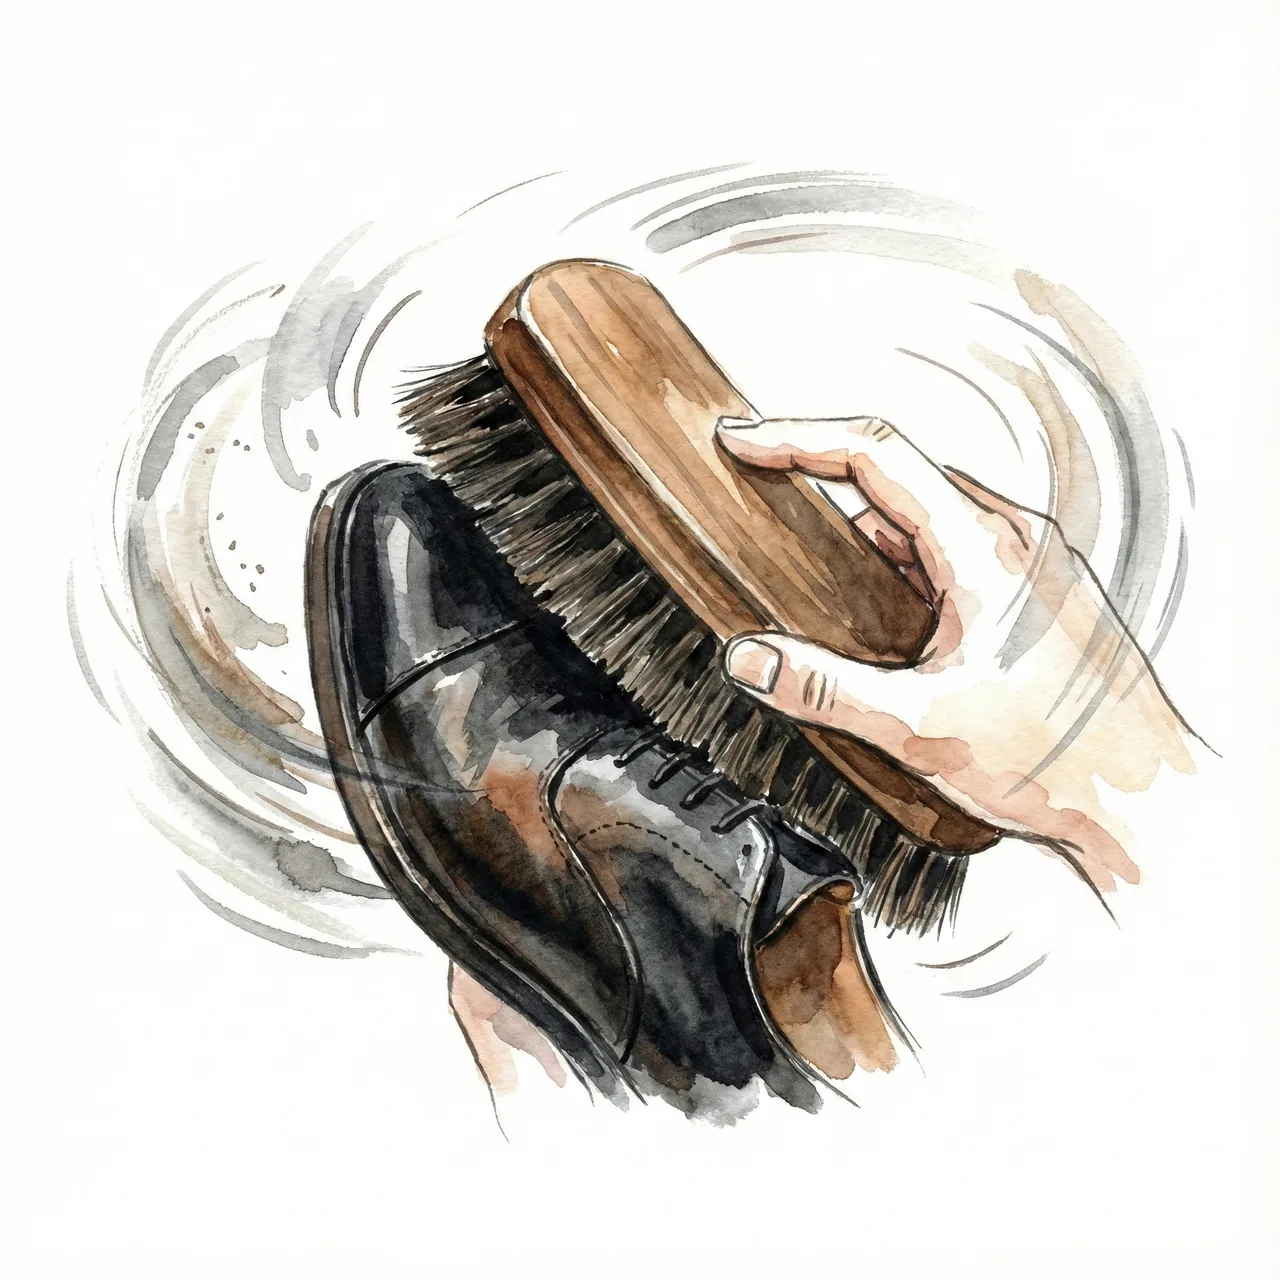
Step 1: Brush Off Dust with the Horsehair Brush
Remove the laces and insert shoe trees to hold the shape. Brush the entire shoe thoroughly — paying particular
attention to stitching lines and the welt (the seam where upper meets sole).
Think of it as combing out the debris caught in the crevices.
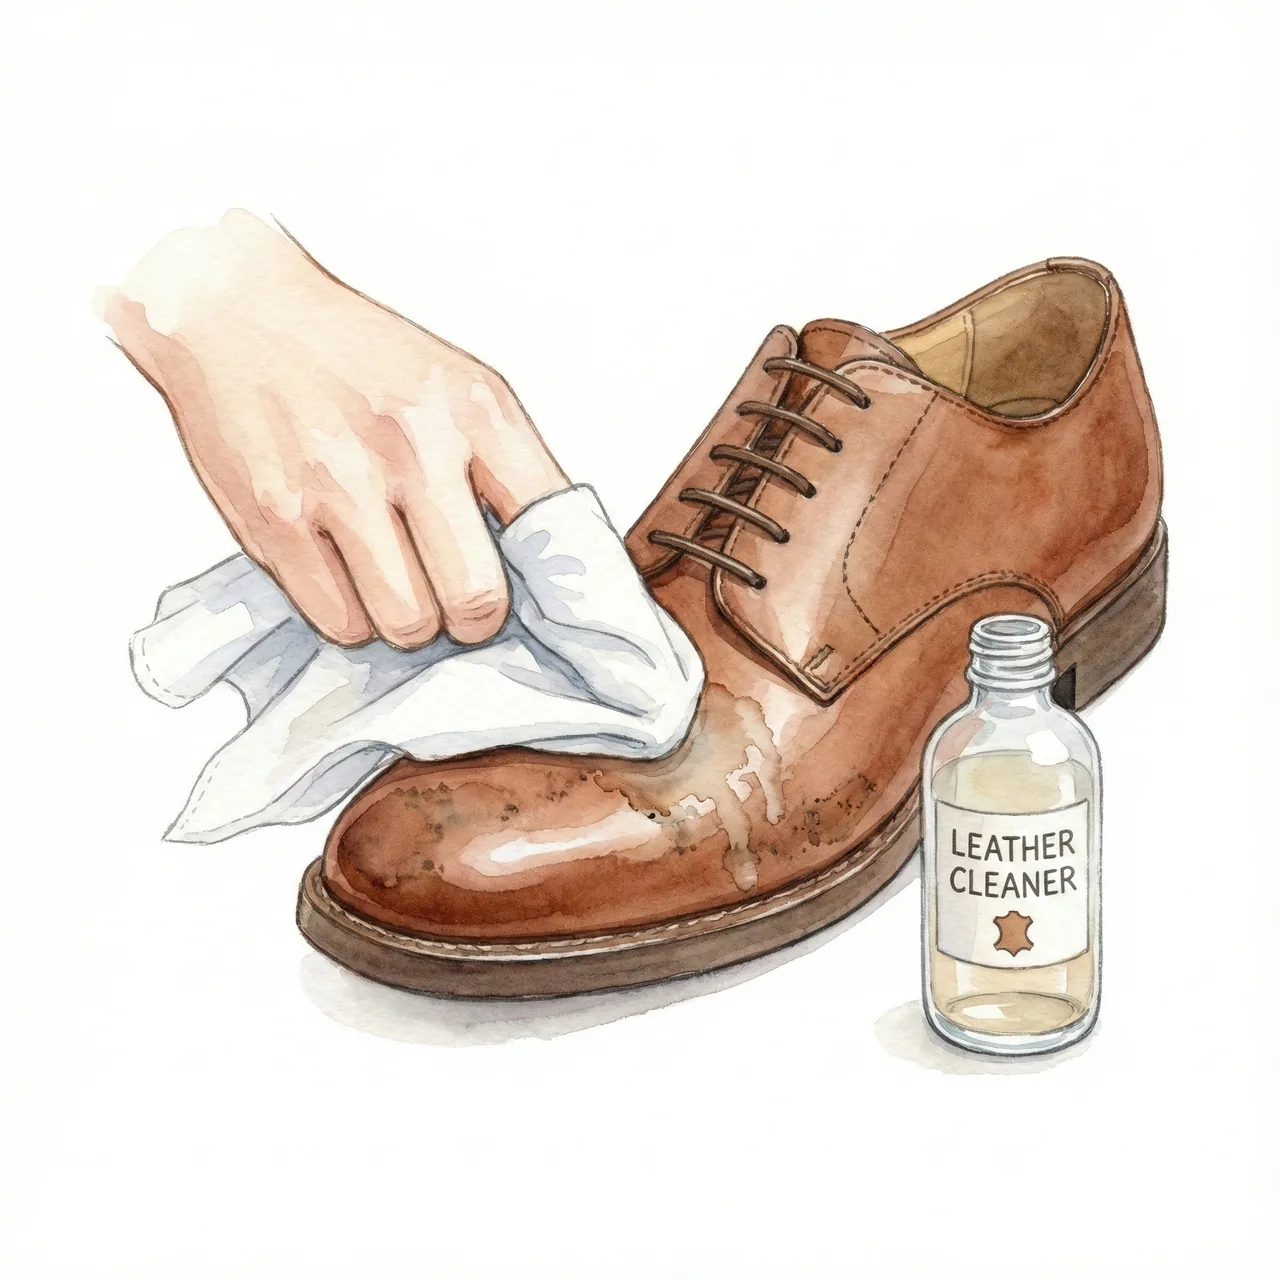
Step 2: Clean with Leather Cleaner — Strip It Back to Bare
Wrap a cloth (an old T-shirt works perfectly) around two fingers. Take a coin-sized amount of cleaner and wipe
the entire shoe in gentle, circular motions.
This removes old cream buildup and surface grime that the brush can't reach — giving the new cream a clean
surface to work with.
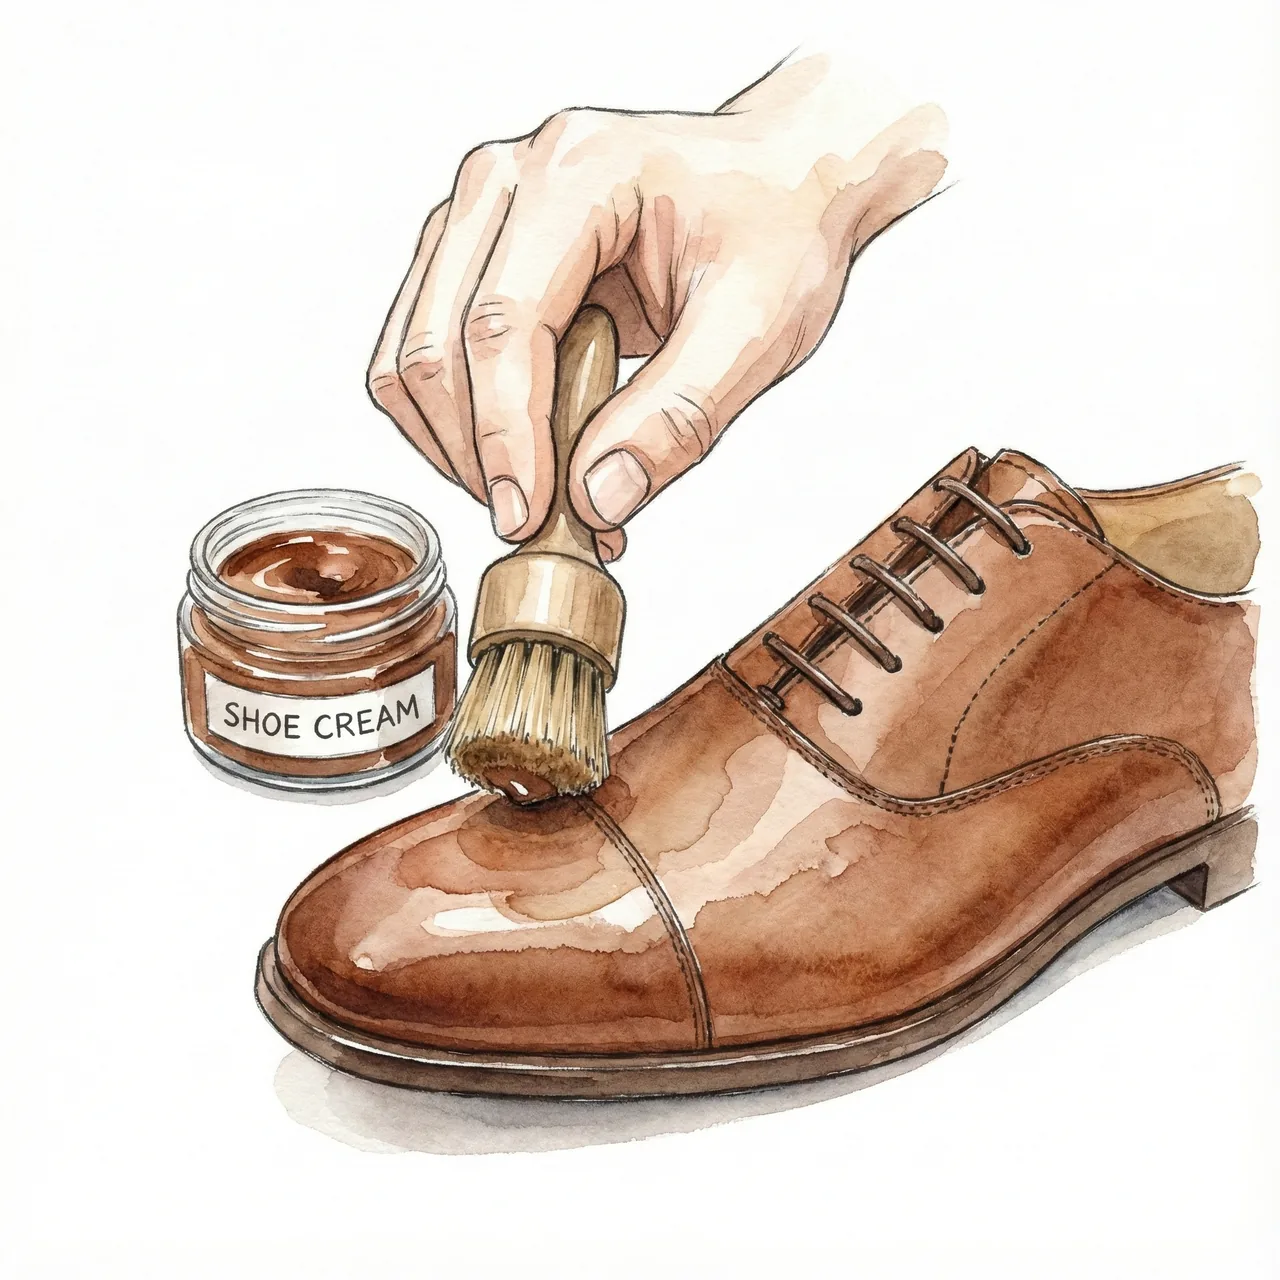
Step 3: Apply Cream — Two to Three Grains of Rice Per Shoe
Less is more here.
Apply a rice-grain-sized amount (two to three grains per shoe) to a small applicator brush or fingertip, and
work it evenly across the entire surface in thin, overlapping strokes.
Then use the boar bristle brush with firm, brisk strokes to drive the cream into the leather
pores. This is the step that makes the conditioning effective rather than superficial.
Step 4: Buff Dry — Bring Out the Shine
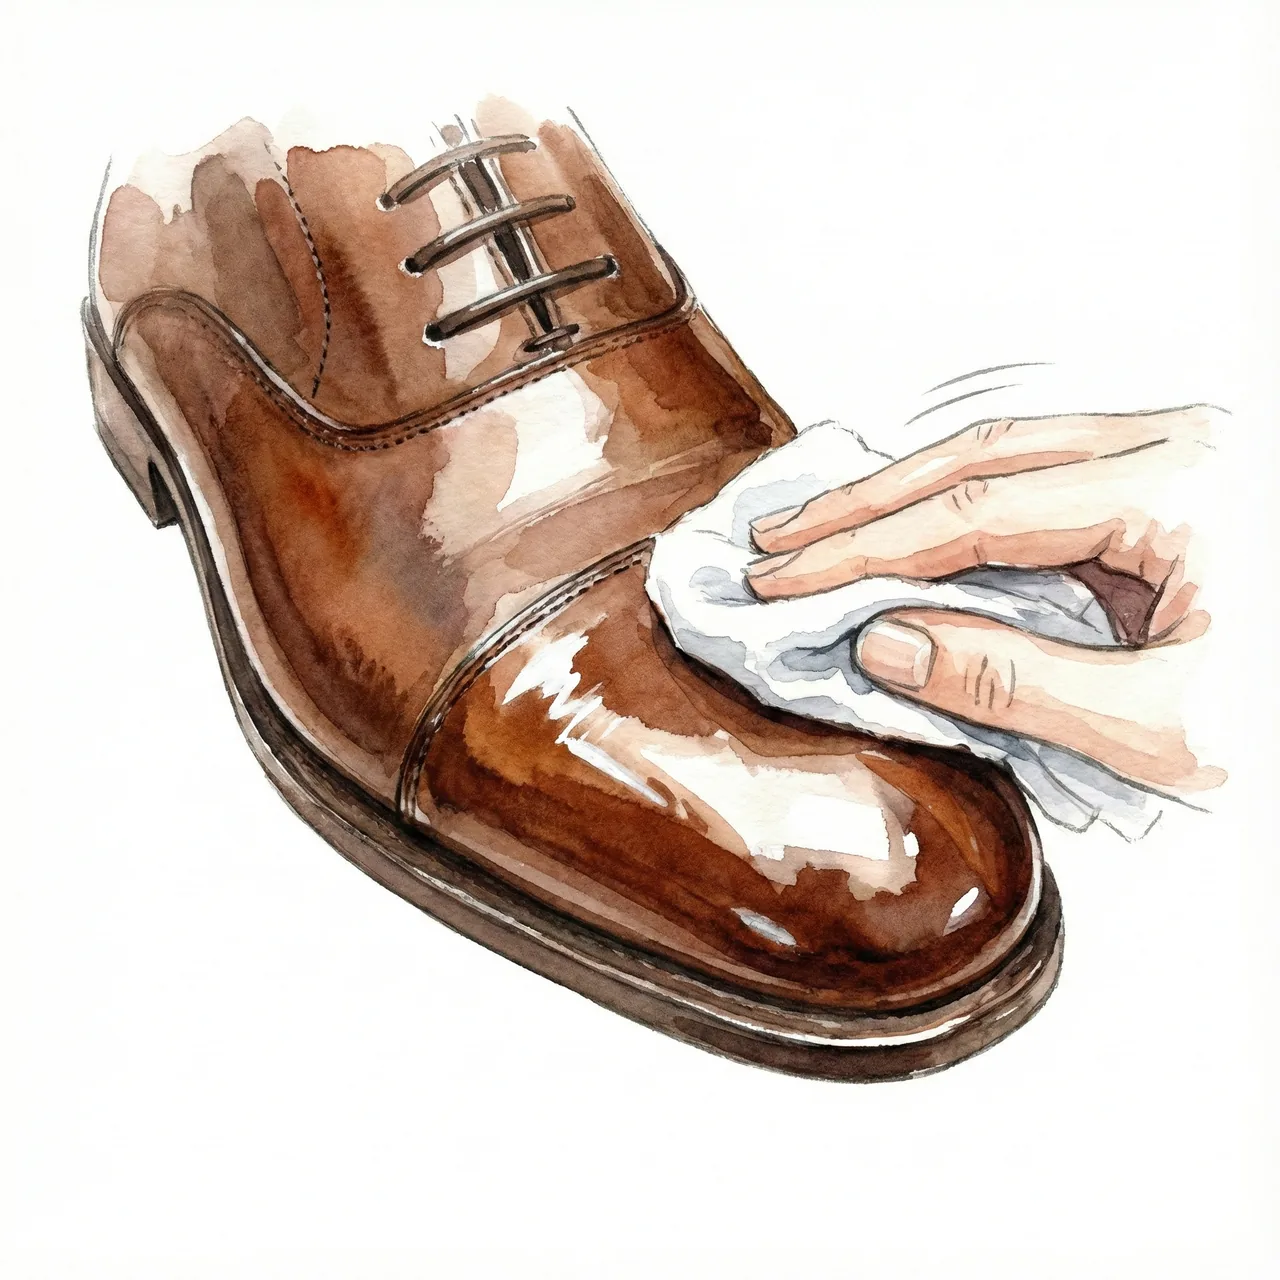
Using a clean dry cloth (even nylon stocking works), polish the entire shoe with light, fast strokes.
The friction generates gentle heat that melts the wax content of the cream slightly, allowing it to bond and
shine. Excess cream lifts off onto the cloth, leaving a smooth, even surface.
4. The Mirror Shine: Polishing the Toe Cap to a Liquid Gloss
For shoes worn to important occasions, a mirror-finish toe cap — where the leather reflects like polished metal —
signals a level of care and attention that everyone notices.
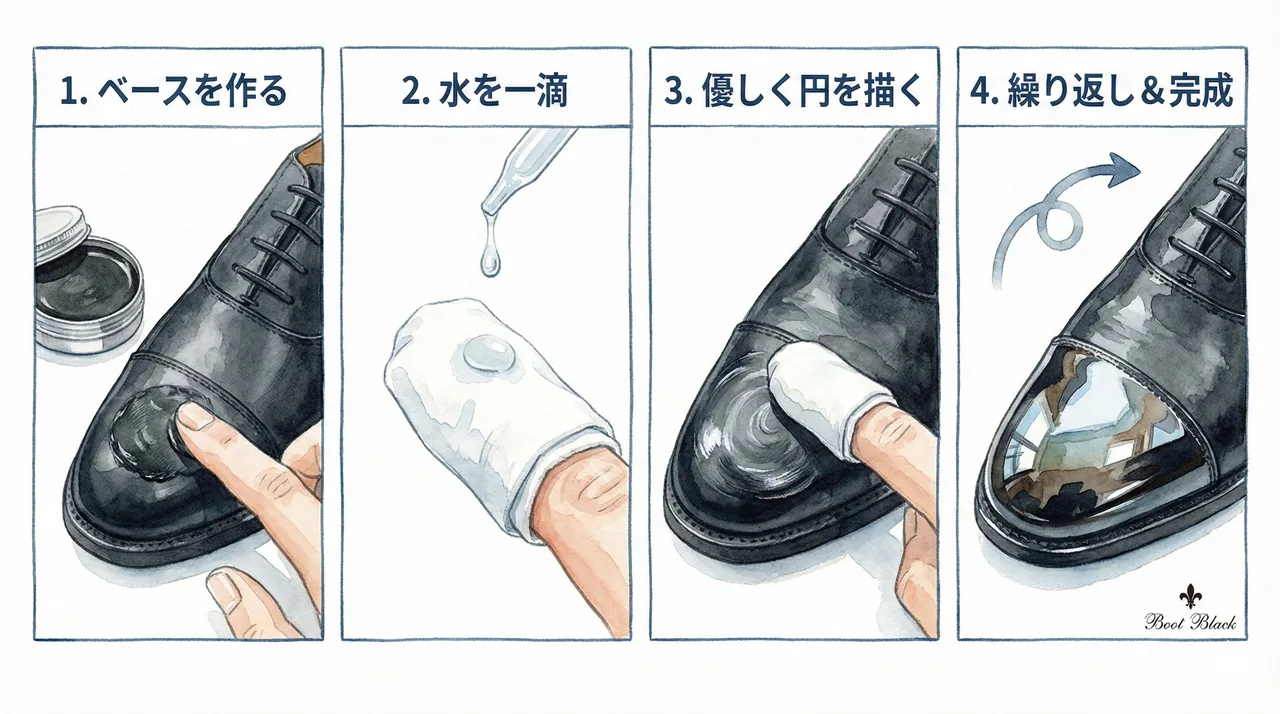
All you need beyond the basic kit is wax (hard, oil-based cream) and water.
The Secret Is Building Layers
As shown in the illustration: apply a thin layer of wax, add a single drop of water, then buff gently in small
circles. Repeat this sequence three to five times.
Each layer fills in the microscopic surface irregularities of the leather with wax. Once the surface is flat
enough to reflect light uniformly, the mirror effect appears.
The key technique note: gentle pressure, not force. Pressing hard disrupts the layers you've
already built.
You might also like:
A pair of gleaming shoes deserves equally good socks.
▶ Business Socks That Never Slip: Top 10 Japanese-Made Options
5. Final Thoughts: Polished Shoes, Sharper Confidence
"Style begins at the feet" is a cliché because it keeps being true.
An expensive suit with dull, neglected shoes reads as careless. A budget suit with brilliantly maintained shoes
reads as disciplined.
Columbus cream. Four tools. Fifteen minutes.
That's what separates shoes that last a decade from shoes that look tired within a year.
Put on some music this weekend. Polish your shoes. See how you feel when you're done.